Advanced GitHub + Pachca integration
Connect your GitHub repository, your team's task tracker and Pachca

Webhook setup, payload format and integration examples
Script: Rich pull request status notifications in the message body and thread Language: TypeScript Difficulty: Advanced Author: Pavel Golubev, frontend lead Repository: https://github.com/pachca/review-bot
This integration connects your GitHub repository, your team's task tracker and Pachca. You'll always know where each task stands and can discuss it quickly in threads.
How the integration works
When a new pull request (PR) is opened in your repository, the Pachca bot posts a message to the chat with its status and author.
All important changes to the PR show up in the thread and update the status in the parent message.
Use the same usernames in GitHub and Pachca so the bot's messages highlight the right Pachca profiles.
What the main (parent) message shows
- Pull request title
- Link to GitHub
- Link to the task in your task tracker (this example attaches a Linear link, but you can switch it to any other service, like Jira or Asana)
- PR author's username
- Task status (🏗️ In progress, 🧑🍼 Waiting for first review, 👌 Approved, 🎉 Merged, ❌ Closed)
Which updates show up in the thread under the message
- 🆕 @name opened a PR
- ✏️ @name requested changes
- 📣 @name1 requested a review from @name2
- 📣 @name assigned themselves as a reviewer
- 👏 @name approved
- 🏗️ @name rebased
- 🎉 @name merged the PR
- 🏗️ @name edited the title Old task title -> New task title
- 🩹 CI failed - #number_task *@name*****↳ *Lint helpers*****↳ Typecheck
Step 1. Create a bot in Pachca
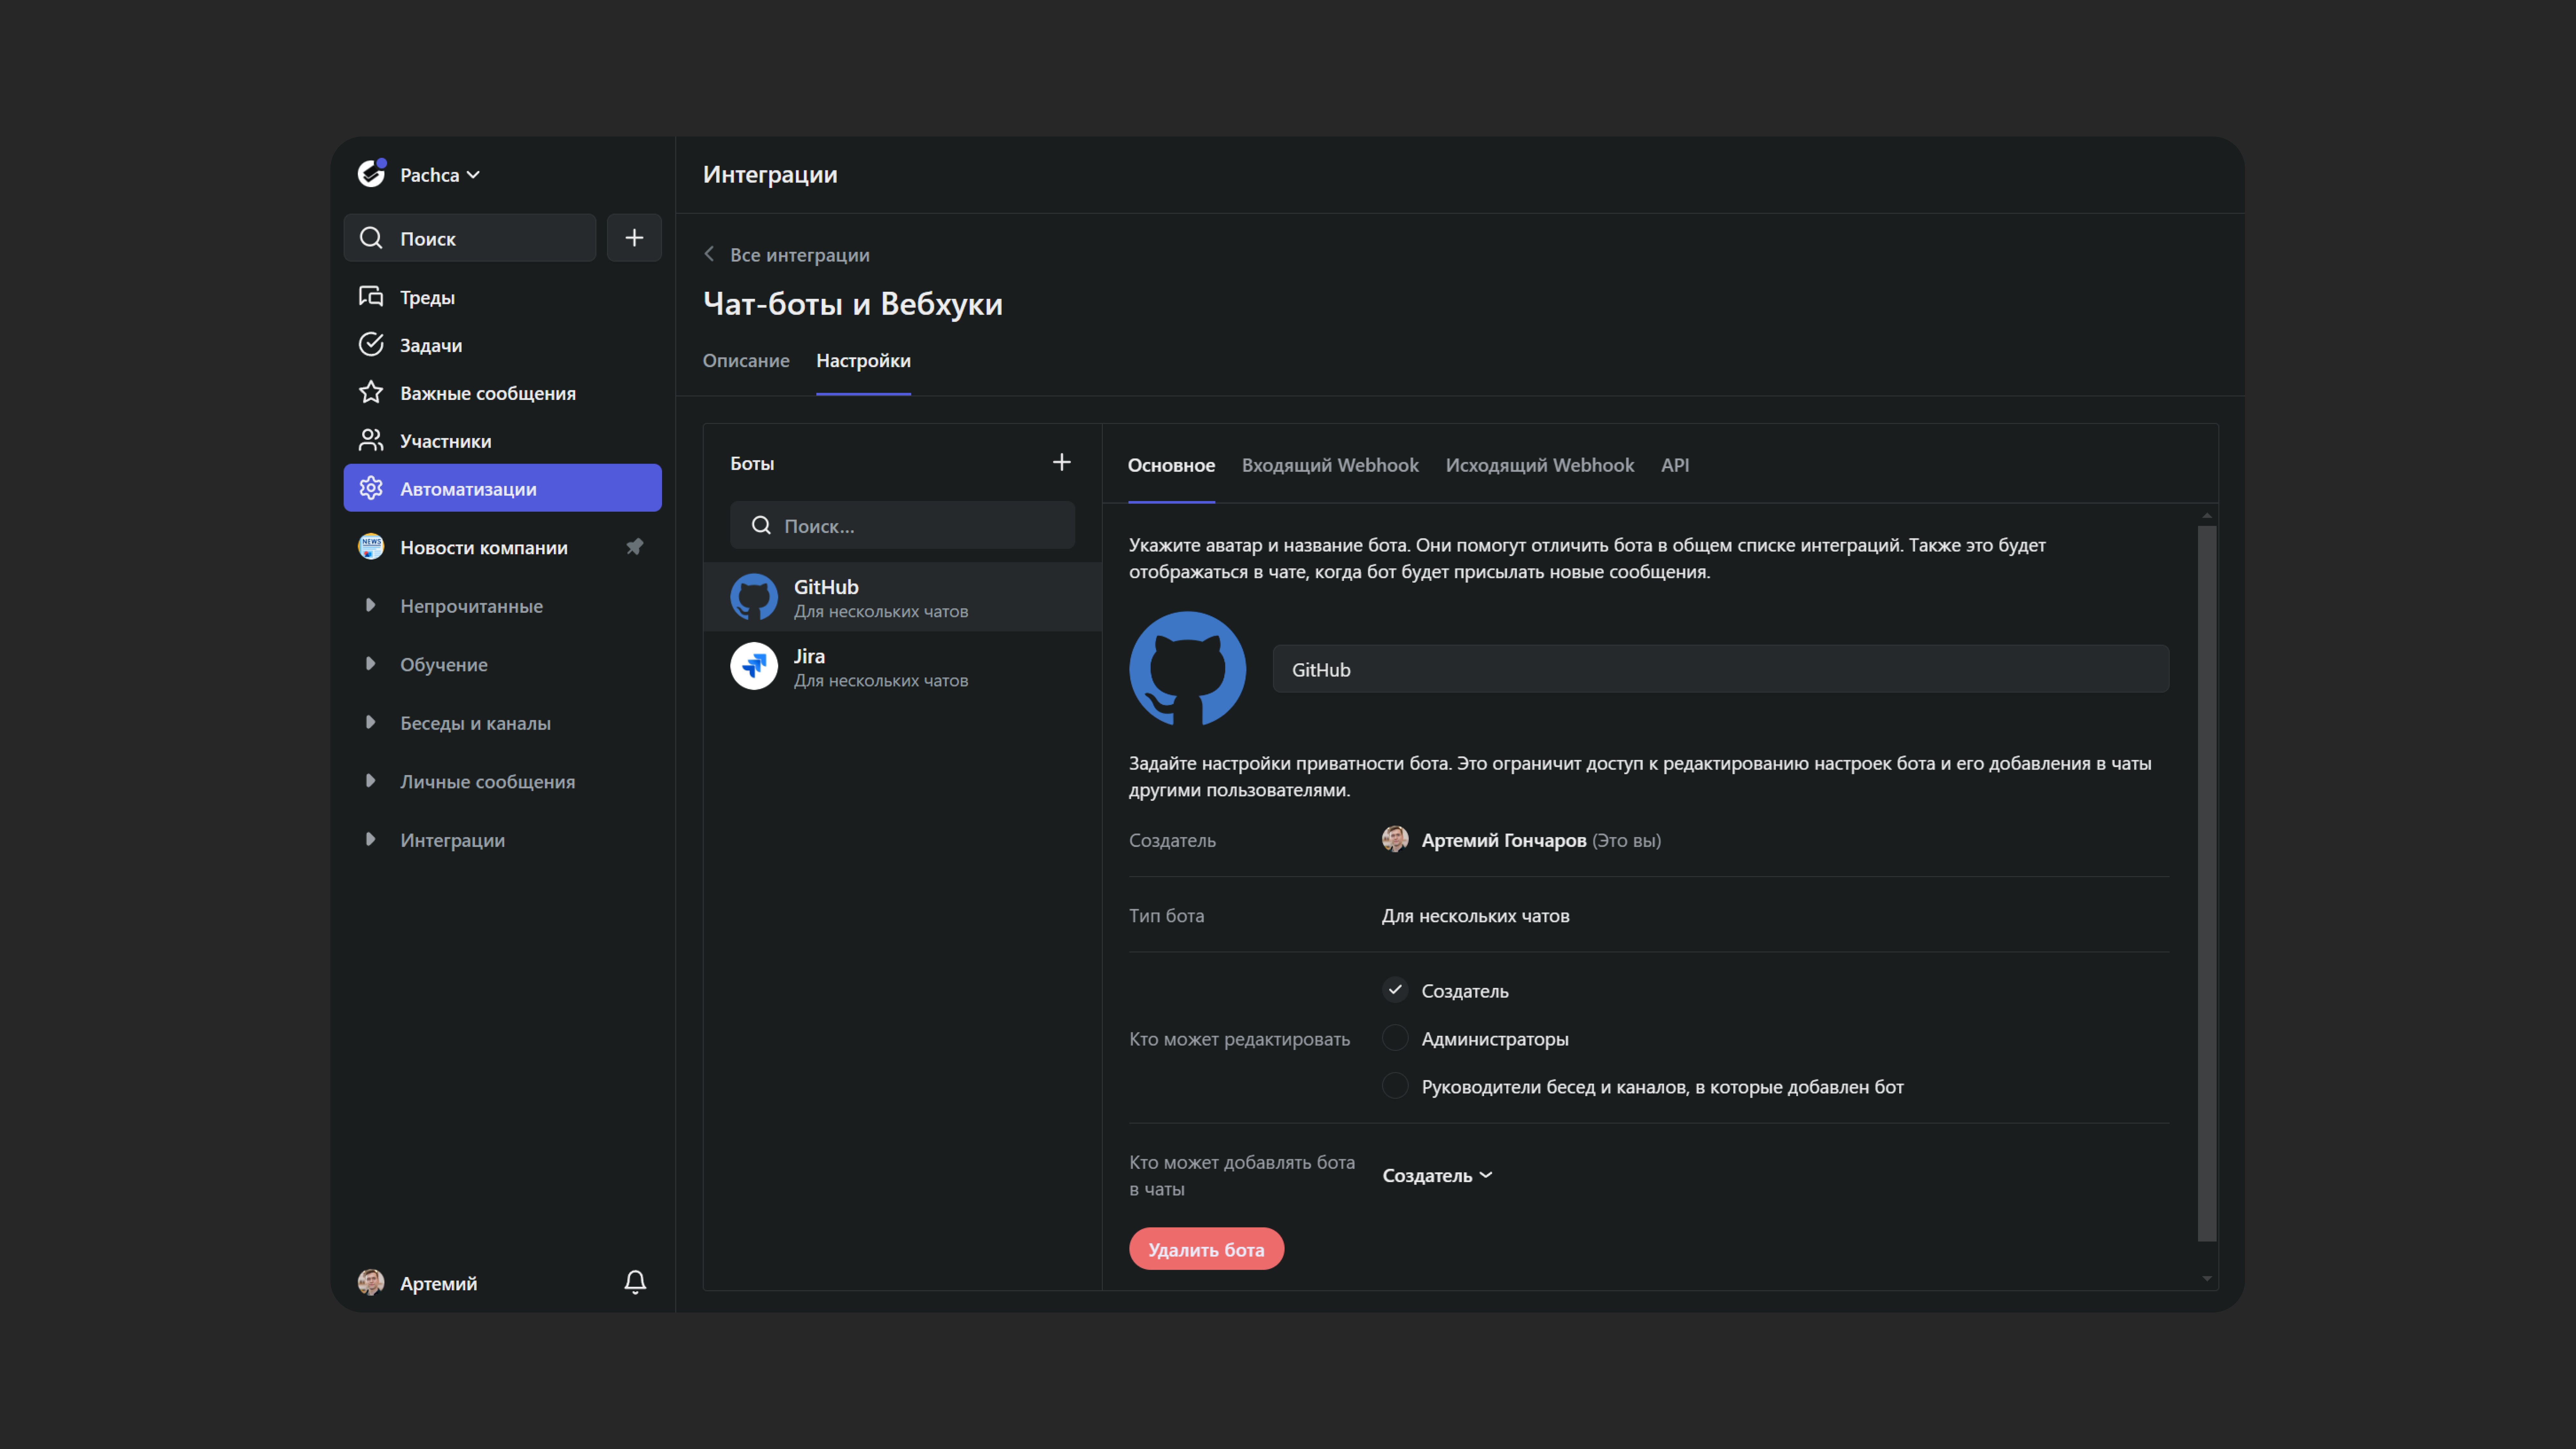
- Go to "Automations" → "Integrations"
- Open "Chatbots and webhooks"
- Create a new bot by clicking "+". Then give the bot a name and an avatar
- Copy the bot's access_token. You'll find it on the "API" tab in the bot settings
- Add the bot to the chat where you want to get pull request notifications. To do this, open the chat and click "Chat info" → "Integrations" → "Add integration"
- Note down the chat_id. You'll need it when you deploy to a server (step 5). You can find the chat_id in the address bar of Pachca's web app. For example, for the chat https://app.pachca.com/chats/8458483, the id is 8458483
Step 2. Enable webhooks in your GitHub repository
- Go to your repository → Settings → Webhooks → Add webhook
- Enter the Payload URL where webhooks will be sent. We explain how to get this URL in the section on deploying the integration to a server (step 5)
- Set Content type: application\json Choose "Let me select individual events" and check:
- Pull requests
- Pull request reviews
- Workflow runs
GitHub's full documentation on setting up webhooks
Step 3. Get an authorization token for the GitHub REST API
Each pull request needs to be linked to its Pachca thread. To do this, the integration posts a comment with a link to the Pachca thread when a PR is opened.
-
Make sure your organization allows fine-grained personal access tokens
-
Create a new user with access to the repository you need. Give it a name, for example "Pachca Bot". In this user's settings, create a fine-grained personal access token for the organization's repository Under Repository permissions, select
-
Actions (Read-only)
-
Pull Requests (Read and write)
-
Save the token and the user's login. You'll need them for the configuration
GitHub's full documentation on REST API authentication
Step 4. Download the integration code, or modify it and build your own version
Repository: https://github.com/pachca/review-bot
The Releases section has a ready-to-use index.js file for Node 18+ that runs in Cloud Functions in Yandex Cloud
You can also edit index.ts to fit your needs and build the file yourself.
bun ibun run build
Use bun instead of npm\node to work with index.ts directly, with no build step.
Step 5. Deploy the integration to a server
Option 1. Deploy to Cloud Functions in Yandex Cloud
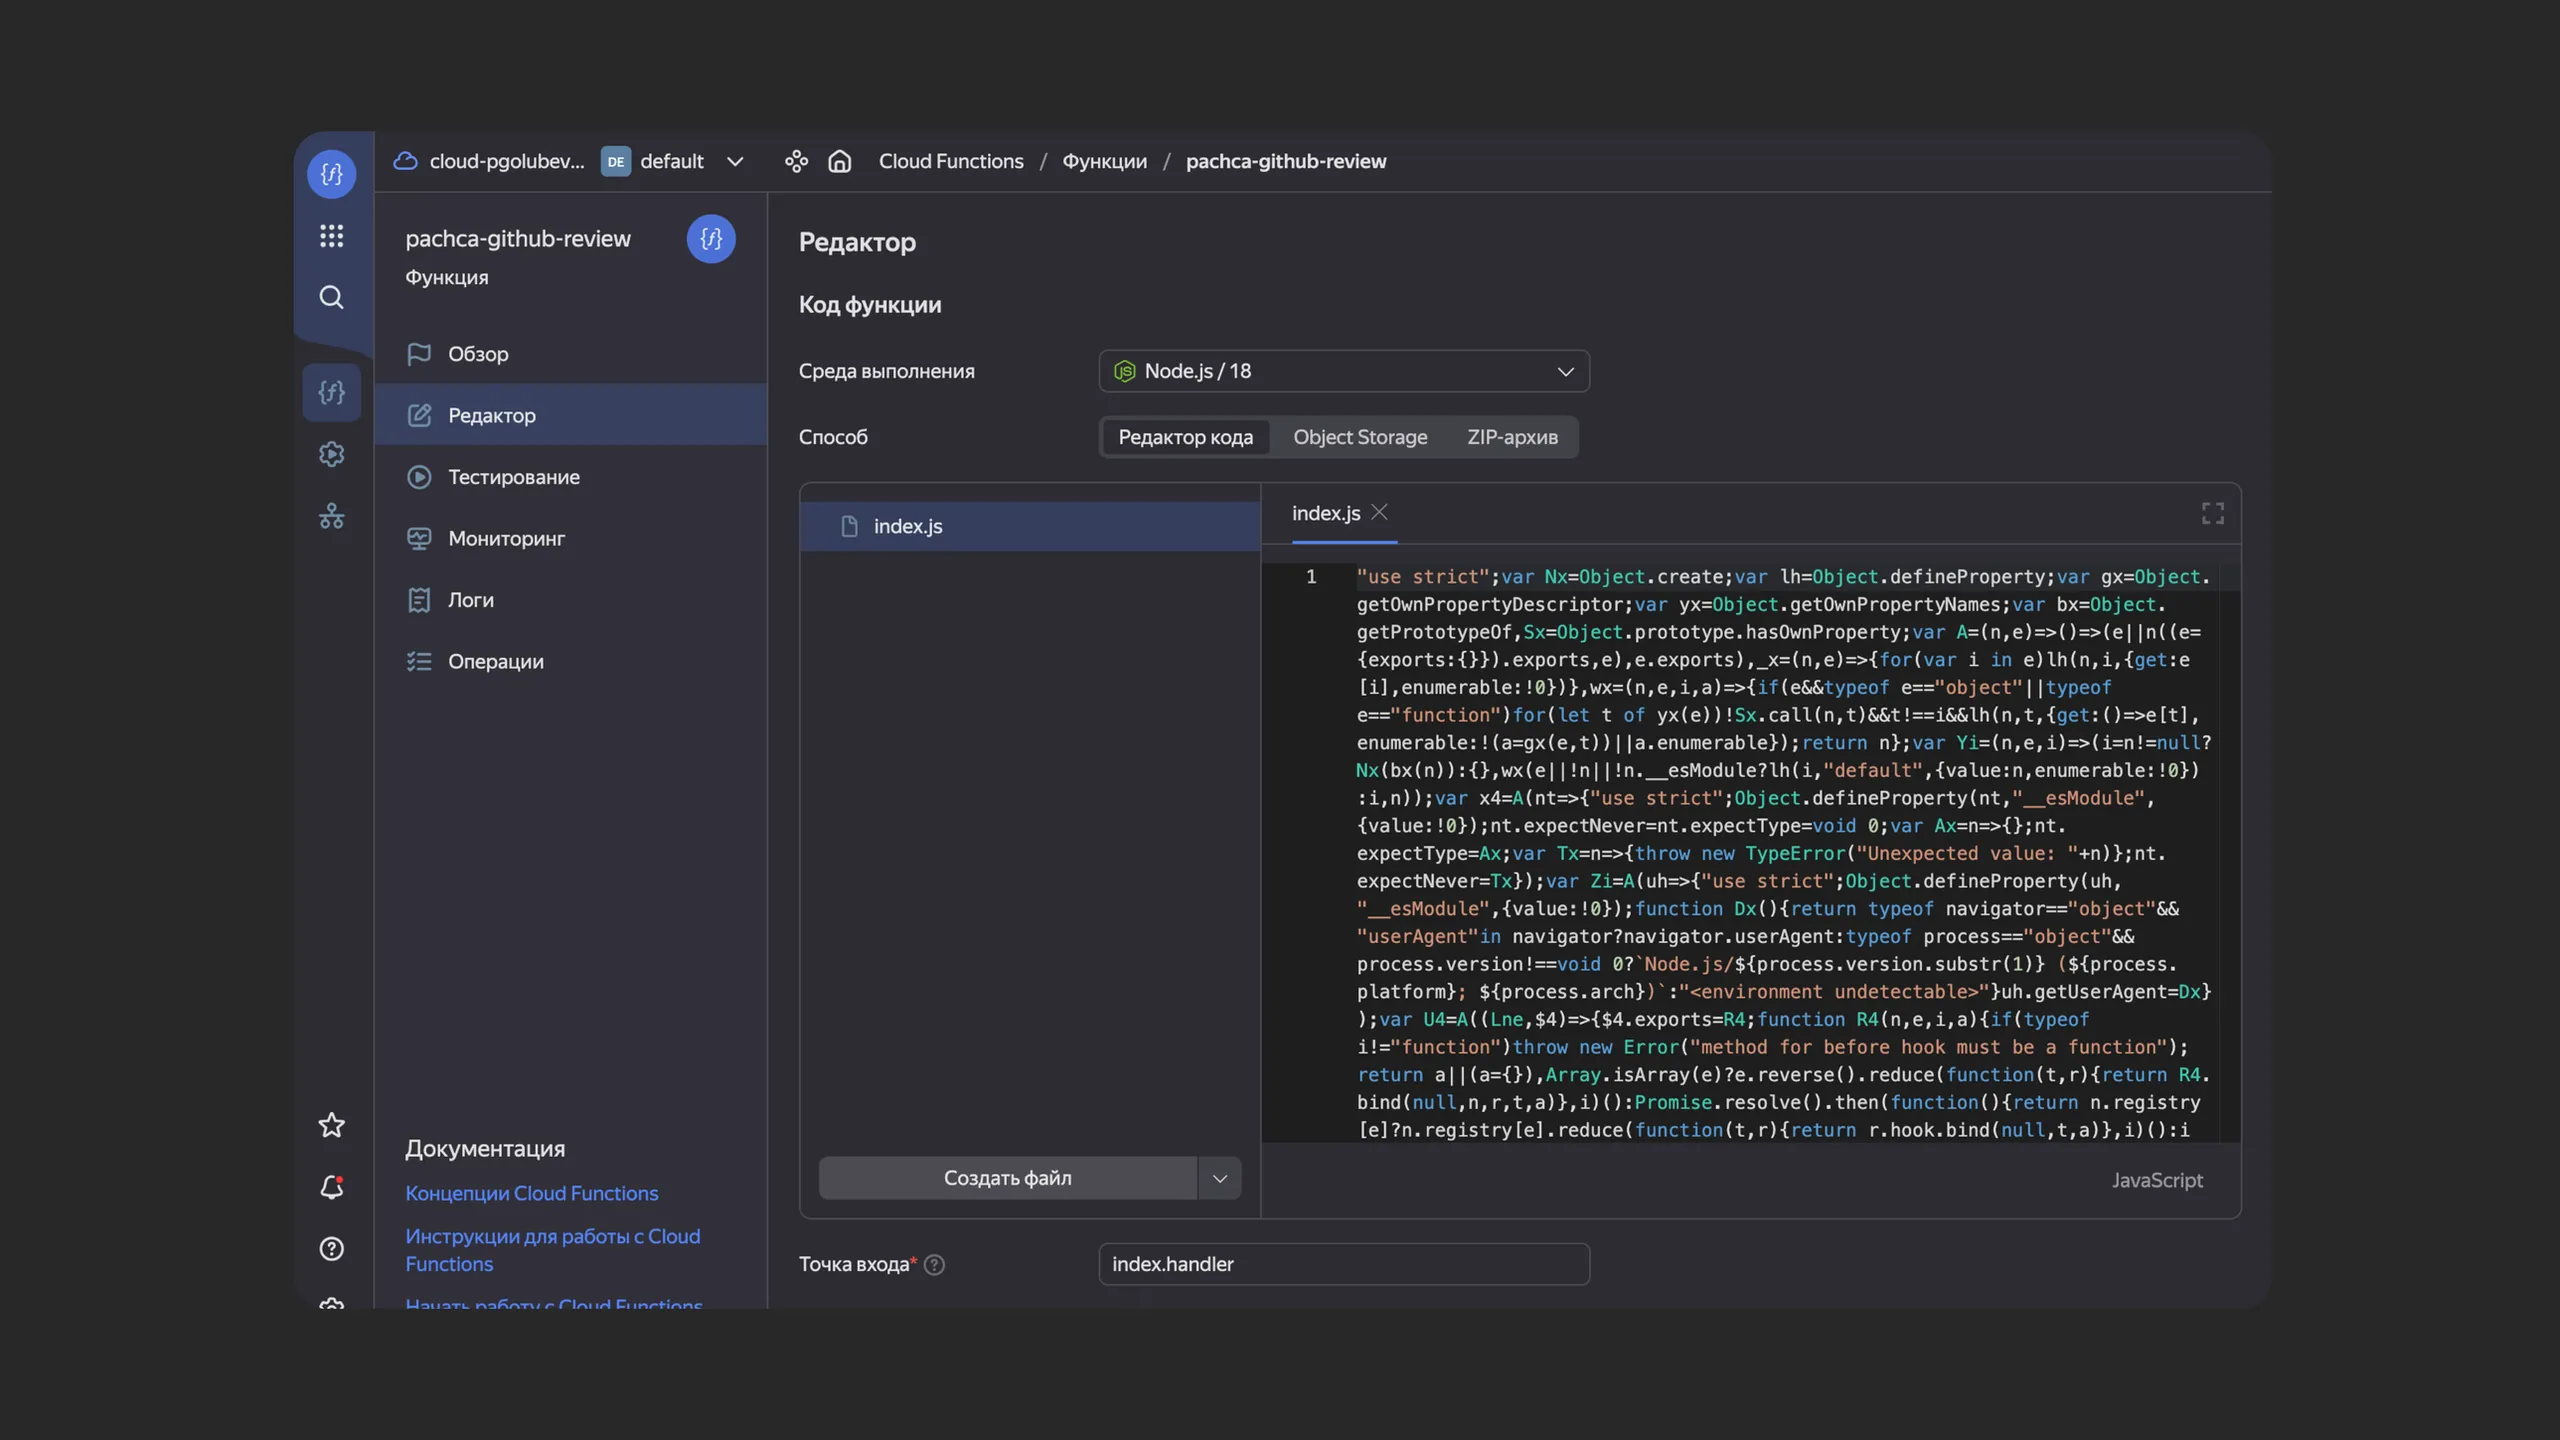
With this option, you don't have to maintain your own server. Yandex Cloud gives you 1 million function calls a month for free, which is more than enough for a bot.
-
Add the index.js file to your function
-
Set the entry point to index.handler Add environment variables for the function
-
GITHUB_ACCESS_TOKEN - access_token of the user with access to the repository and the REST API
-
GITHUB_USER_LOGIN - GitHub login of the user whose access_token you got
-
GITHUB_OWNER - the organization name. For example, for the repository https://github.com/pachca/review-bot, it's pachca
-
GITHUB_REPO - the organization name. For example, for the repository https://github.com/pachca/review-bot, it's review-bot
-
PACHCA_API_ACCESS_TOKEN - the bot's access_token in Pachca
-
PACHCA_CHAT_ID - the Pachca chat where messages will be posted. The bot must be a member of this chat.
-
Save your changes
-
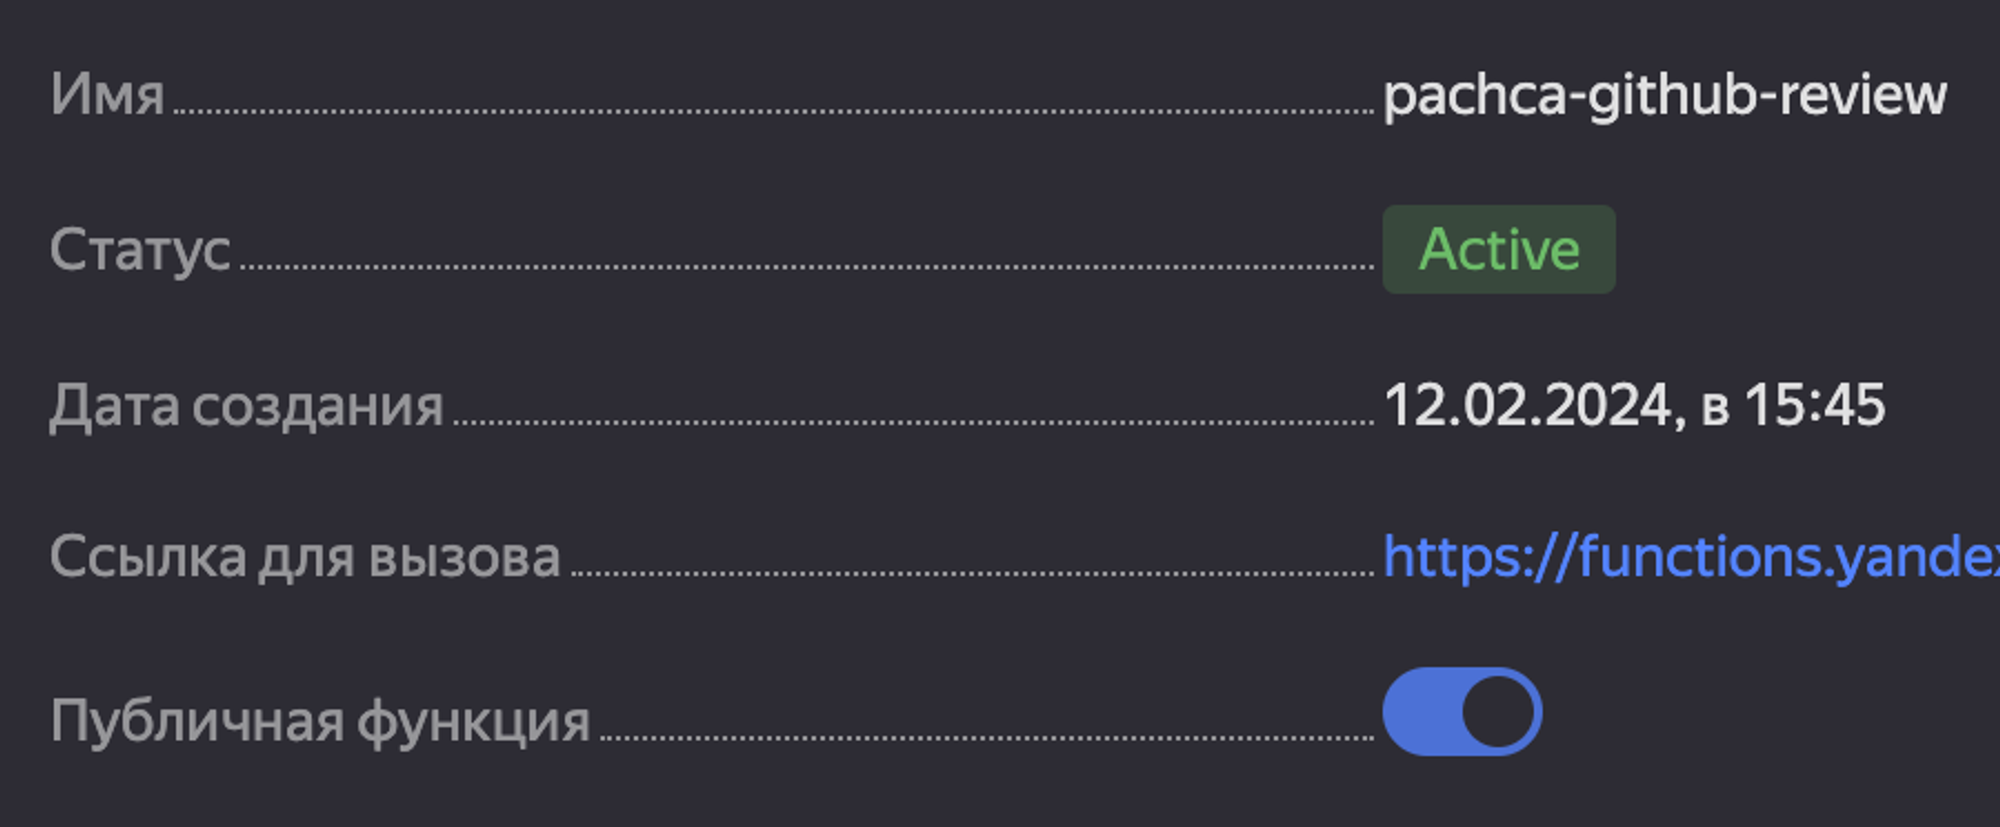
On the function's "Overview" tab, make the function public
-
Then copy the "Link to invoke" and add it to the repository webhooks
Option 2. Deploy to your own server
Move the contents of module.exports.handler into your web server's handler function and change the returned responses to the right format.
Notes on the script
We've tried to make this guide easy to follow so you can set up the GitHub integration in Pachca quickly. You can always find the latest README in the repository at https://github.com/pachca/review-bot
If something didn't work, the instructions are unclear or you'd like to see more features in the integration, we're always happy to chat and make this guide better.
Just message our support team on Telegram or MAX
And if you want a bot that doesn't just post statuses but also takes action on tasks, see how the AI agent in Pachca works.