SSO in Pachca with ADFS OpenID
This guide explains how to configure ADFS on Windows Server 2016 or later to connect it to Pachca.
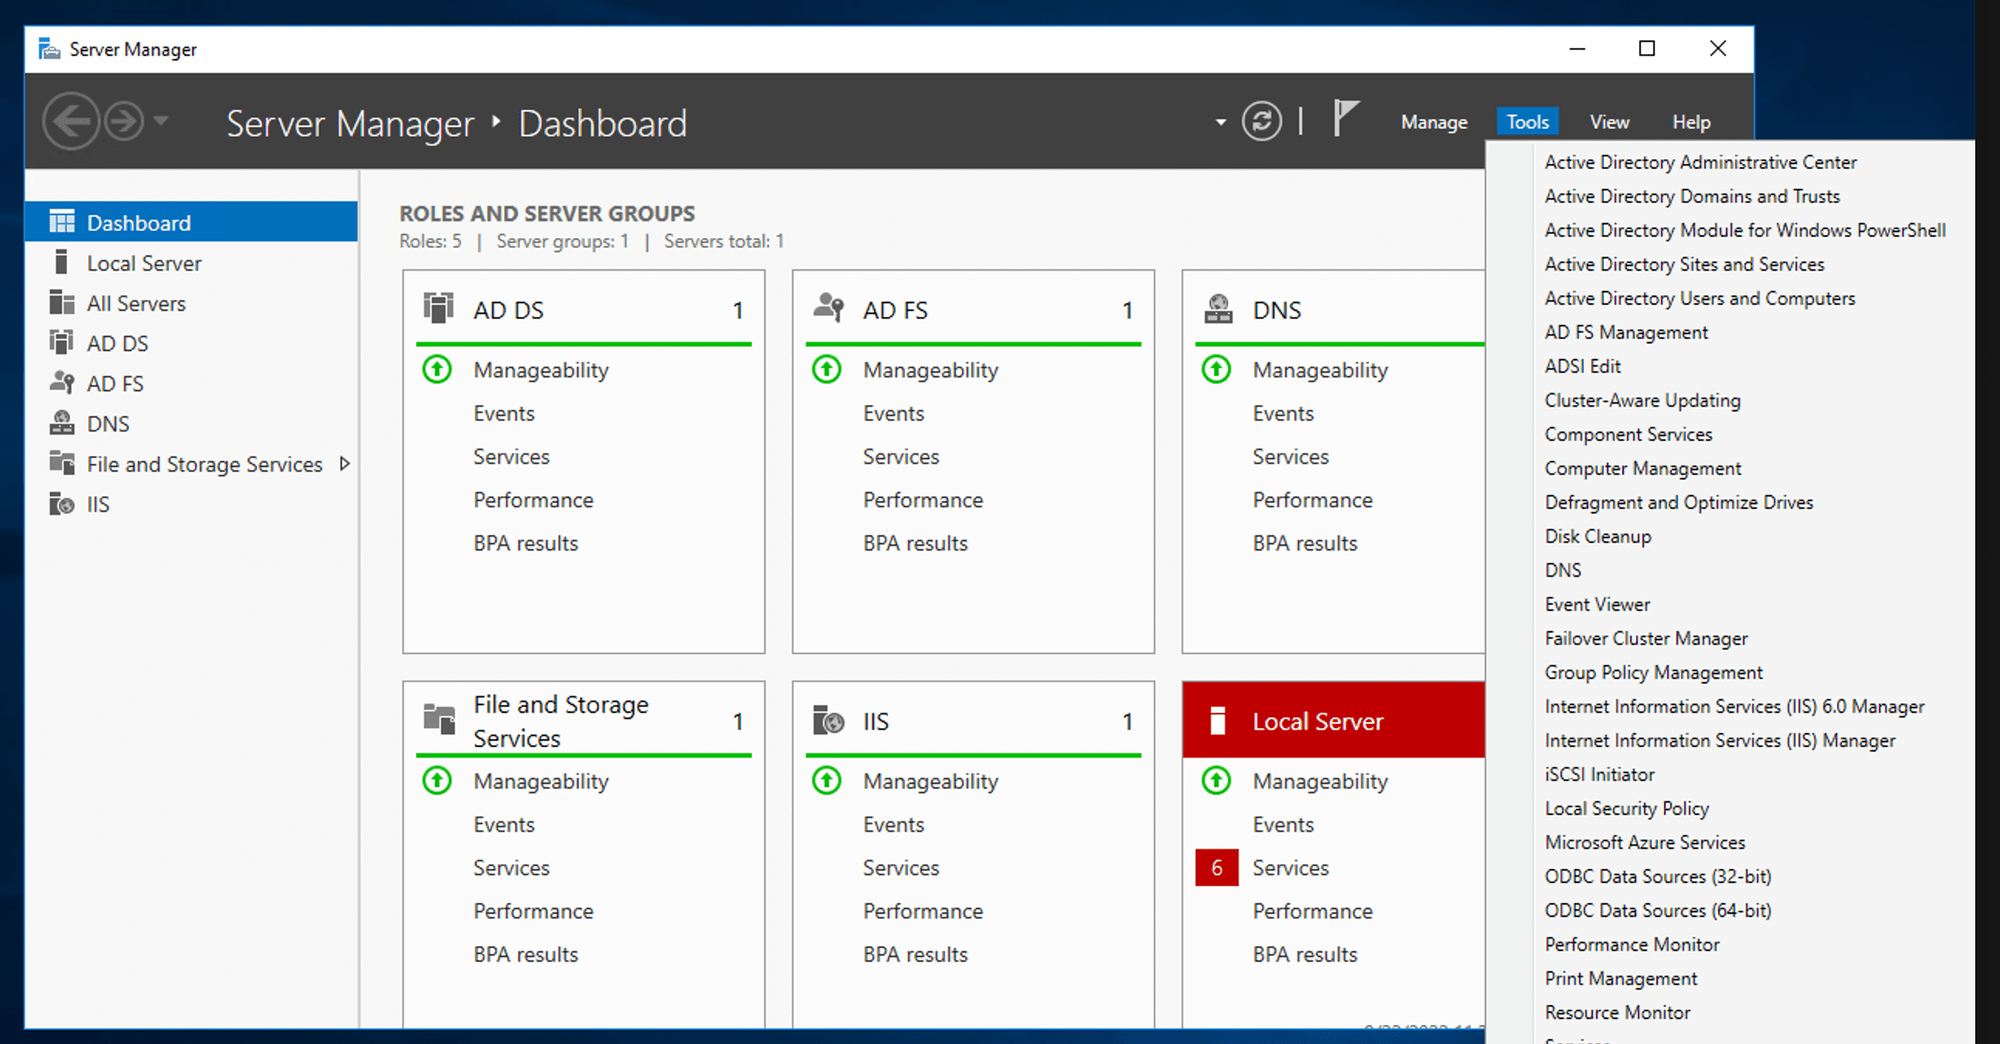
Open the AD FS Management tool.
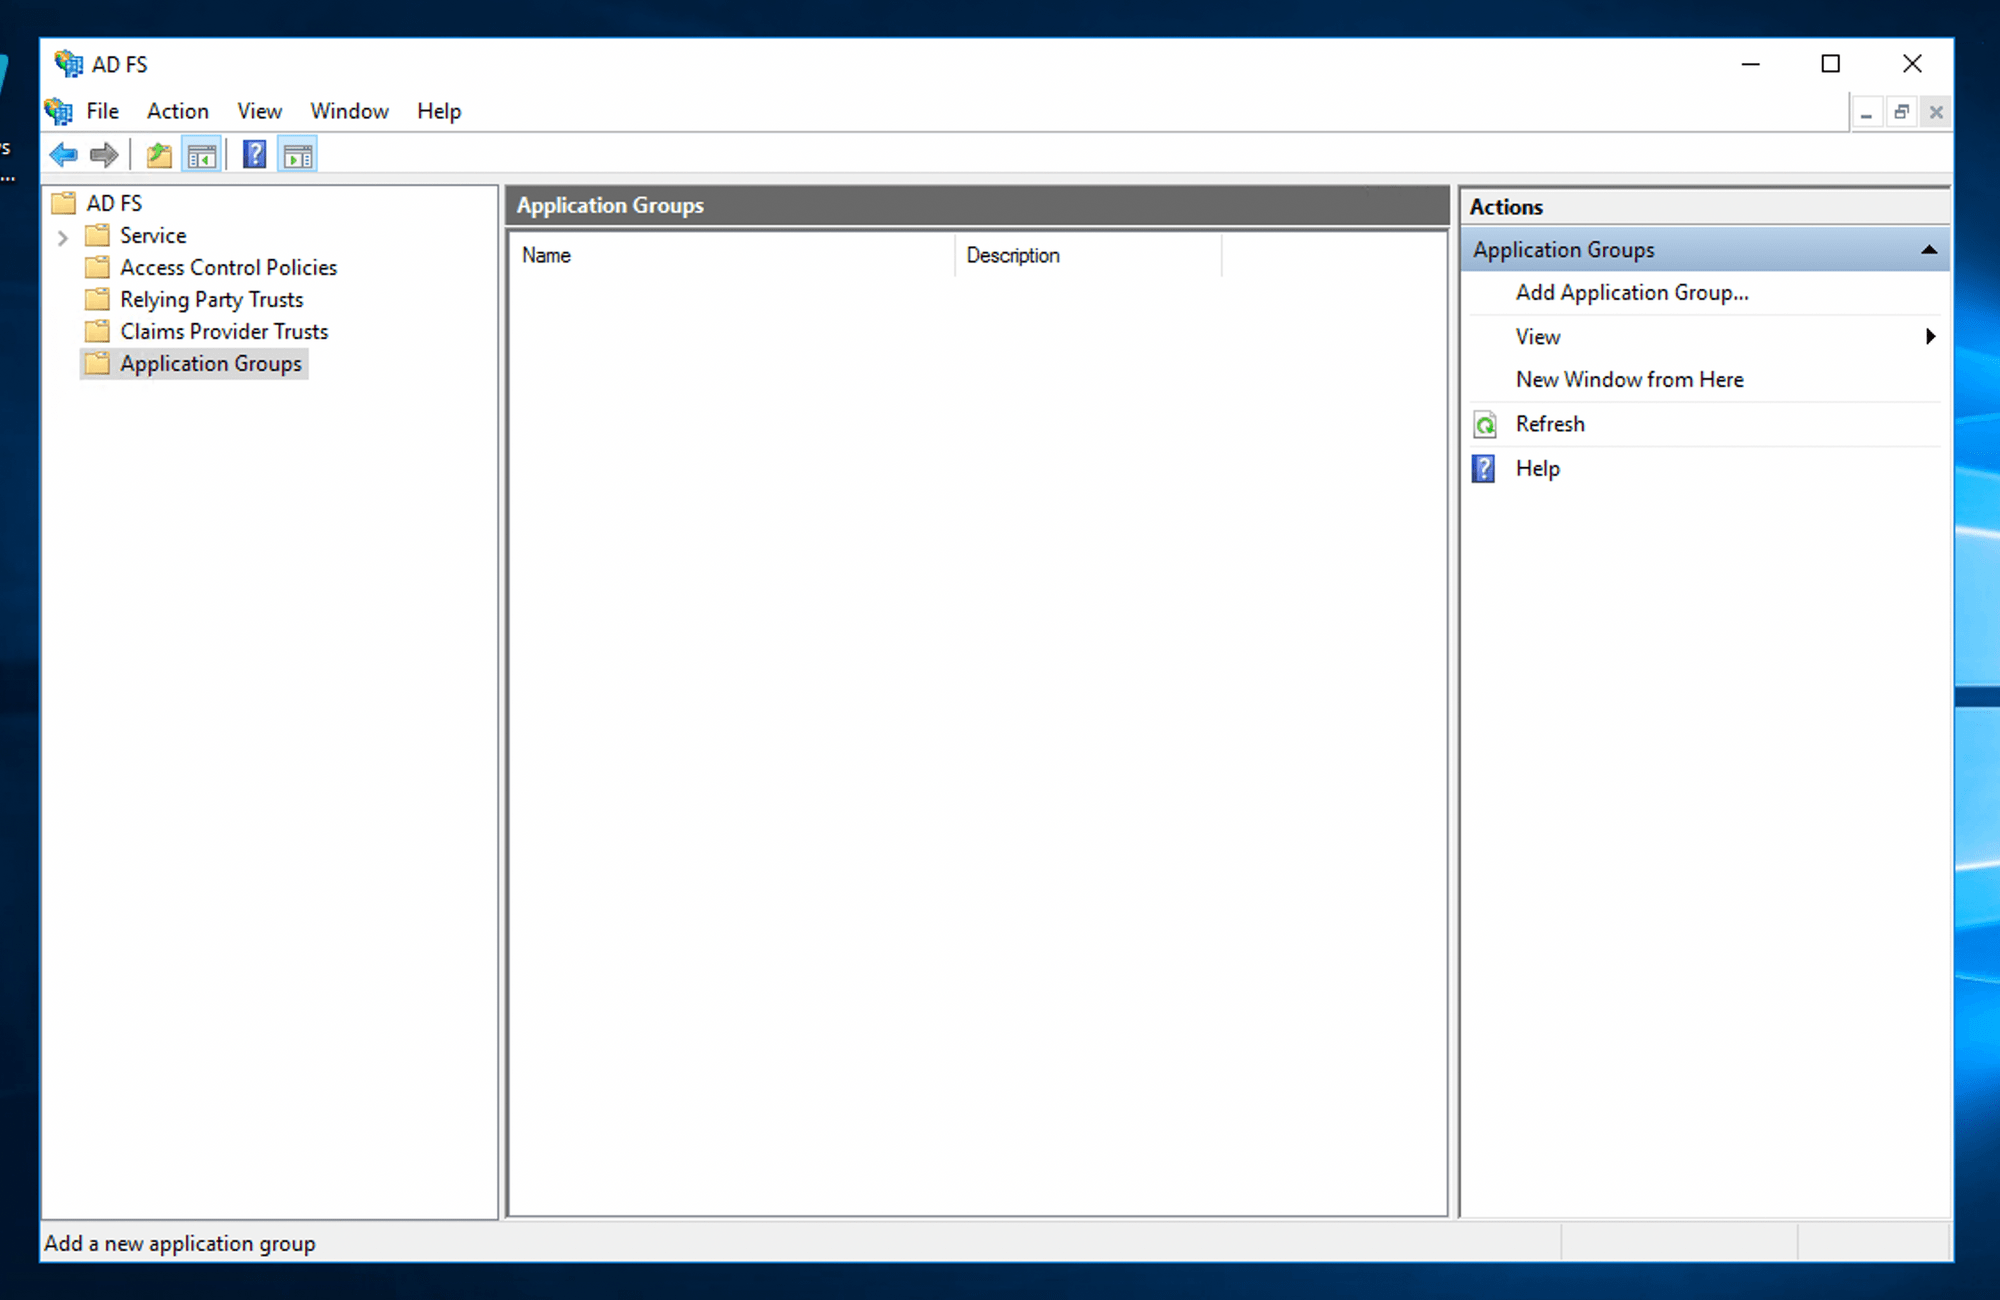
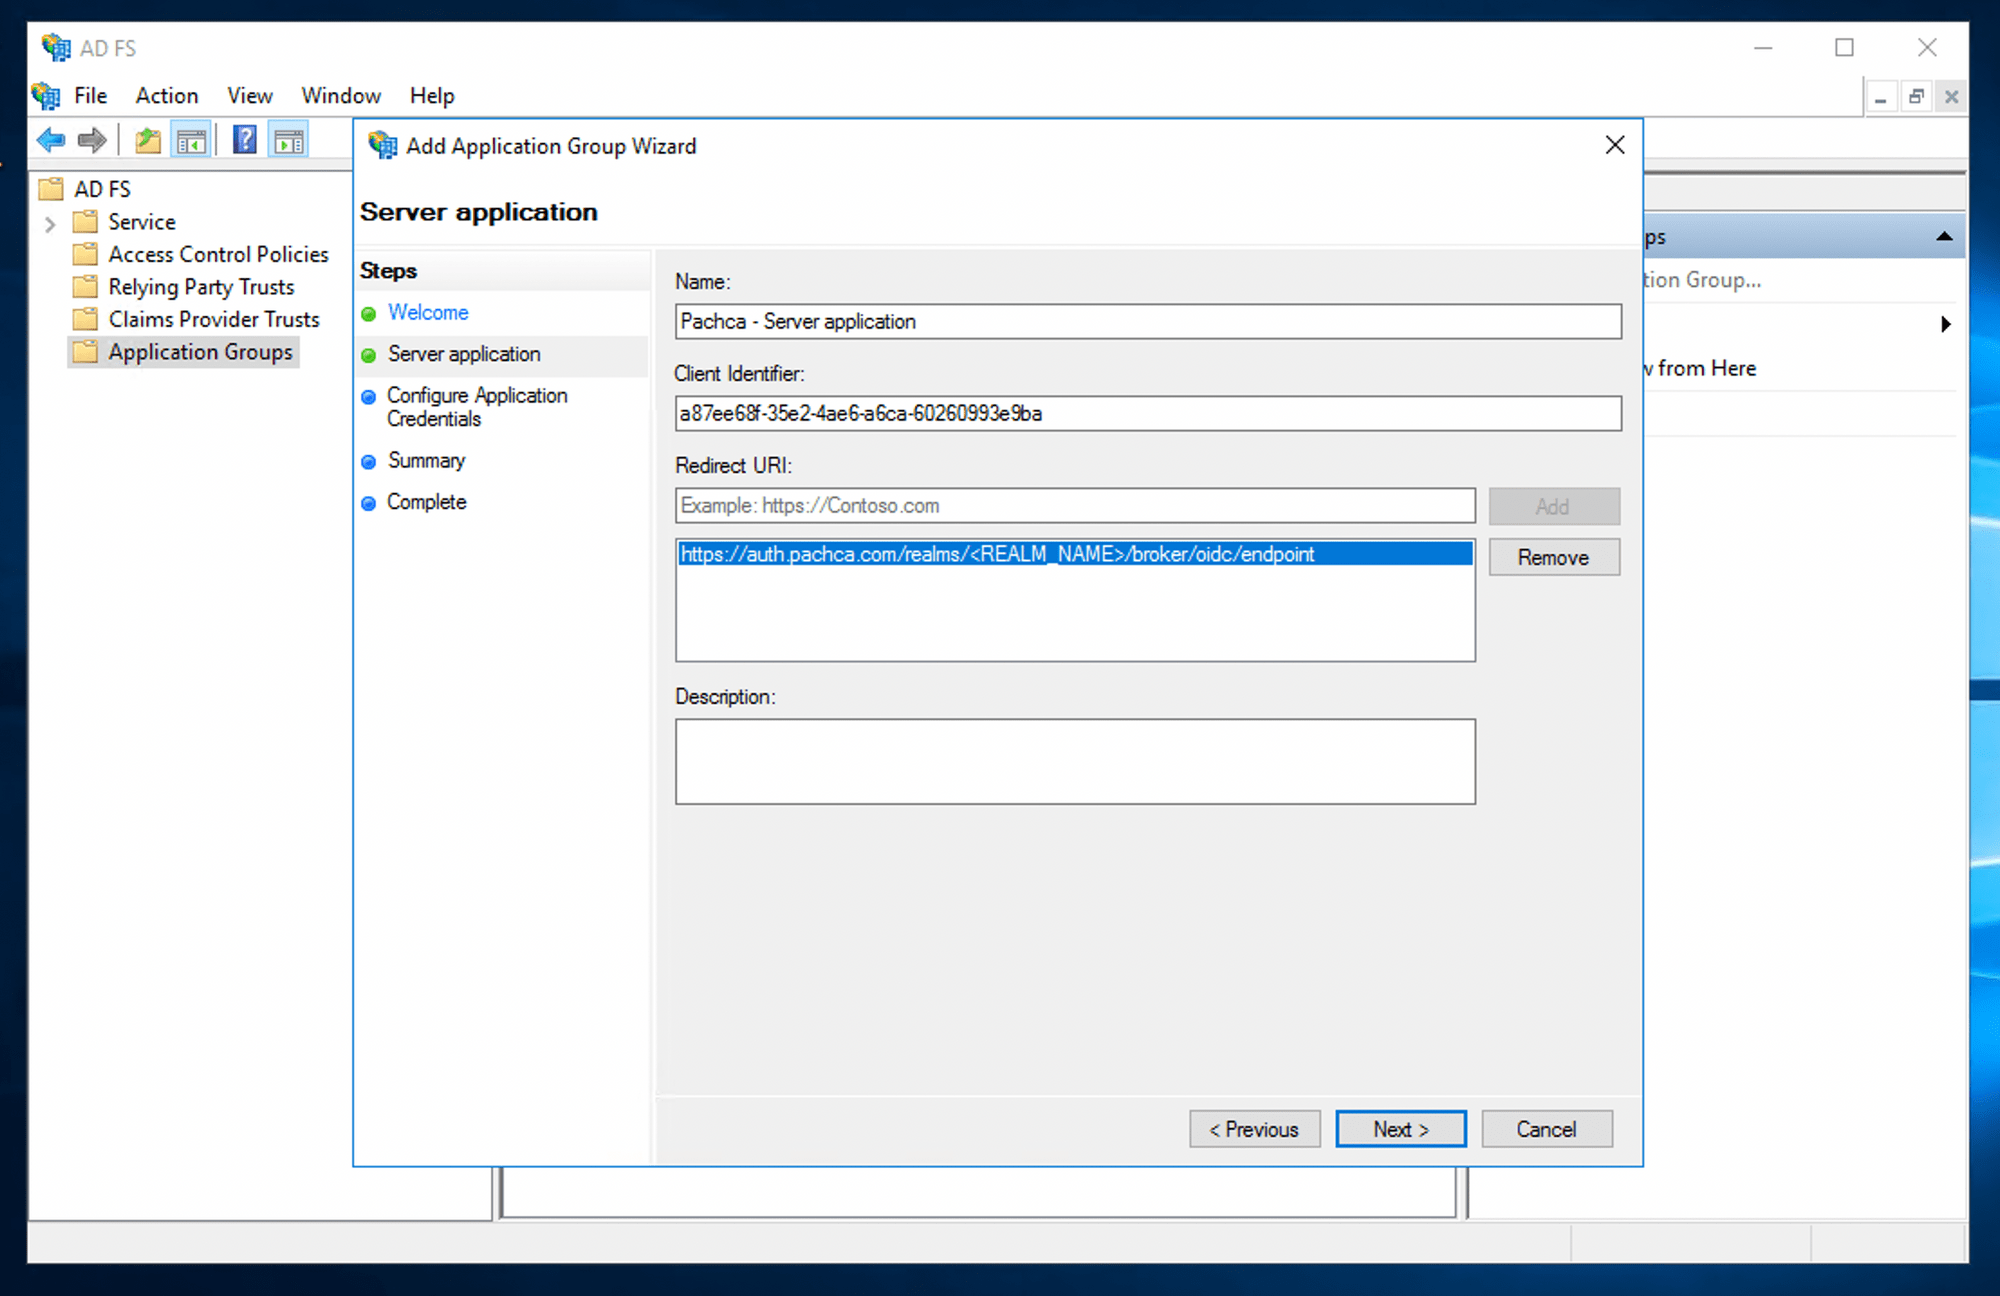
Click Add Application Group….
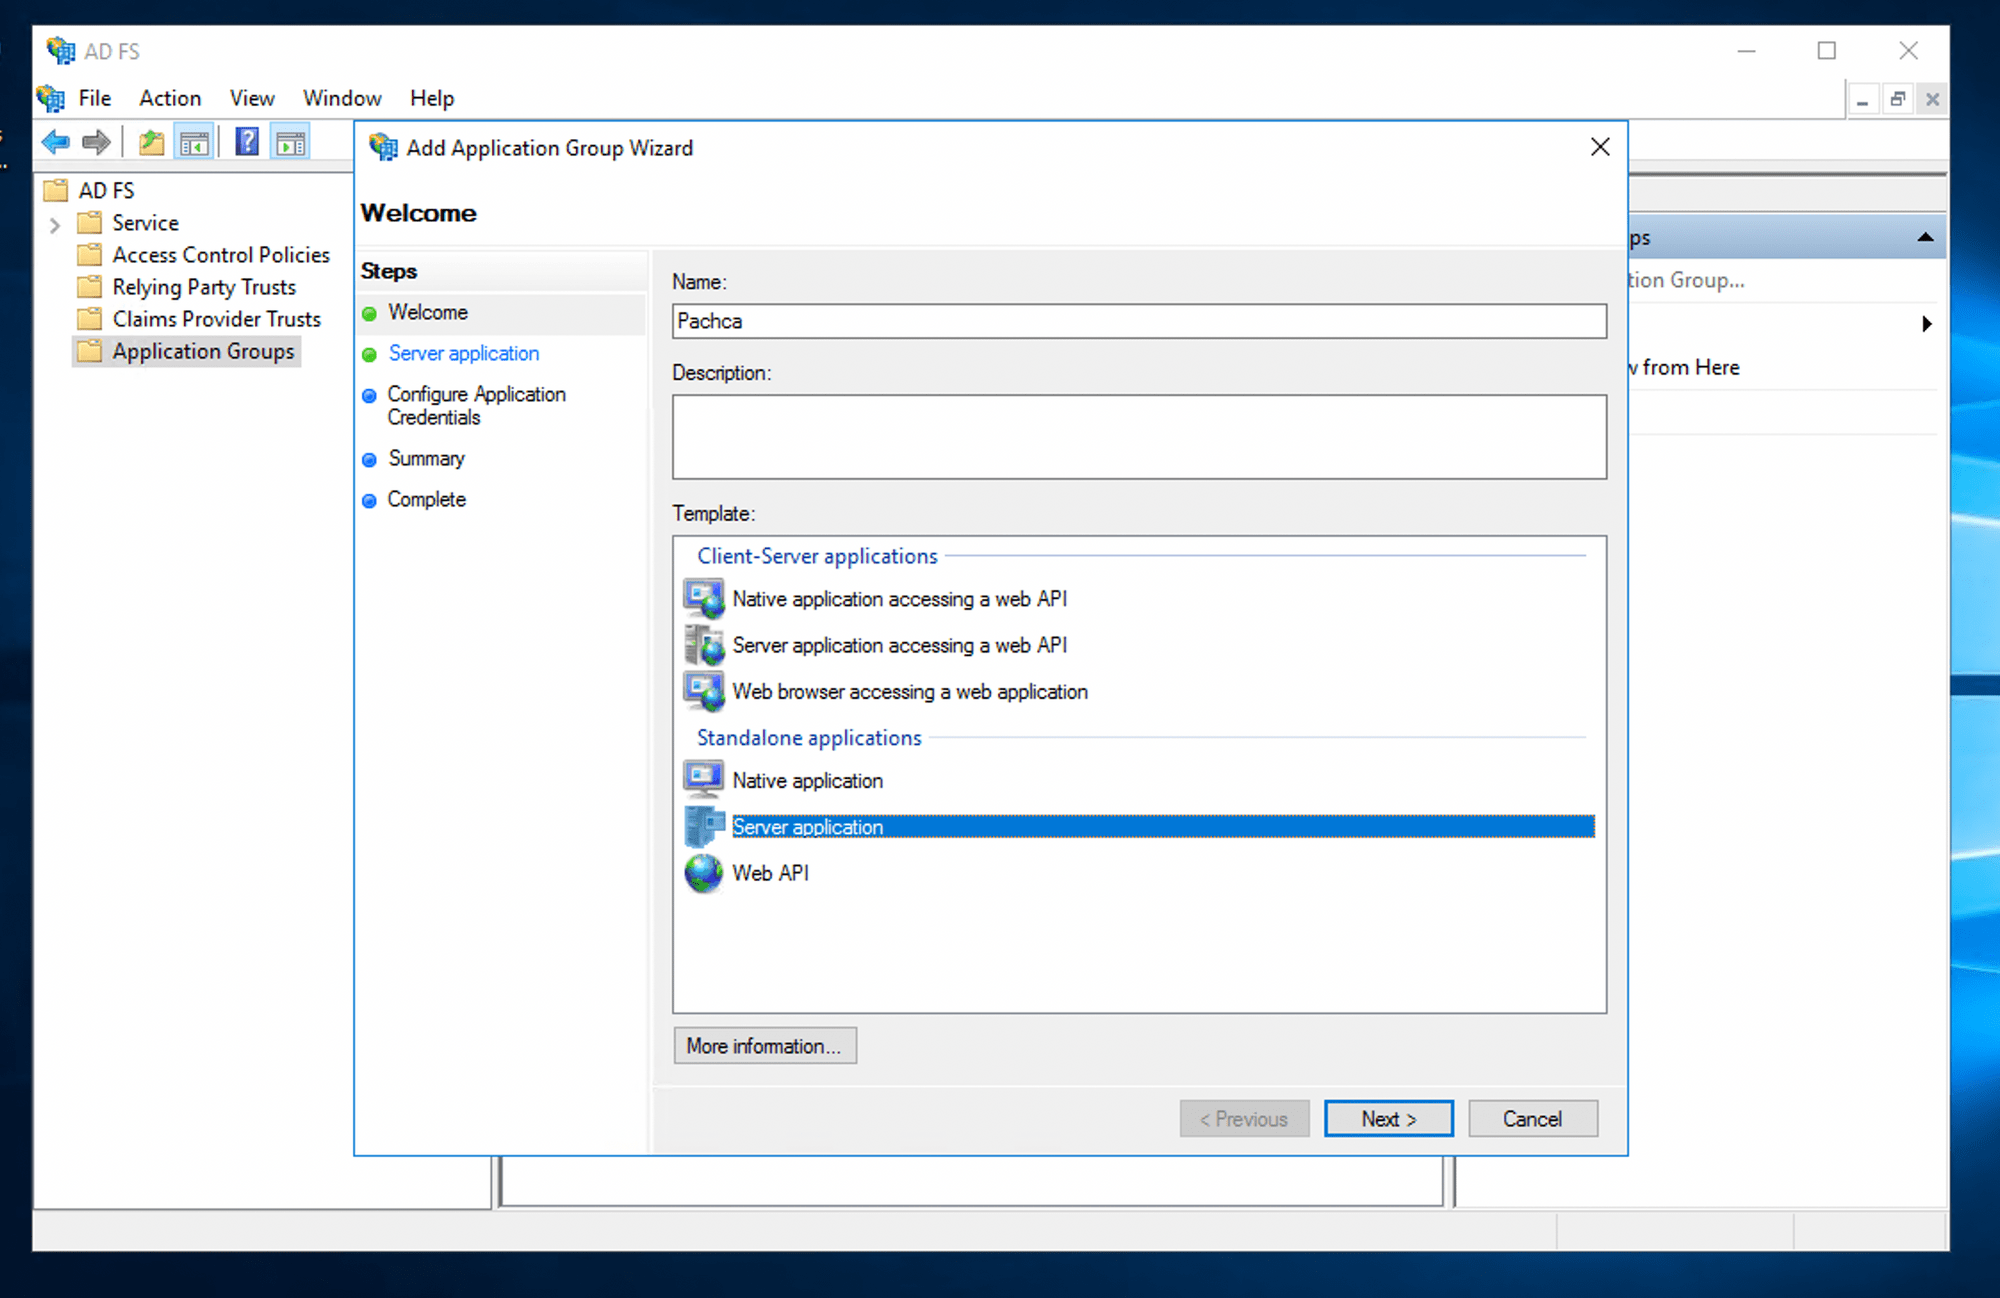
Enter any name (for example, "Pachca").
Select the Server application type and click Next.
Save the value of the Client Identifier field.
Enter the Redirect URI we give you.
Turn on Generate a shared secret and copy the generated code.
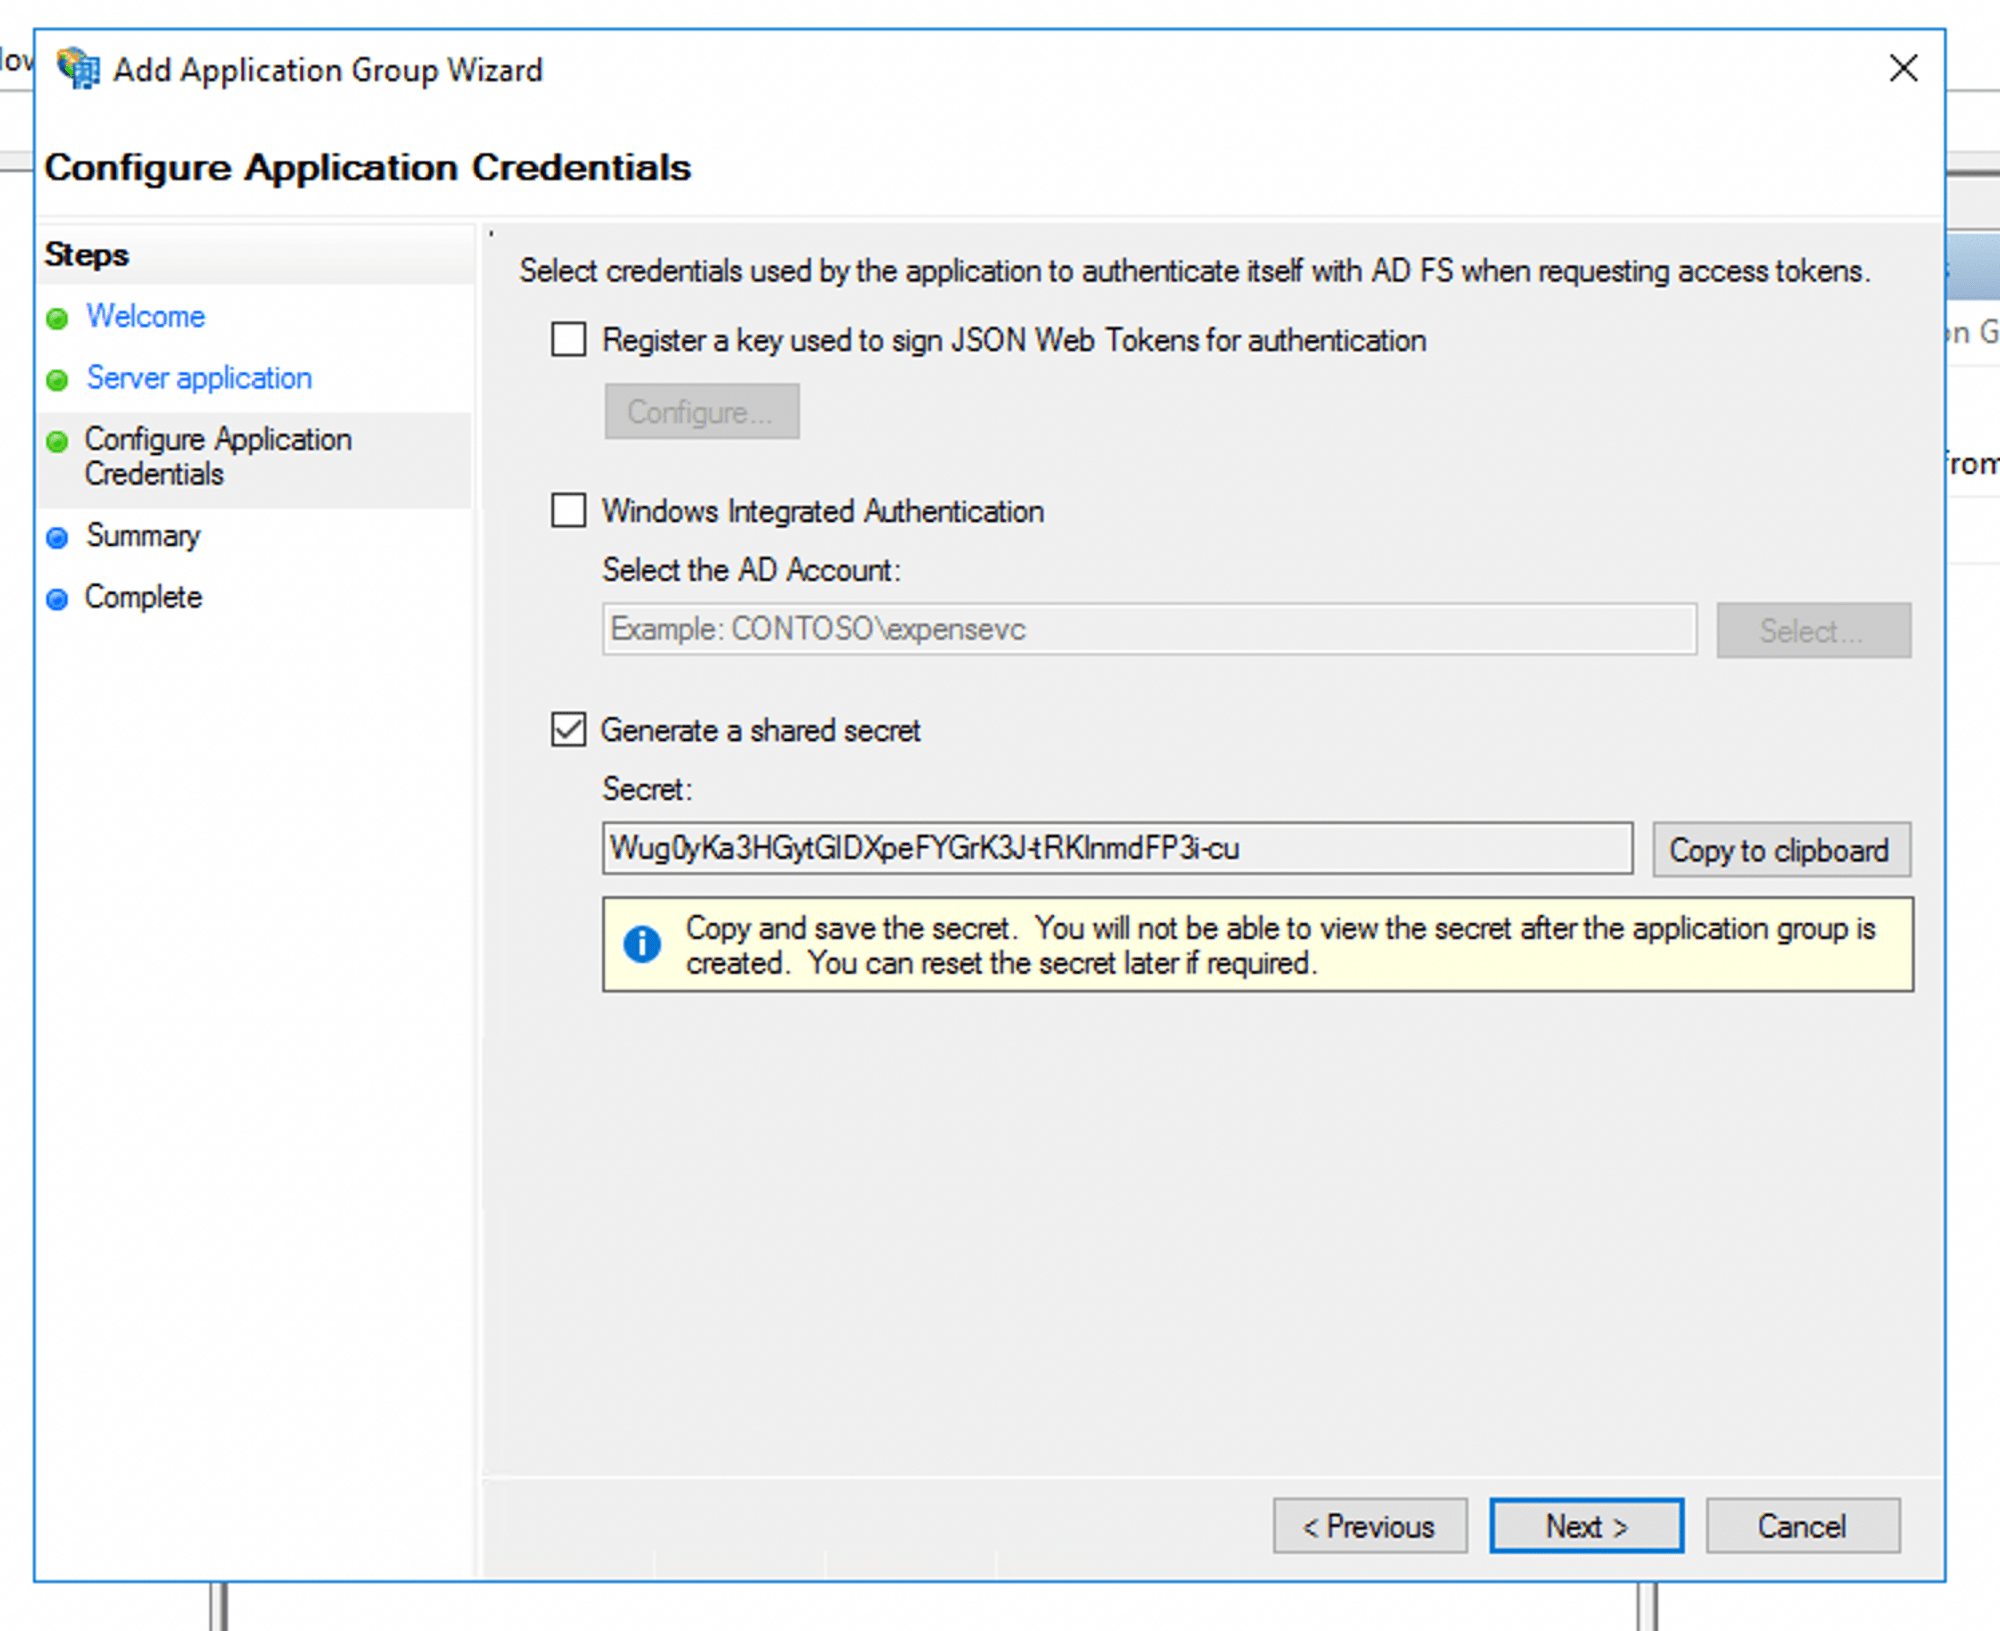
Send us these values:
- Client Identifier
- Secret
- The URL of your ADFS server
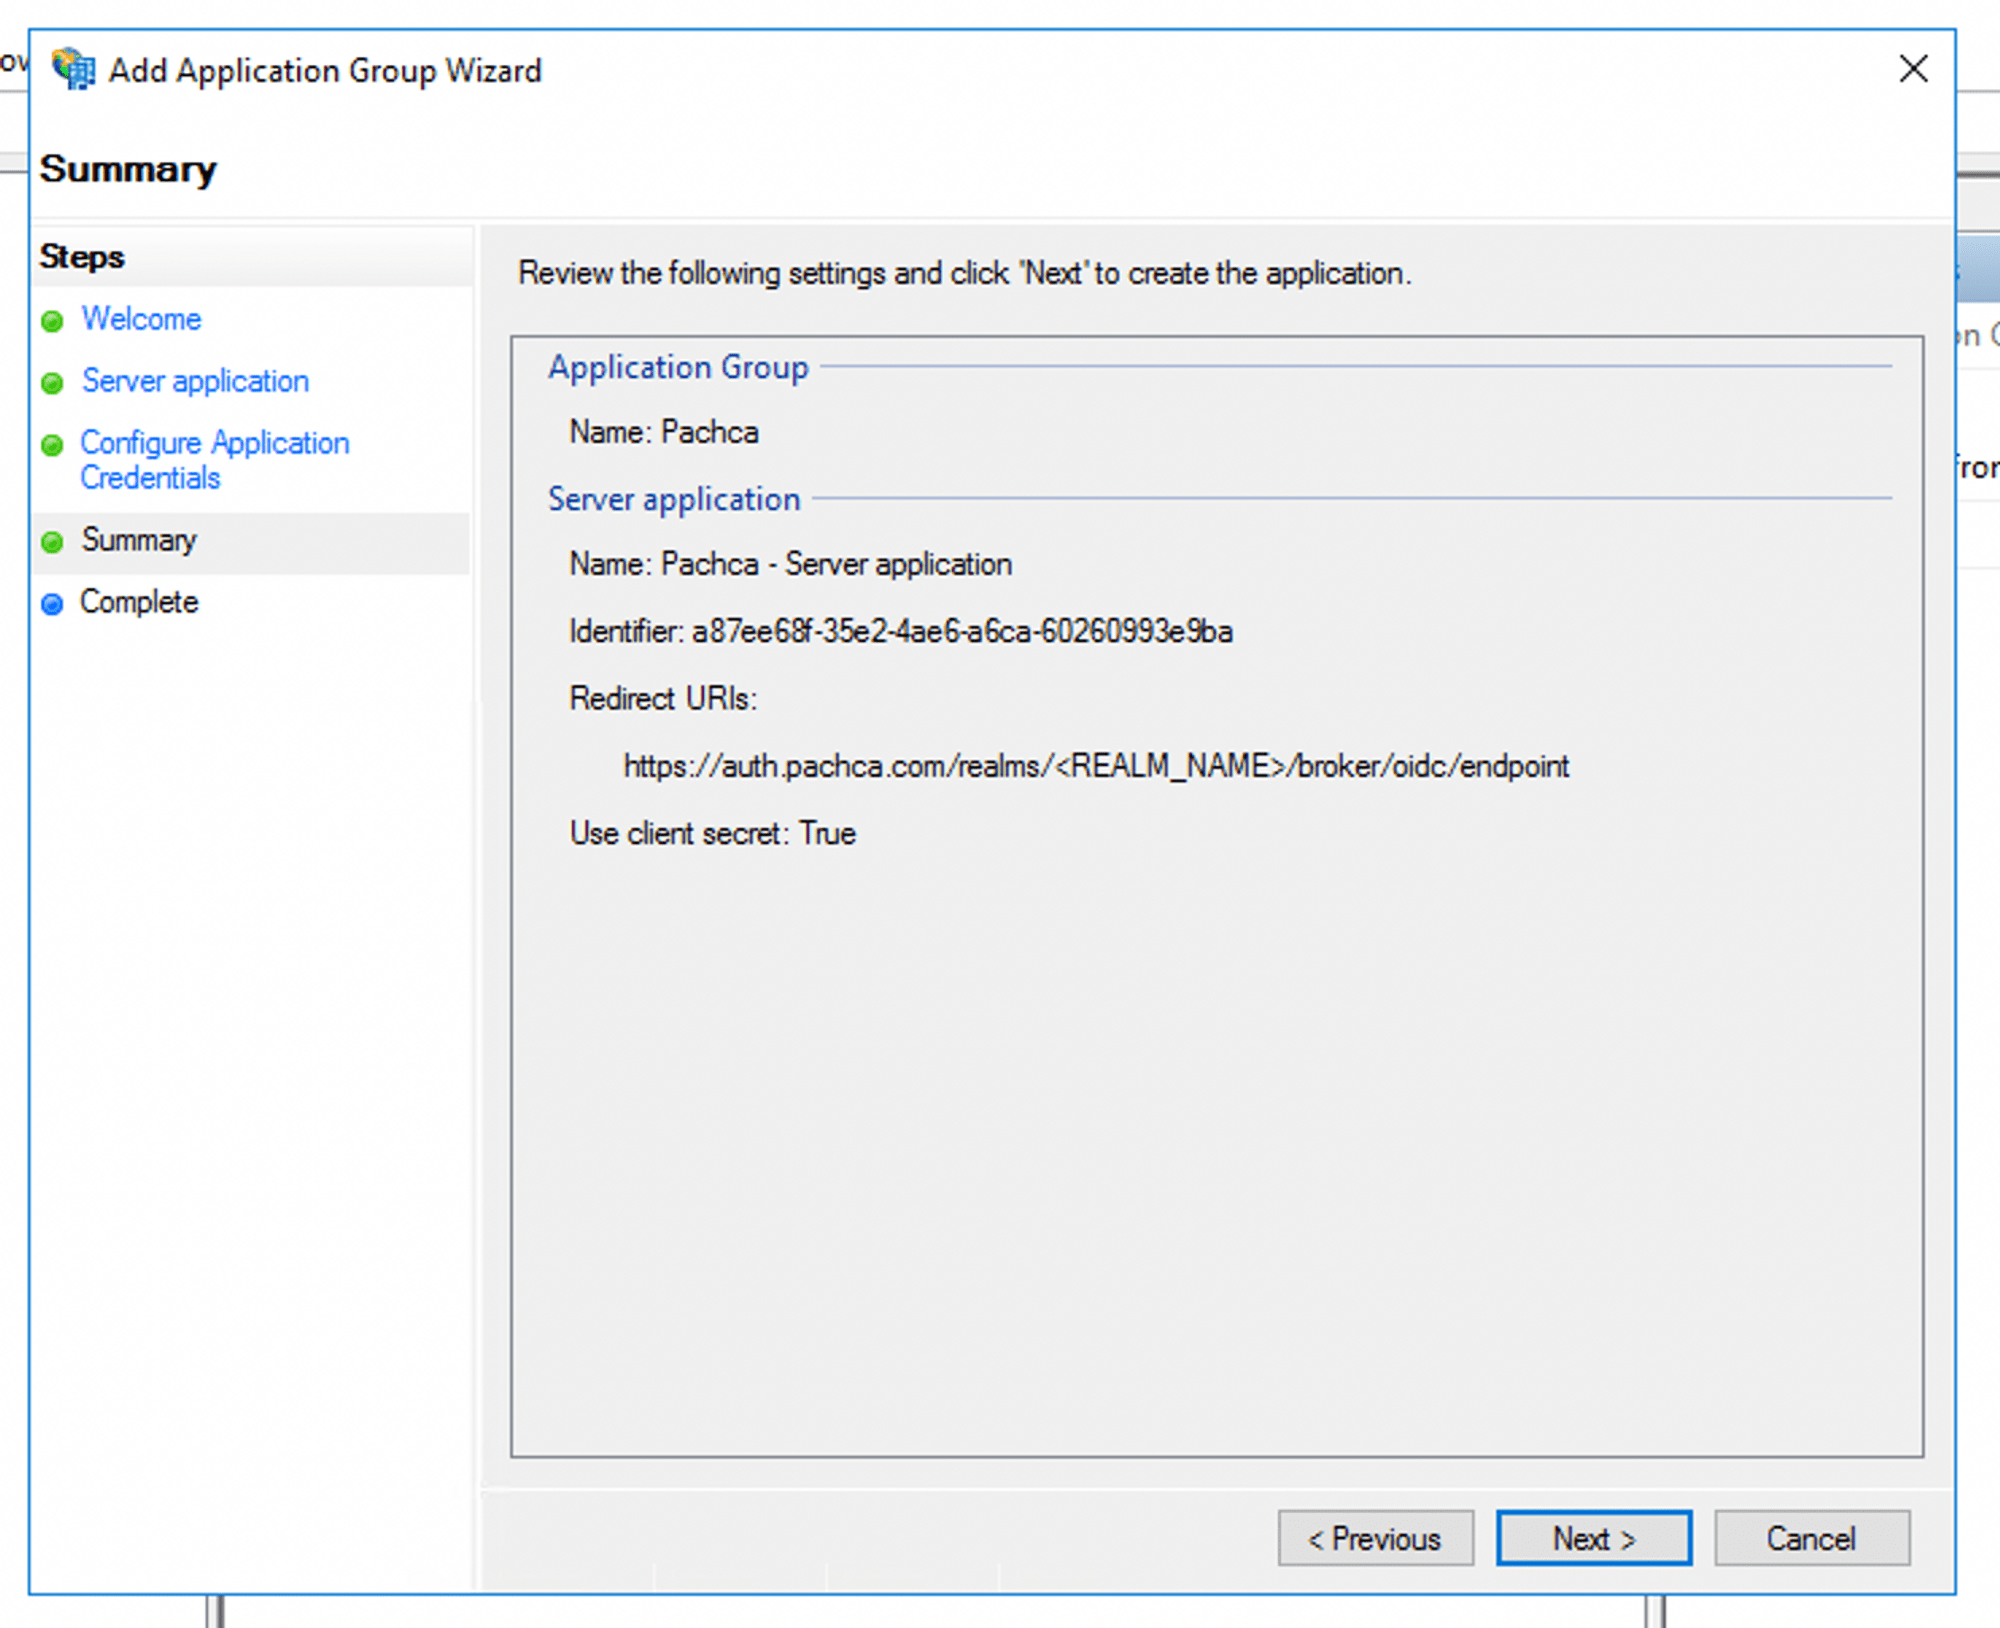
Review the configuration and click Next to finish.
ADFS needs additional configuration to work with OpenID. It's described in https://learn.microsoft.com/en-us/windows-server/identity/ad-fs/development/custom-id-tokens-in-ad-fs
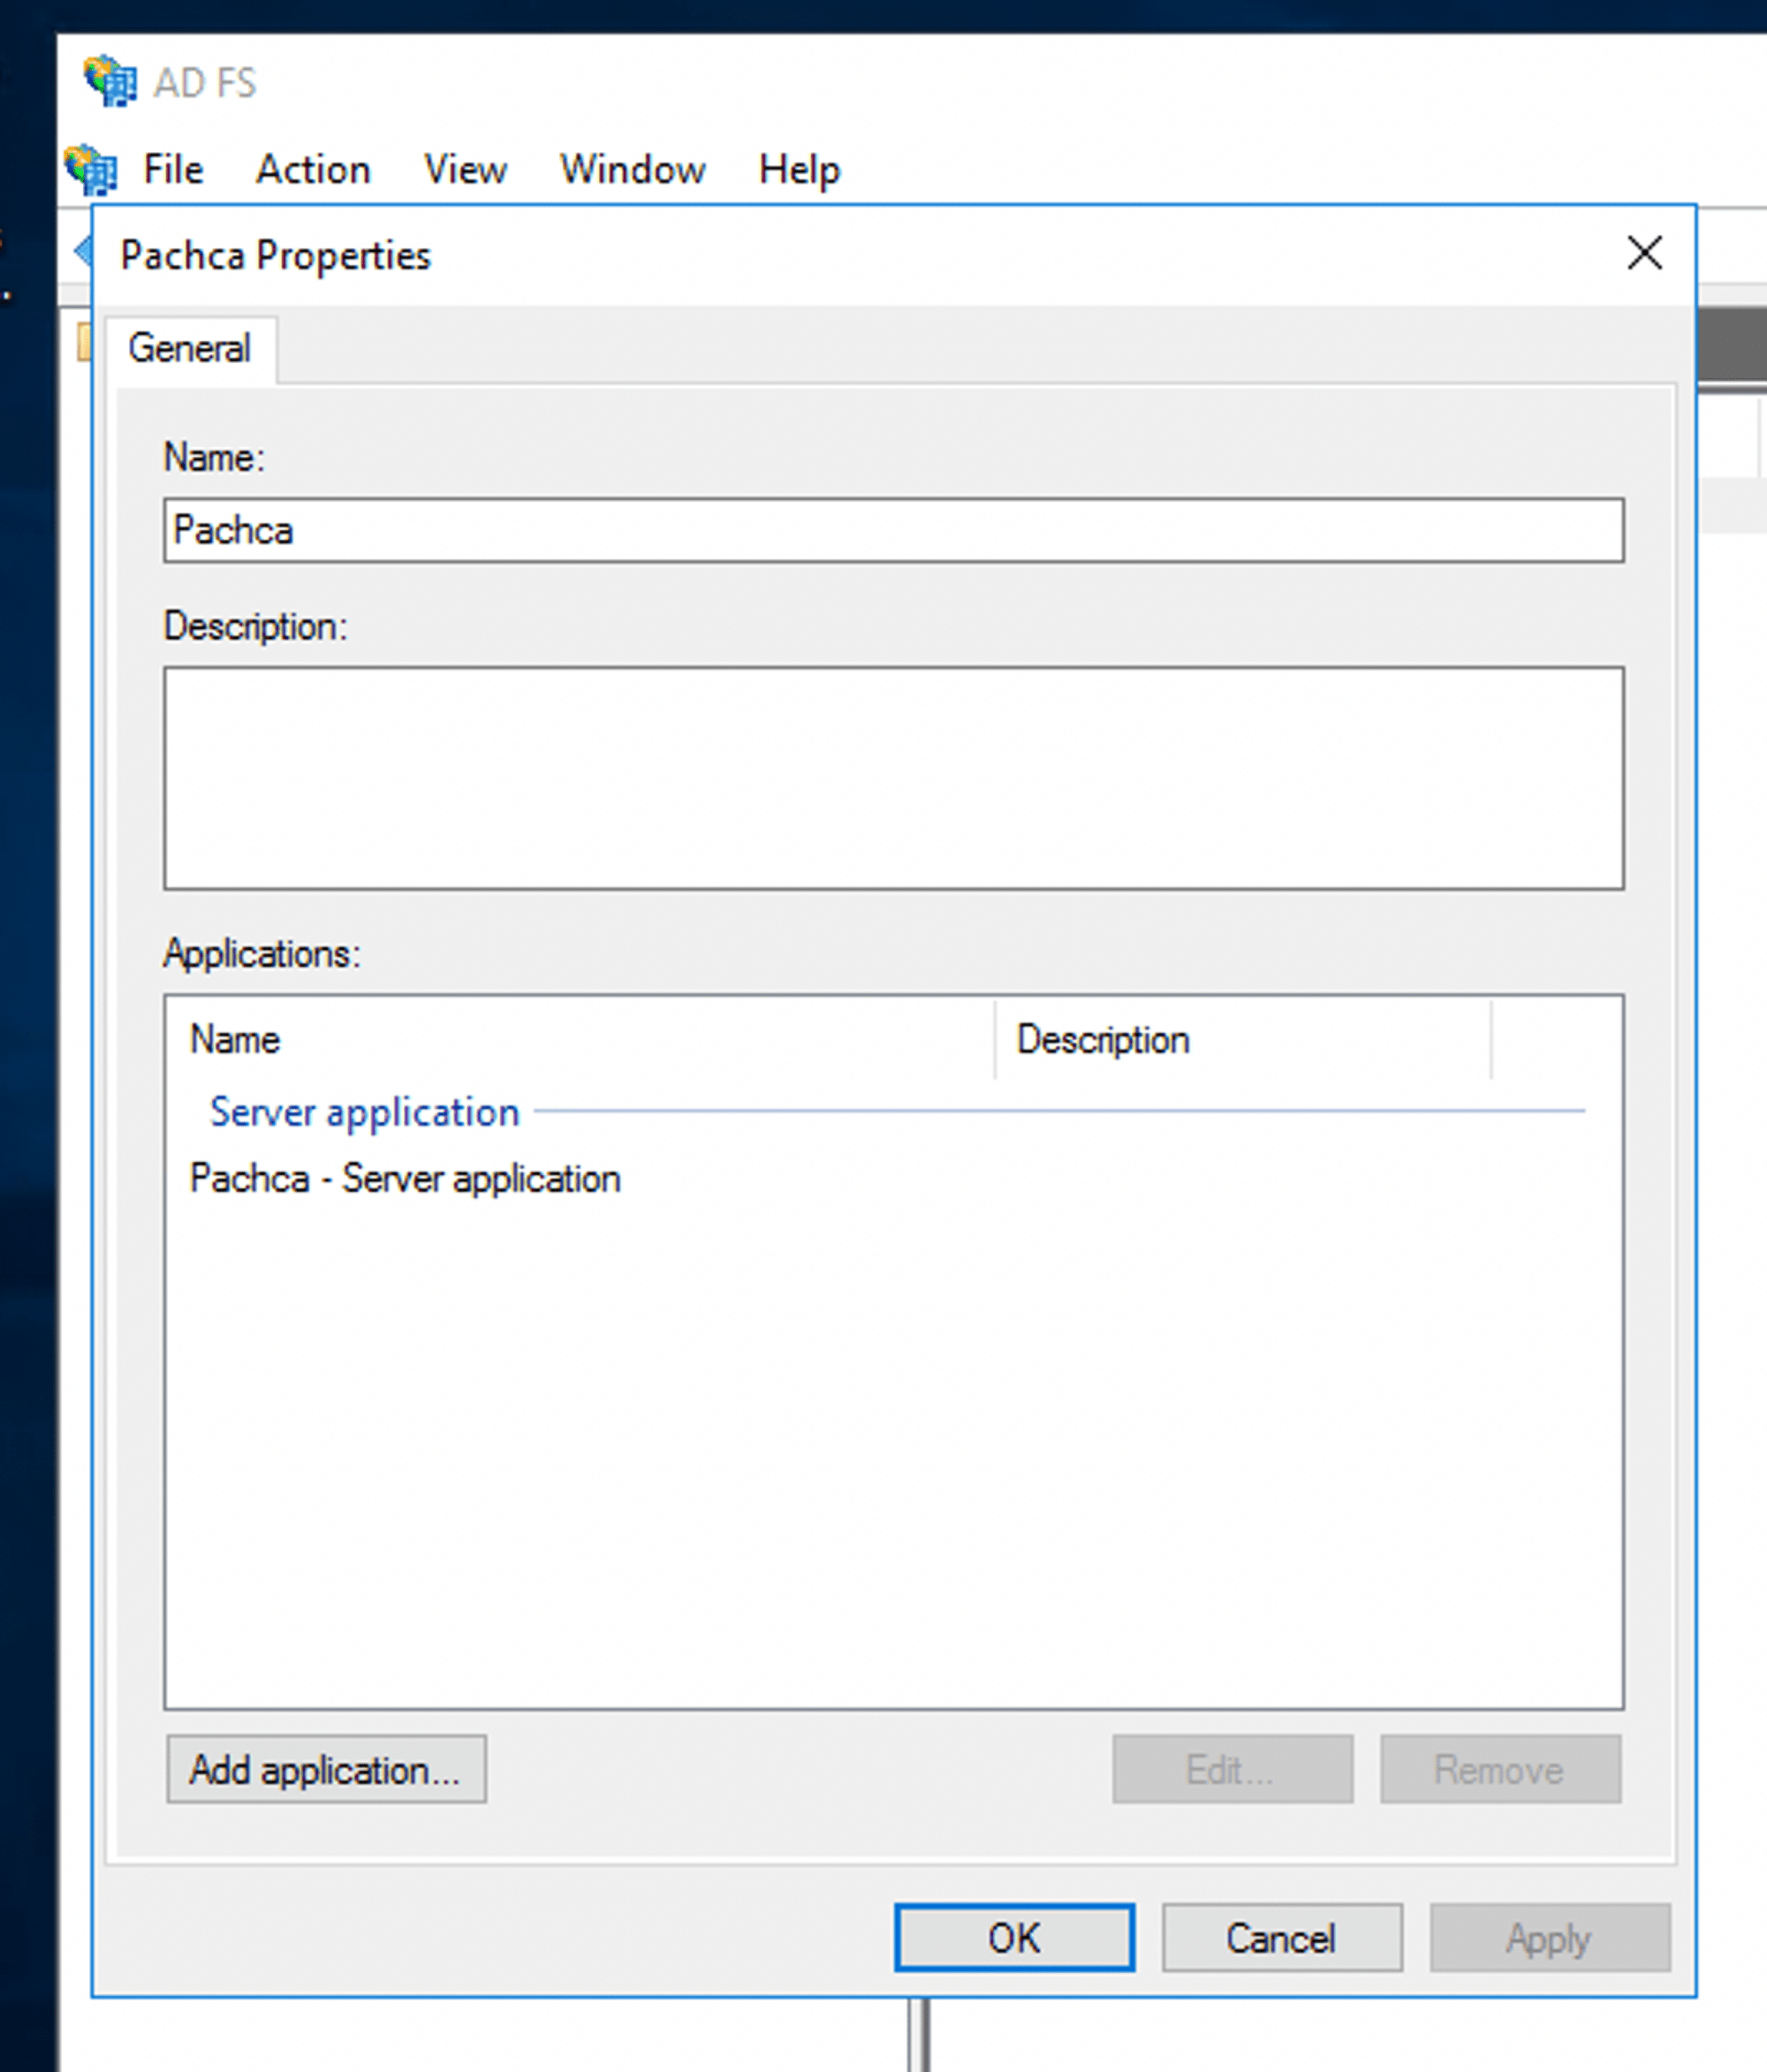
Select the object you created and click Properties.
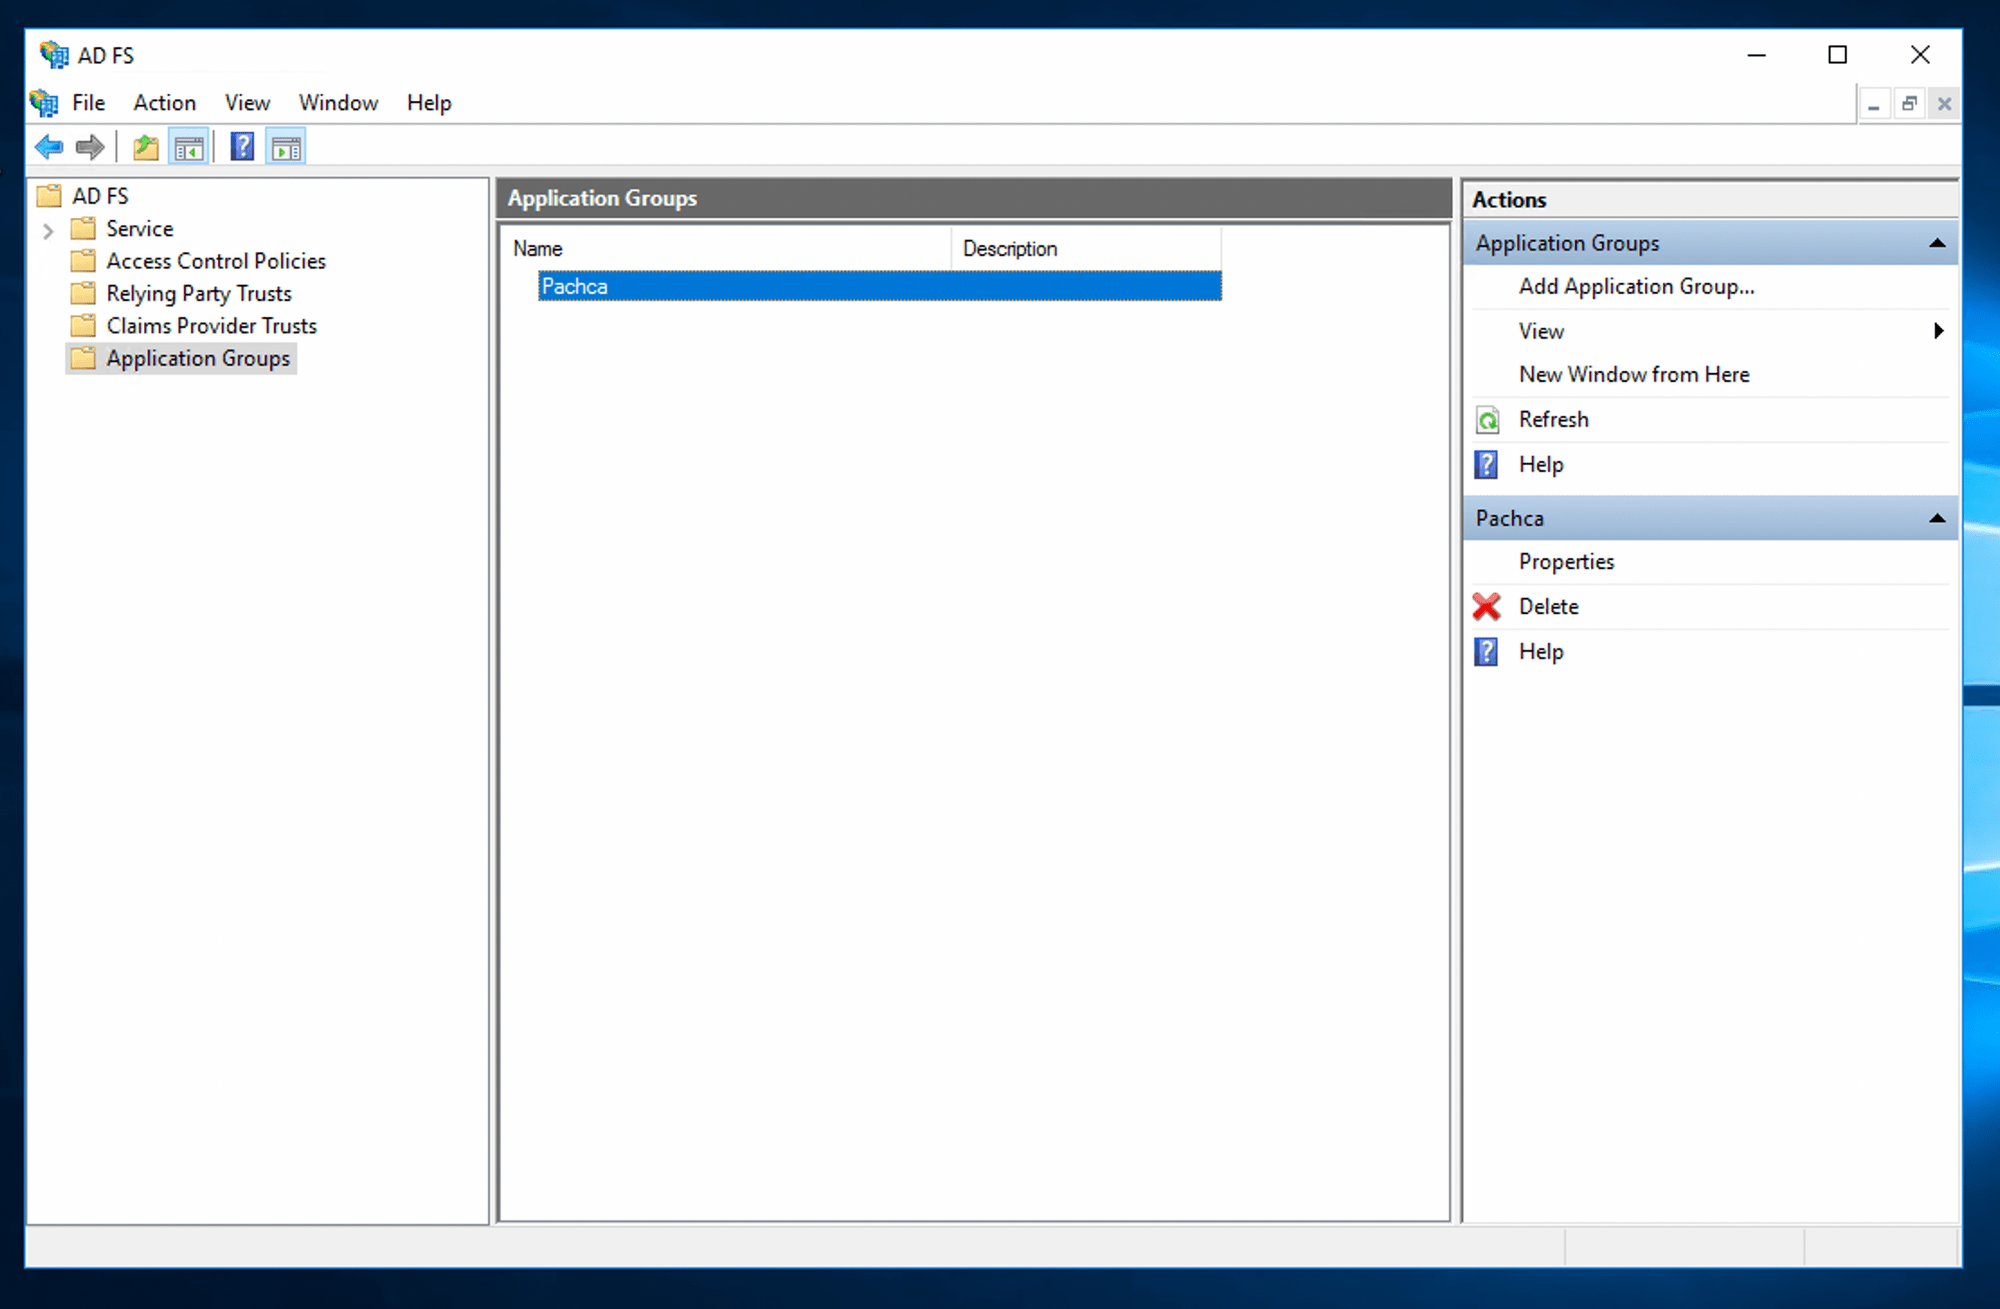
In the object settings, click Add application.
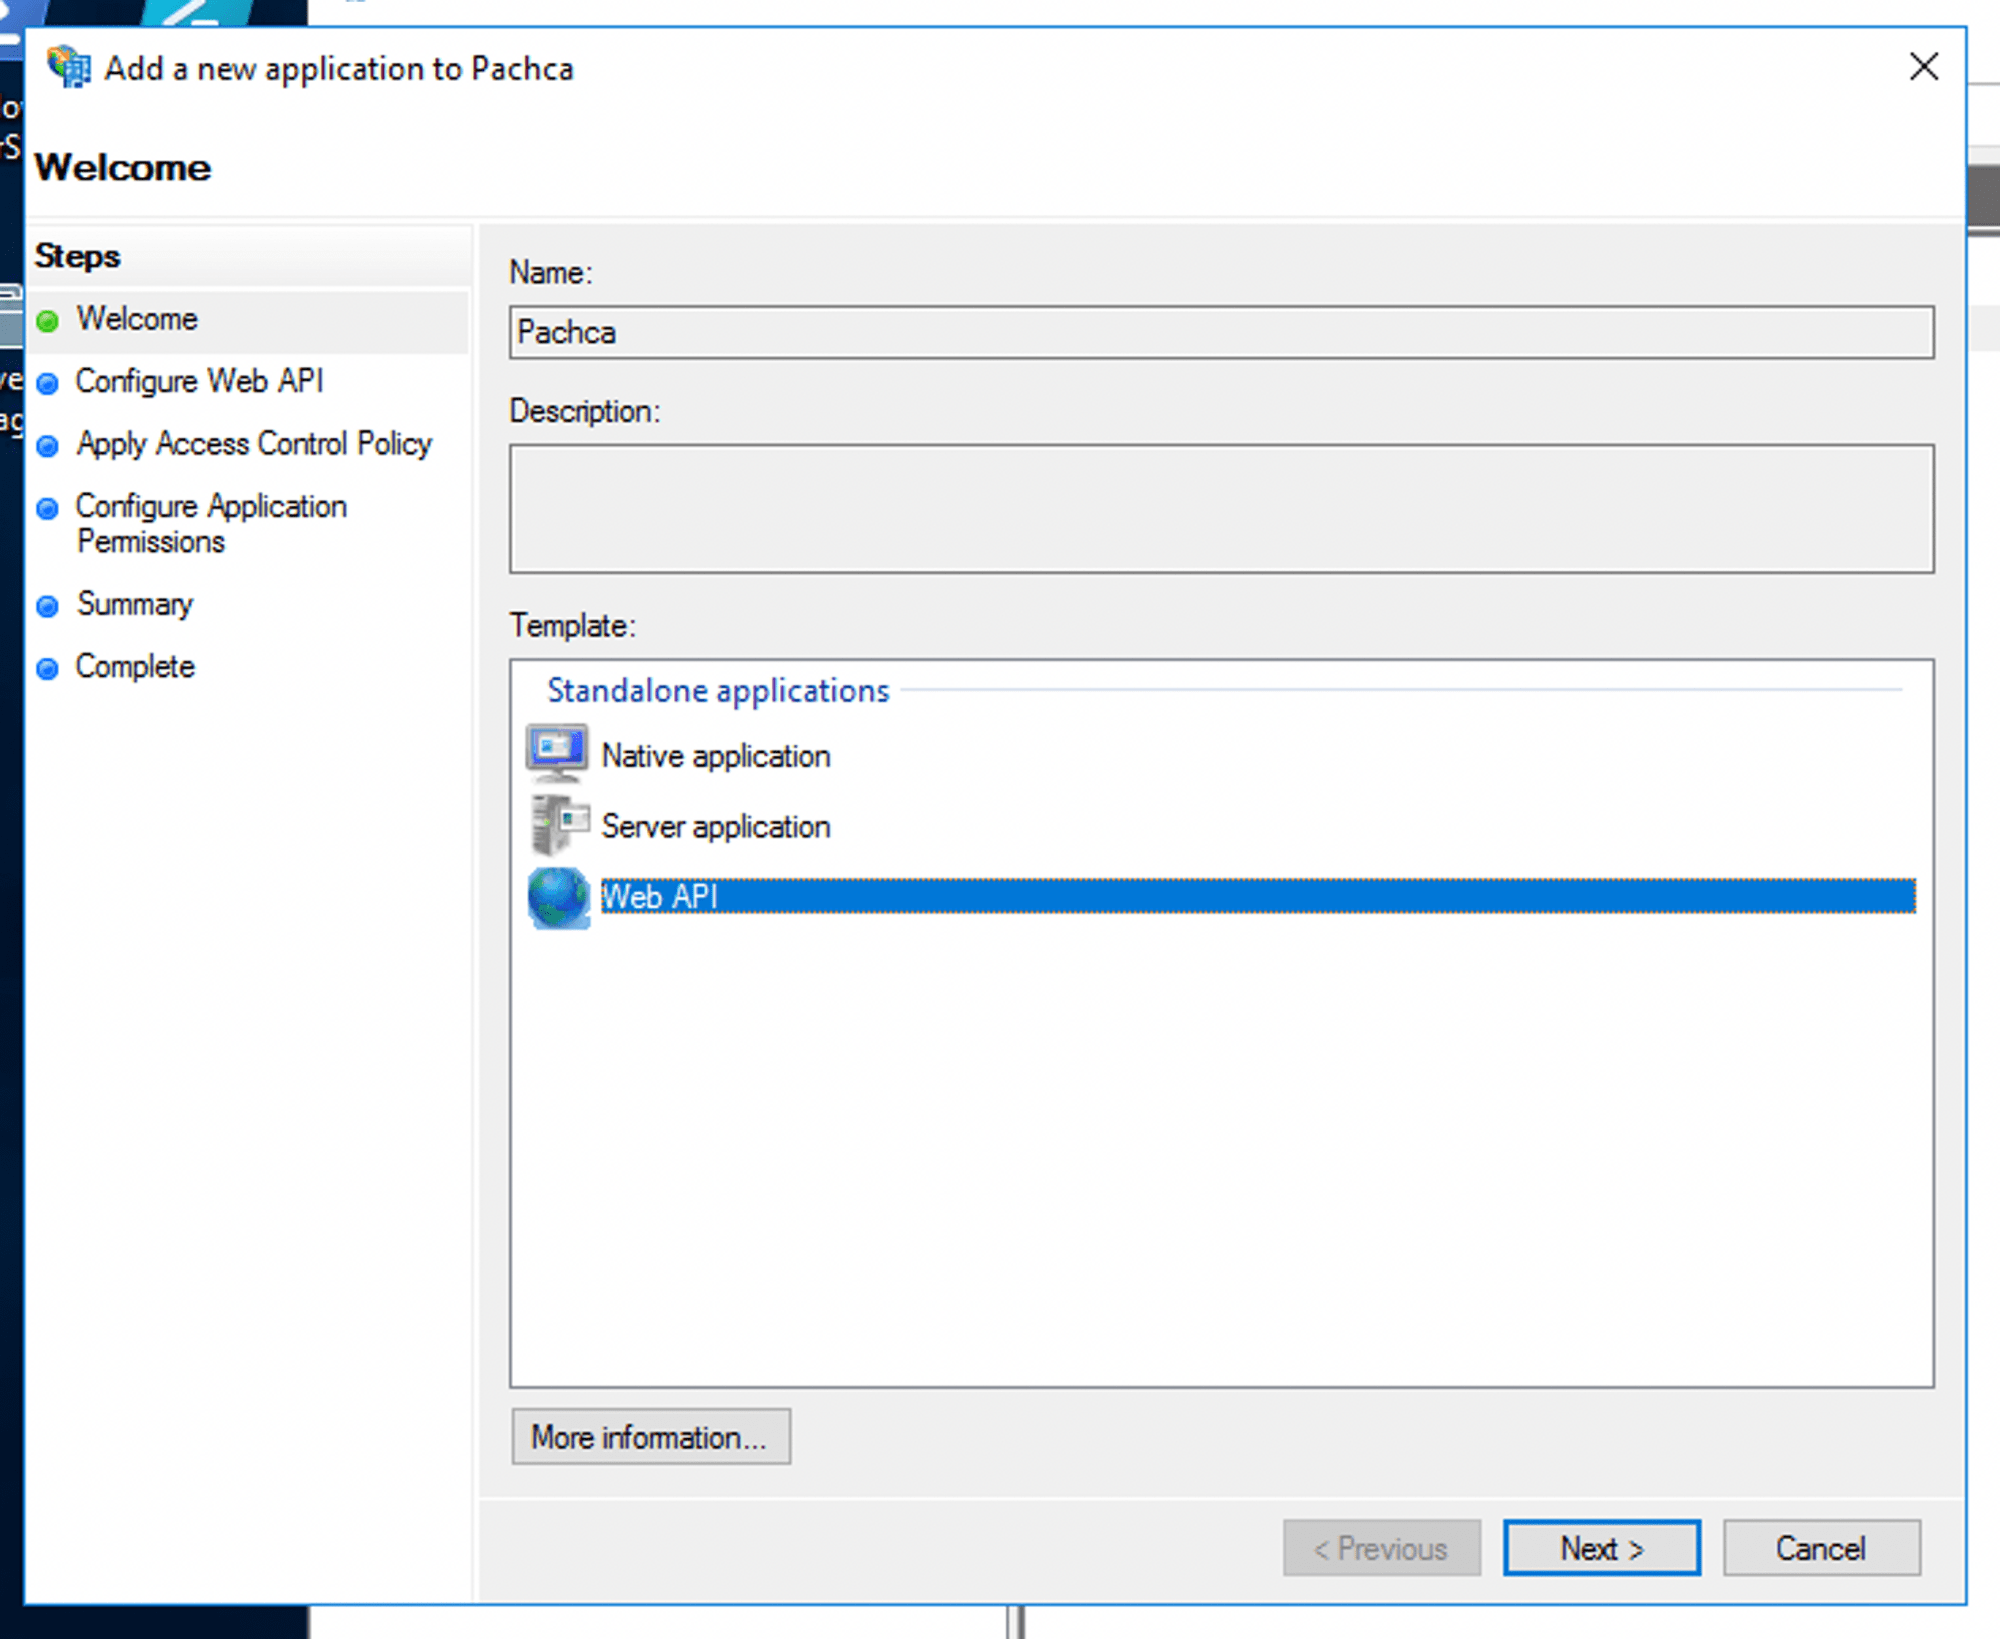
Select the Web API type.
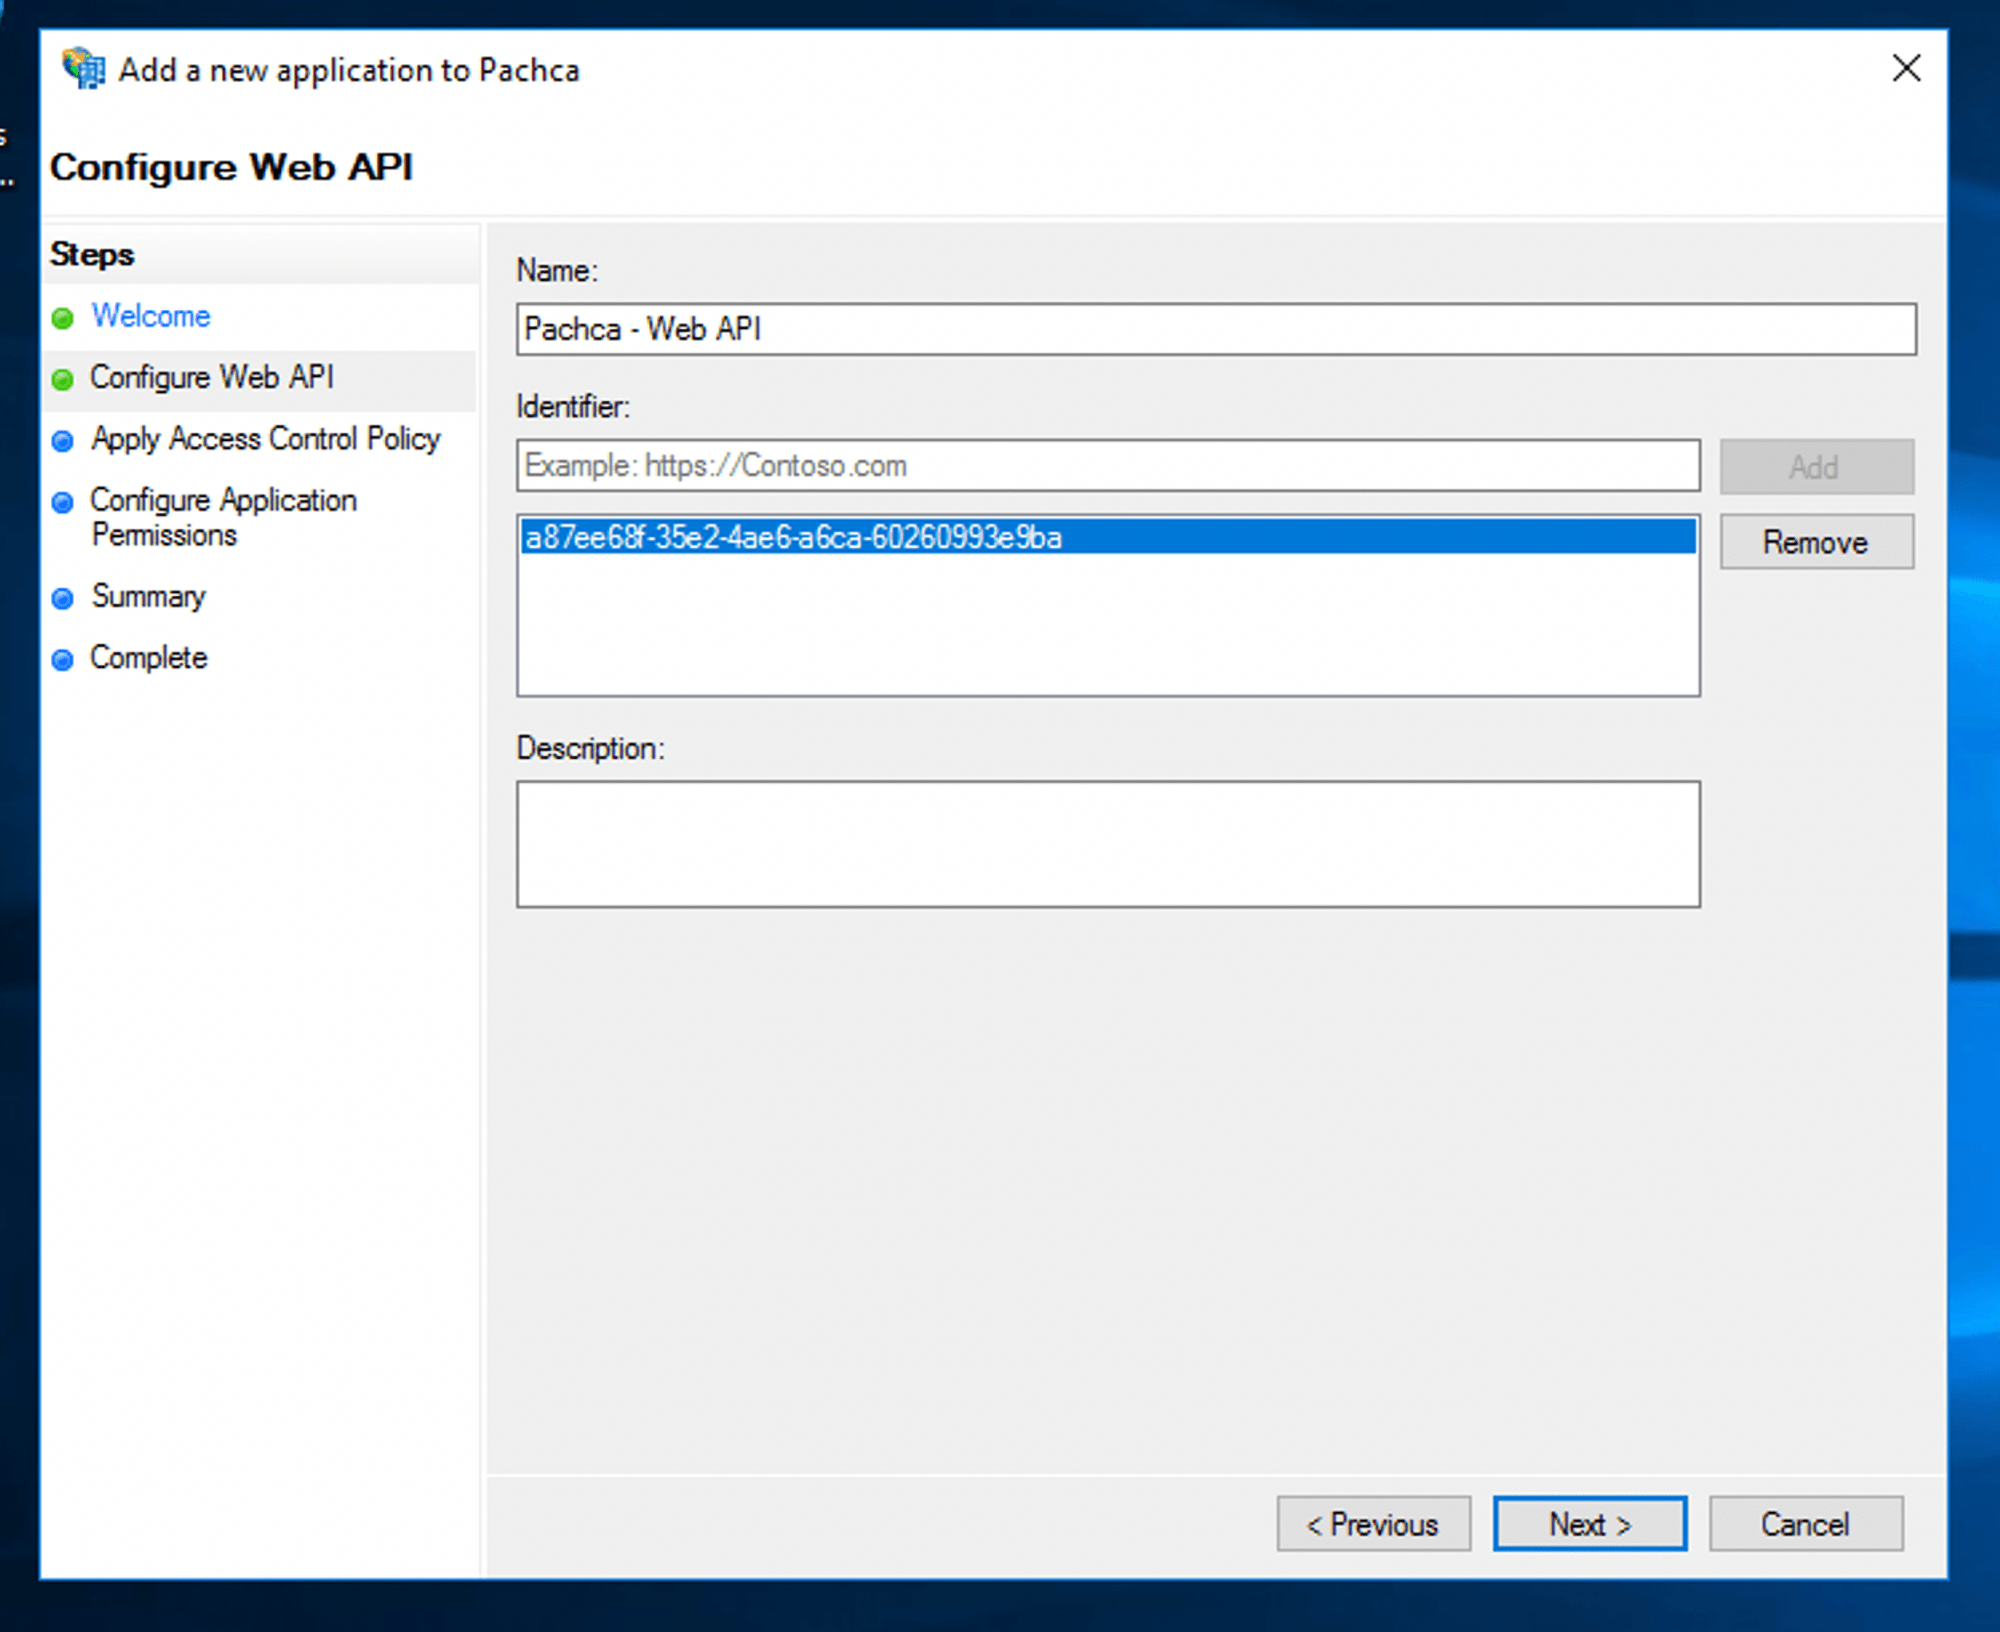
In the Identifier field, enter your Client Identifier.
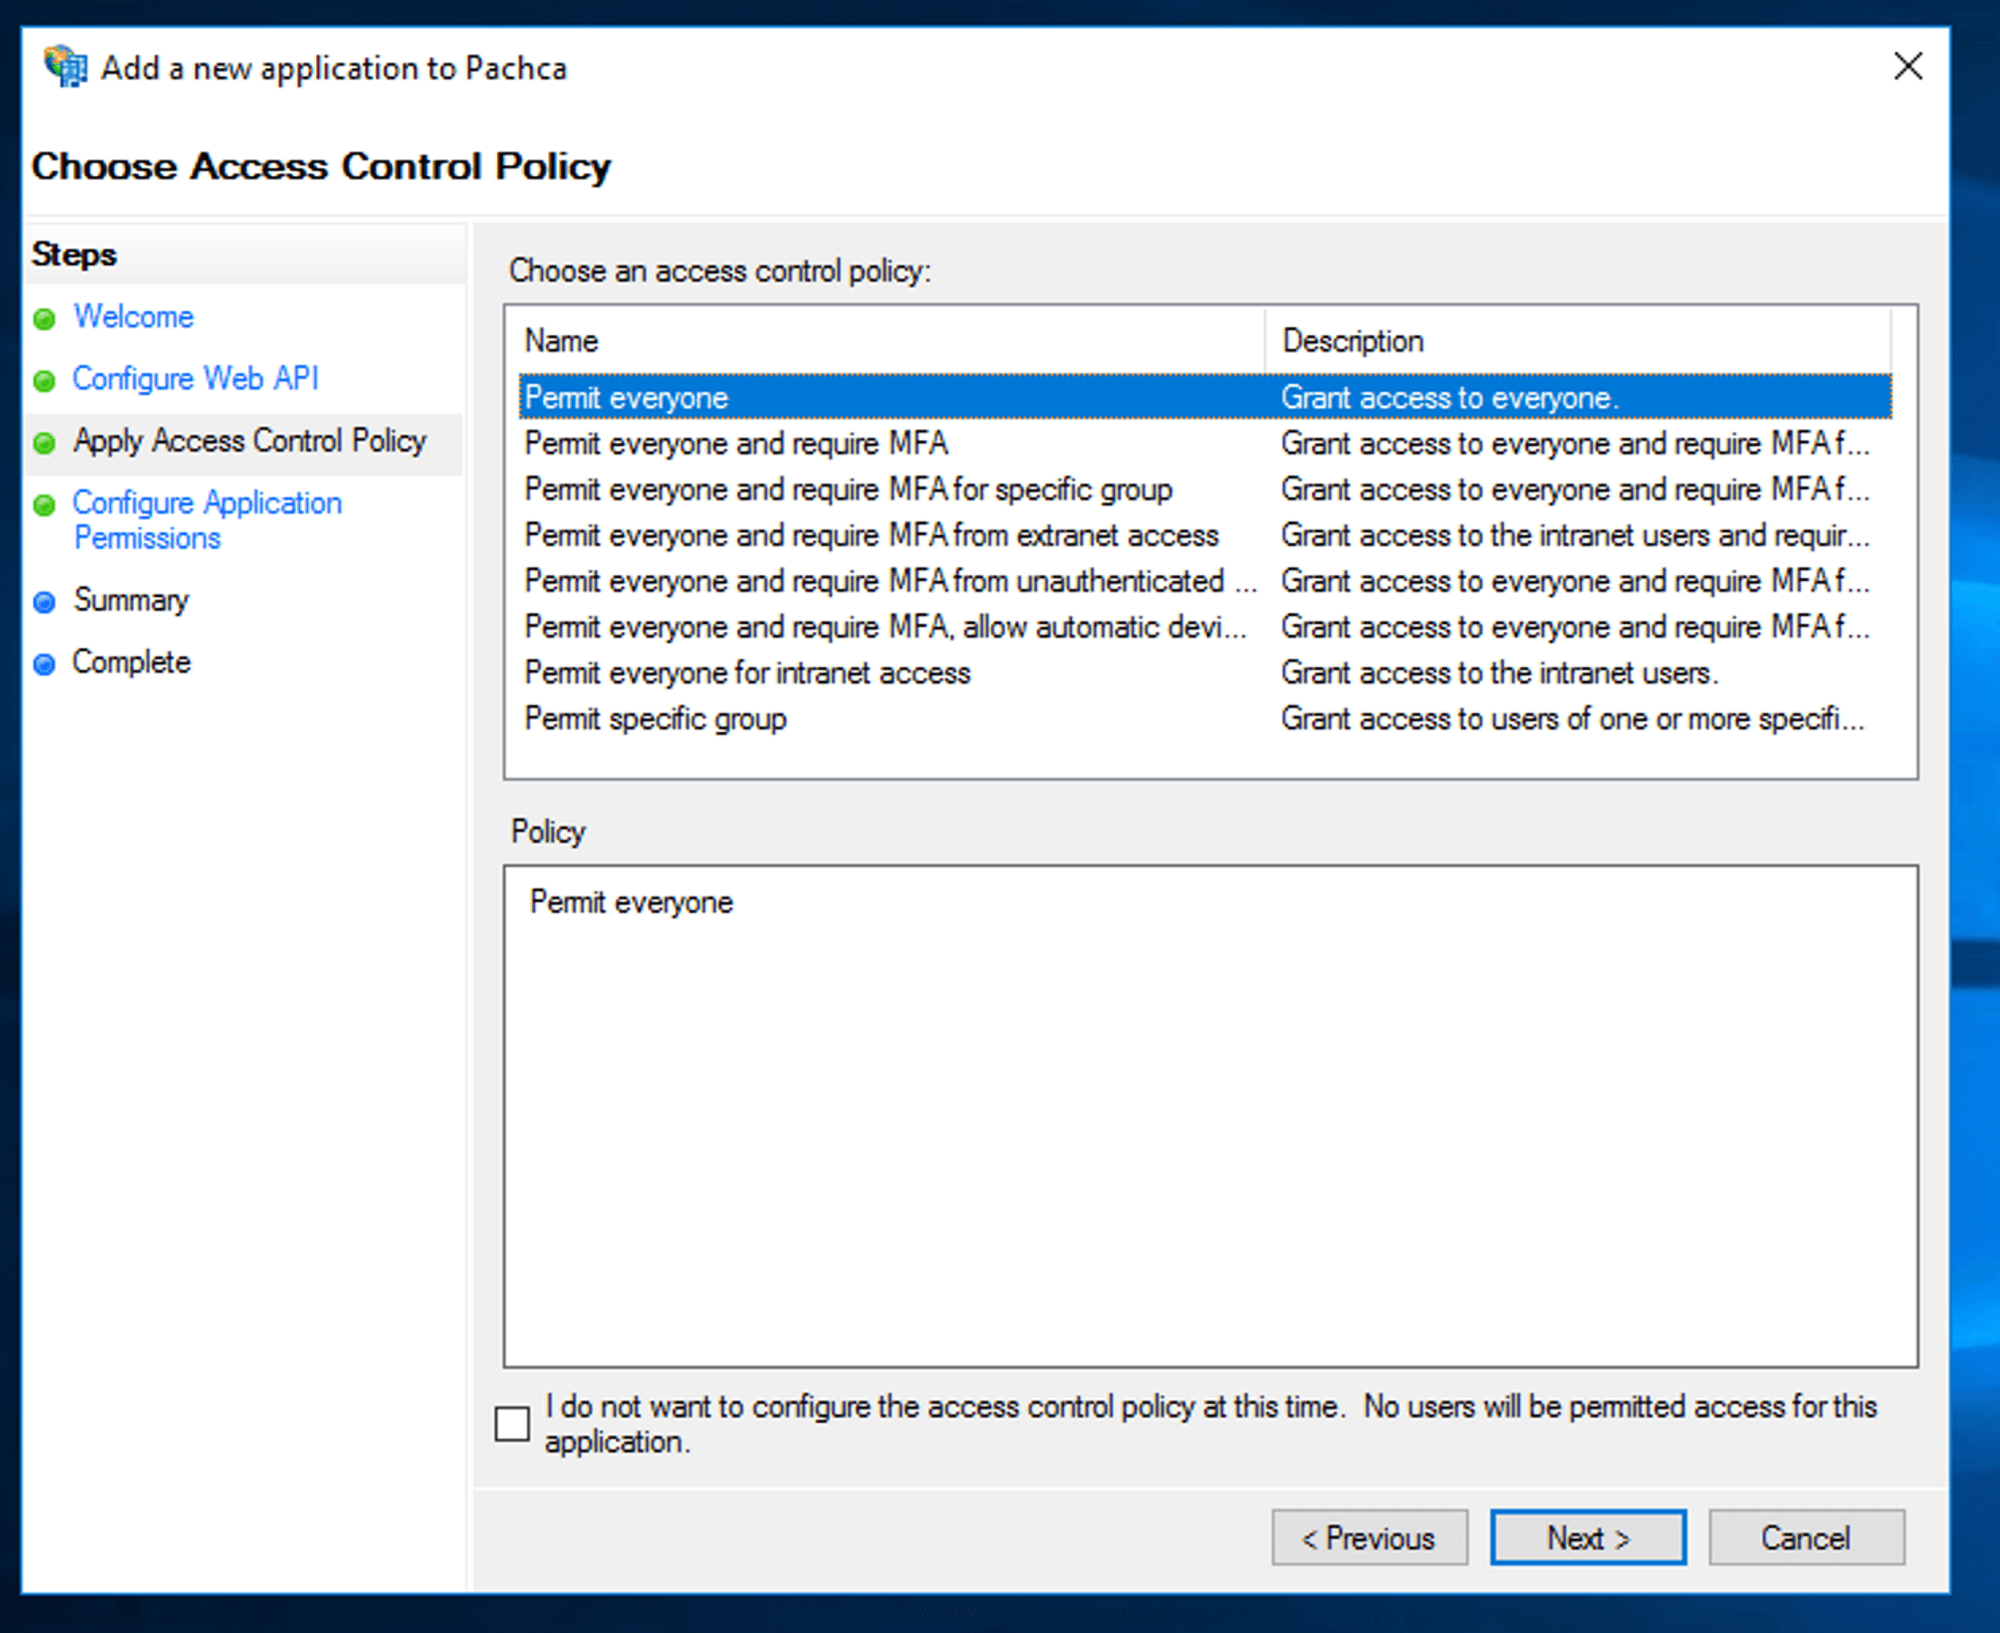
Leave Access Control Policy set to Permit everyone, unless you need finer control over how your users work with the authentication app.
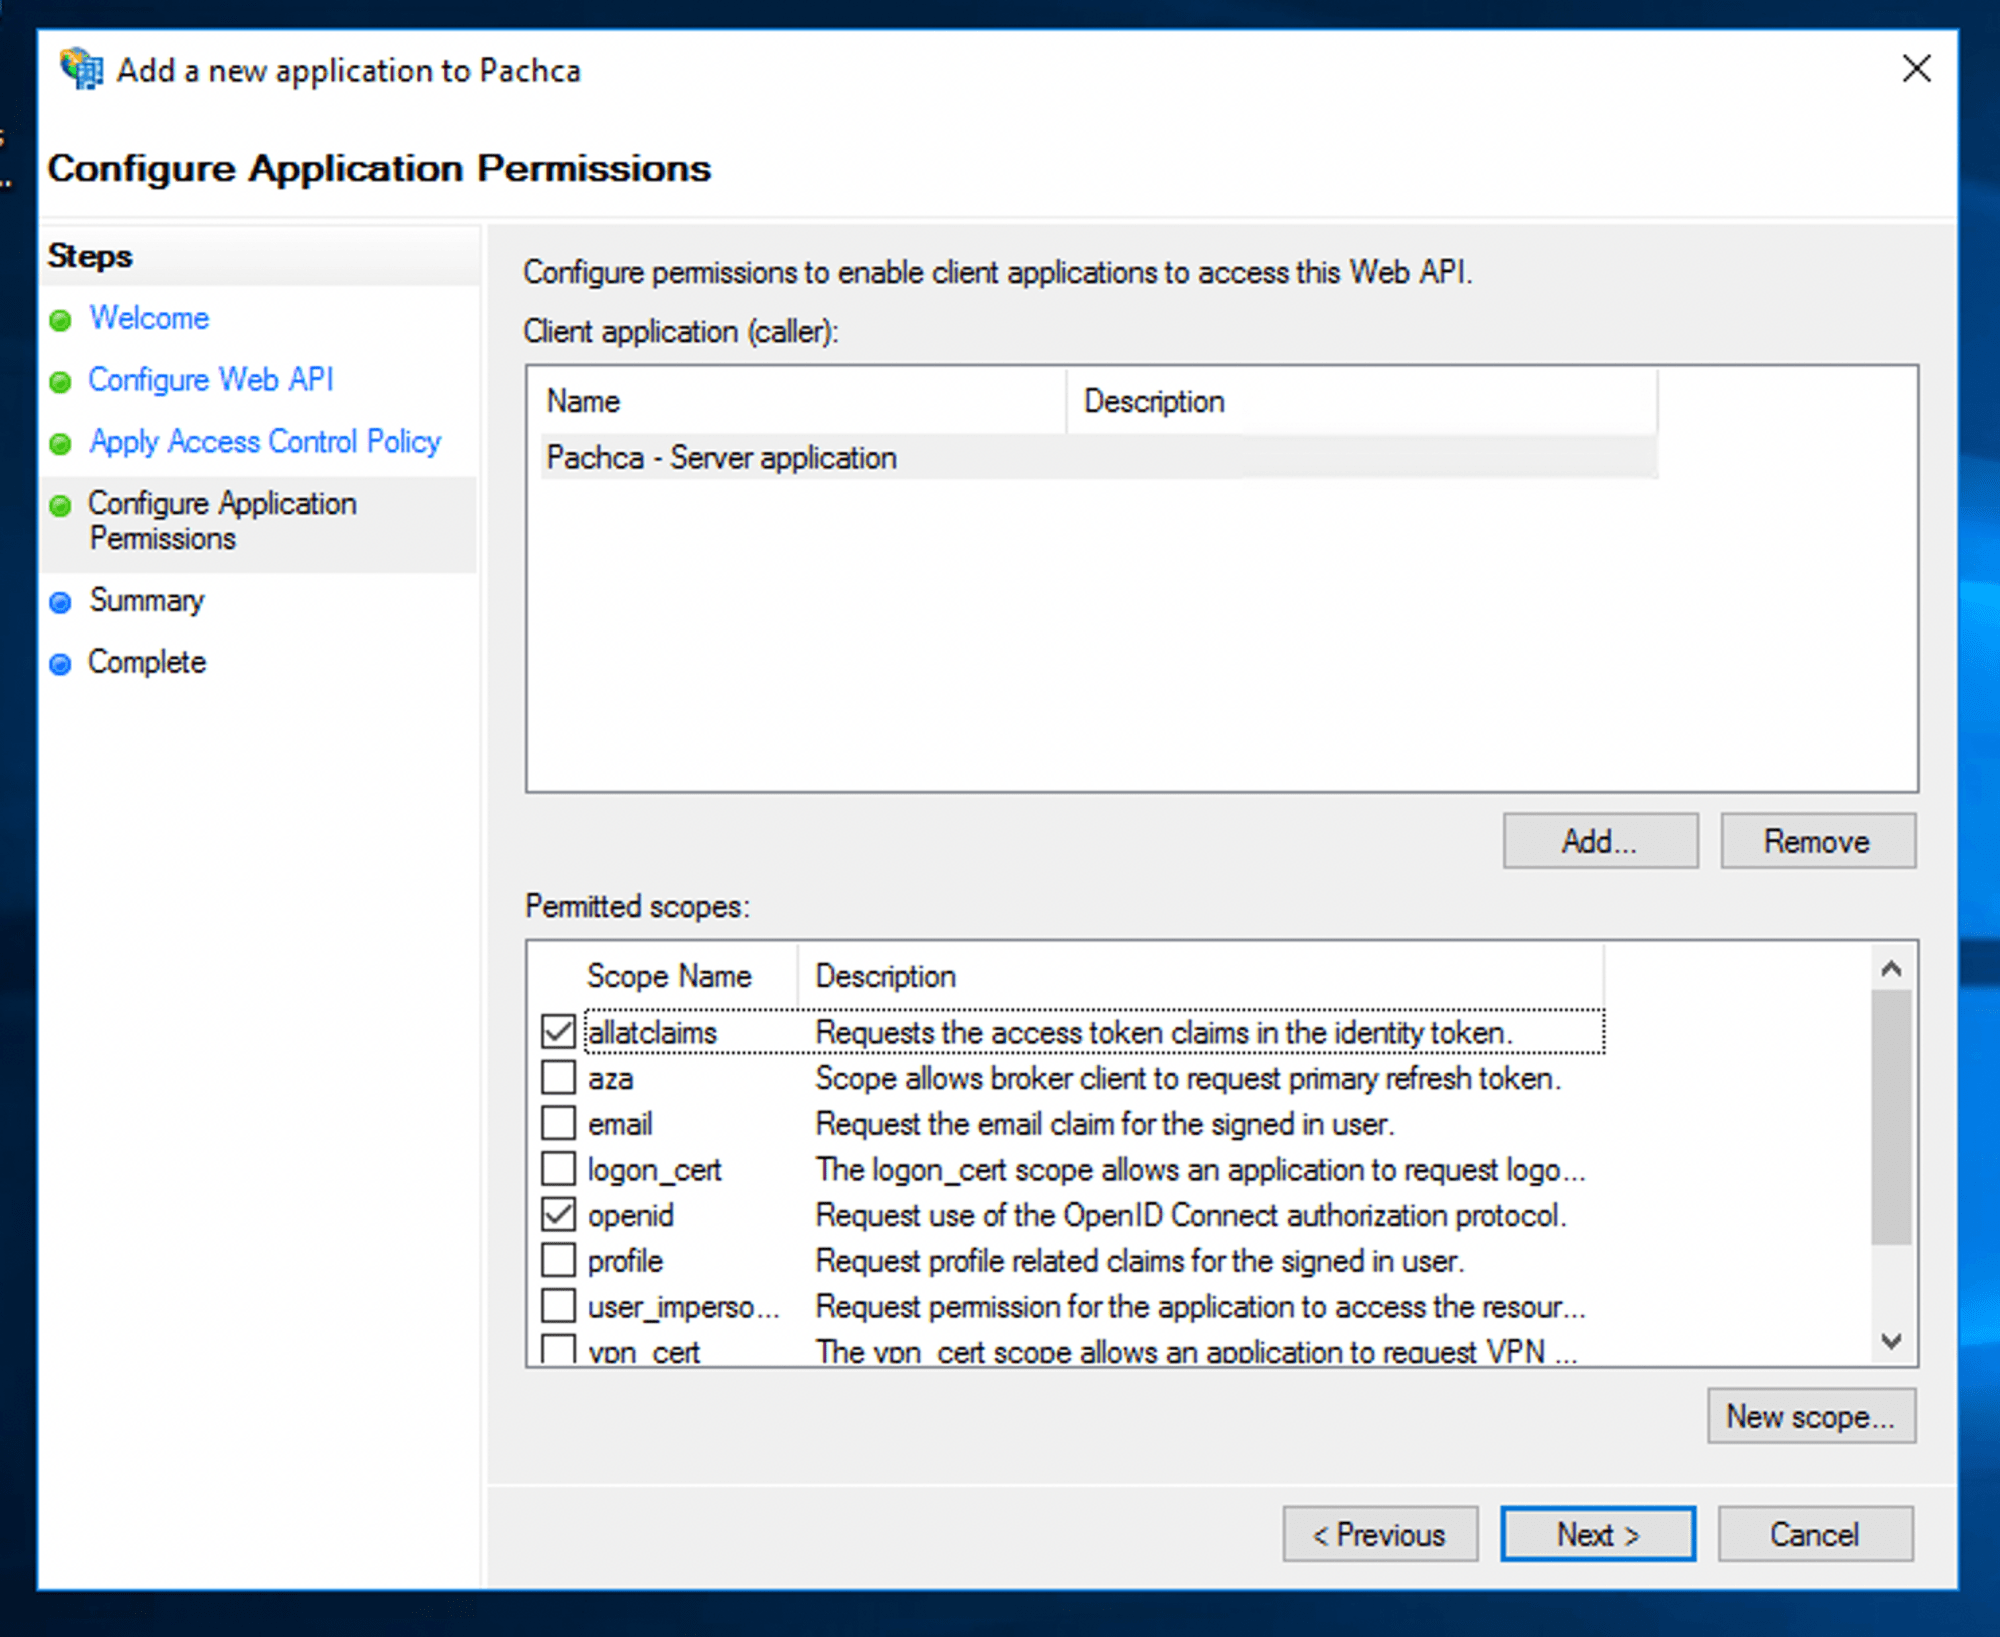
Under Permitted scopes, select allatclaims and openid.
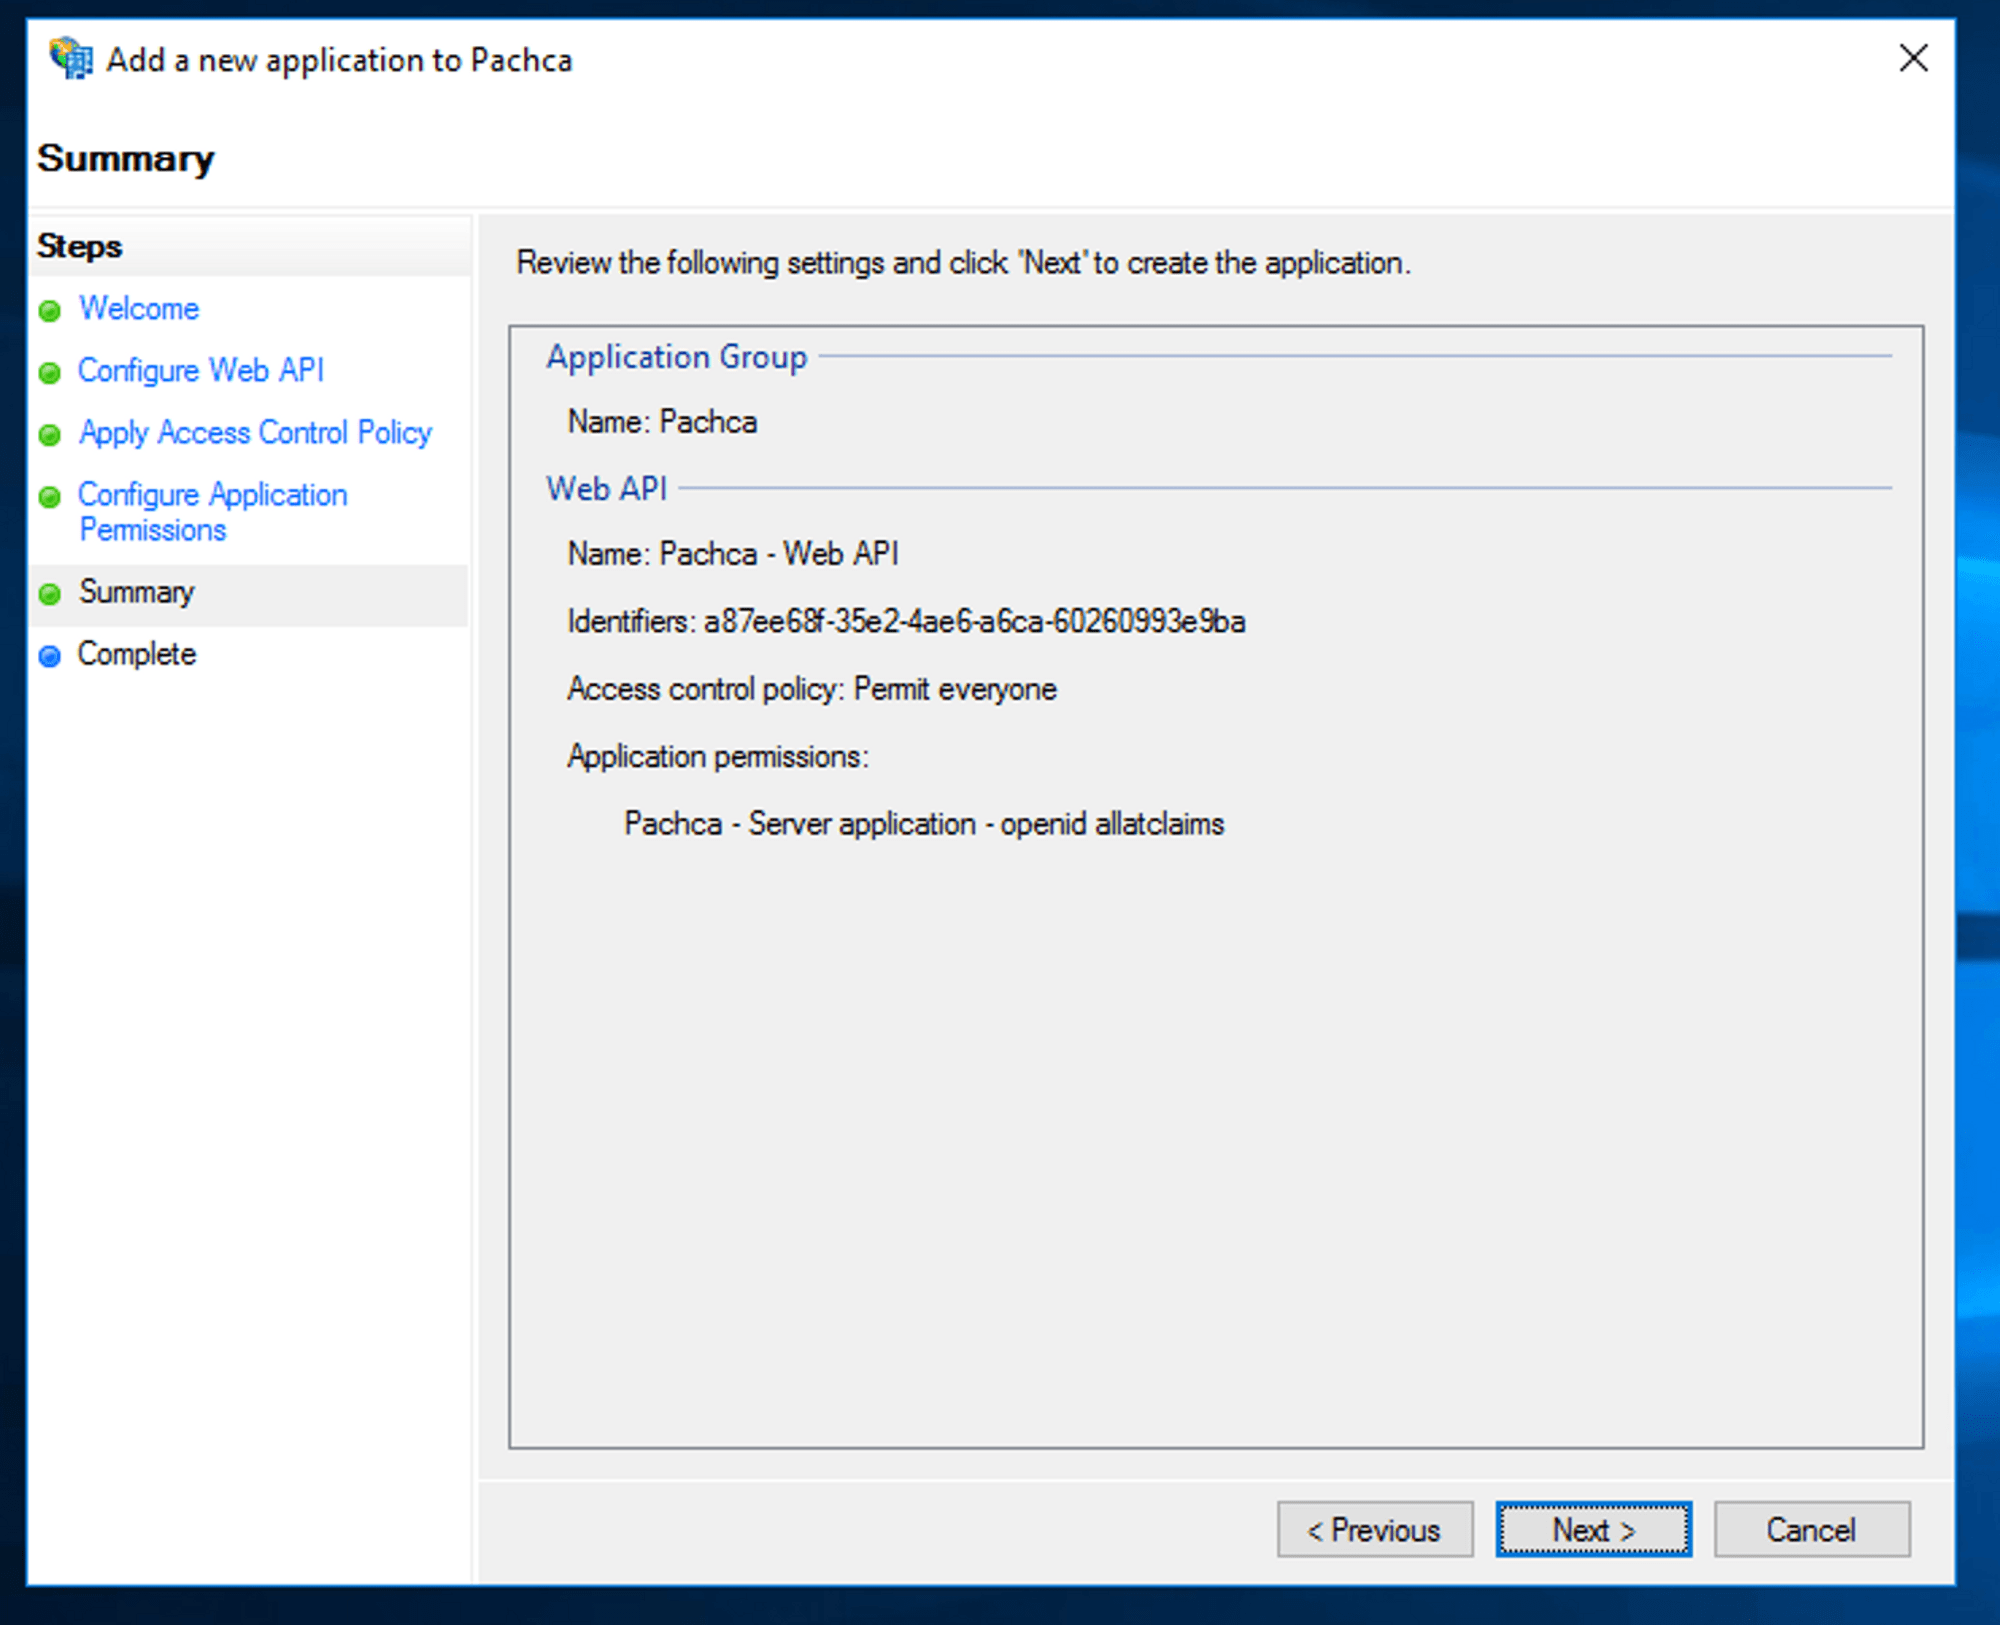
Review the settings and finish the configuration.
Pass employee attributes to Pachca
Pachca needs user data to work, so you need to set up passing it in the OpenID token.
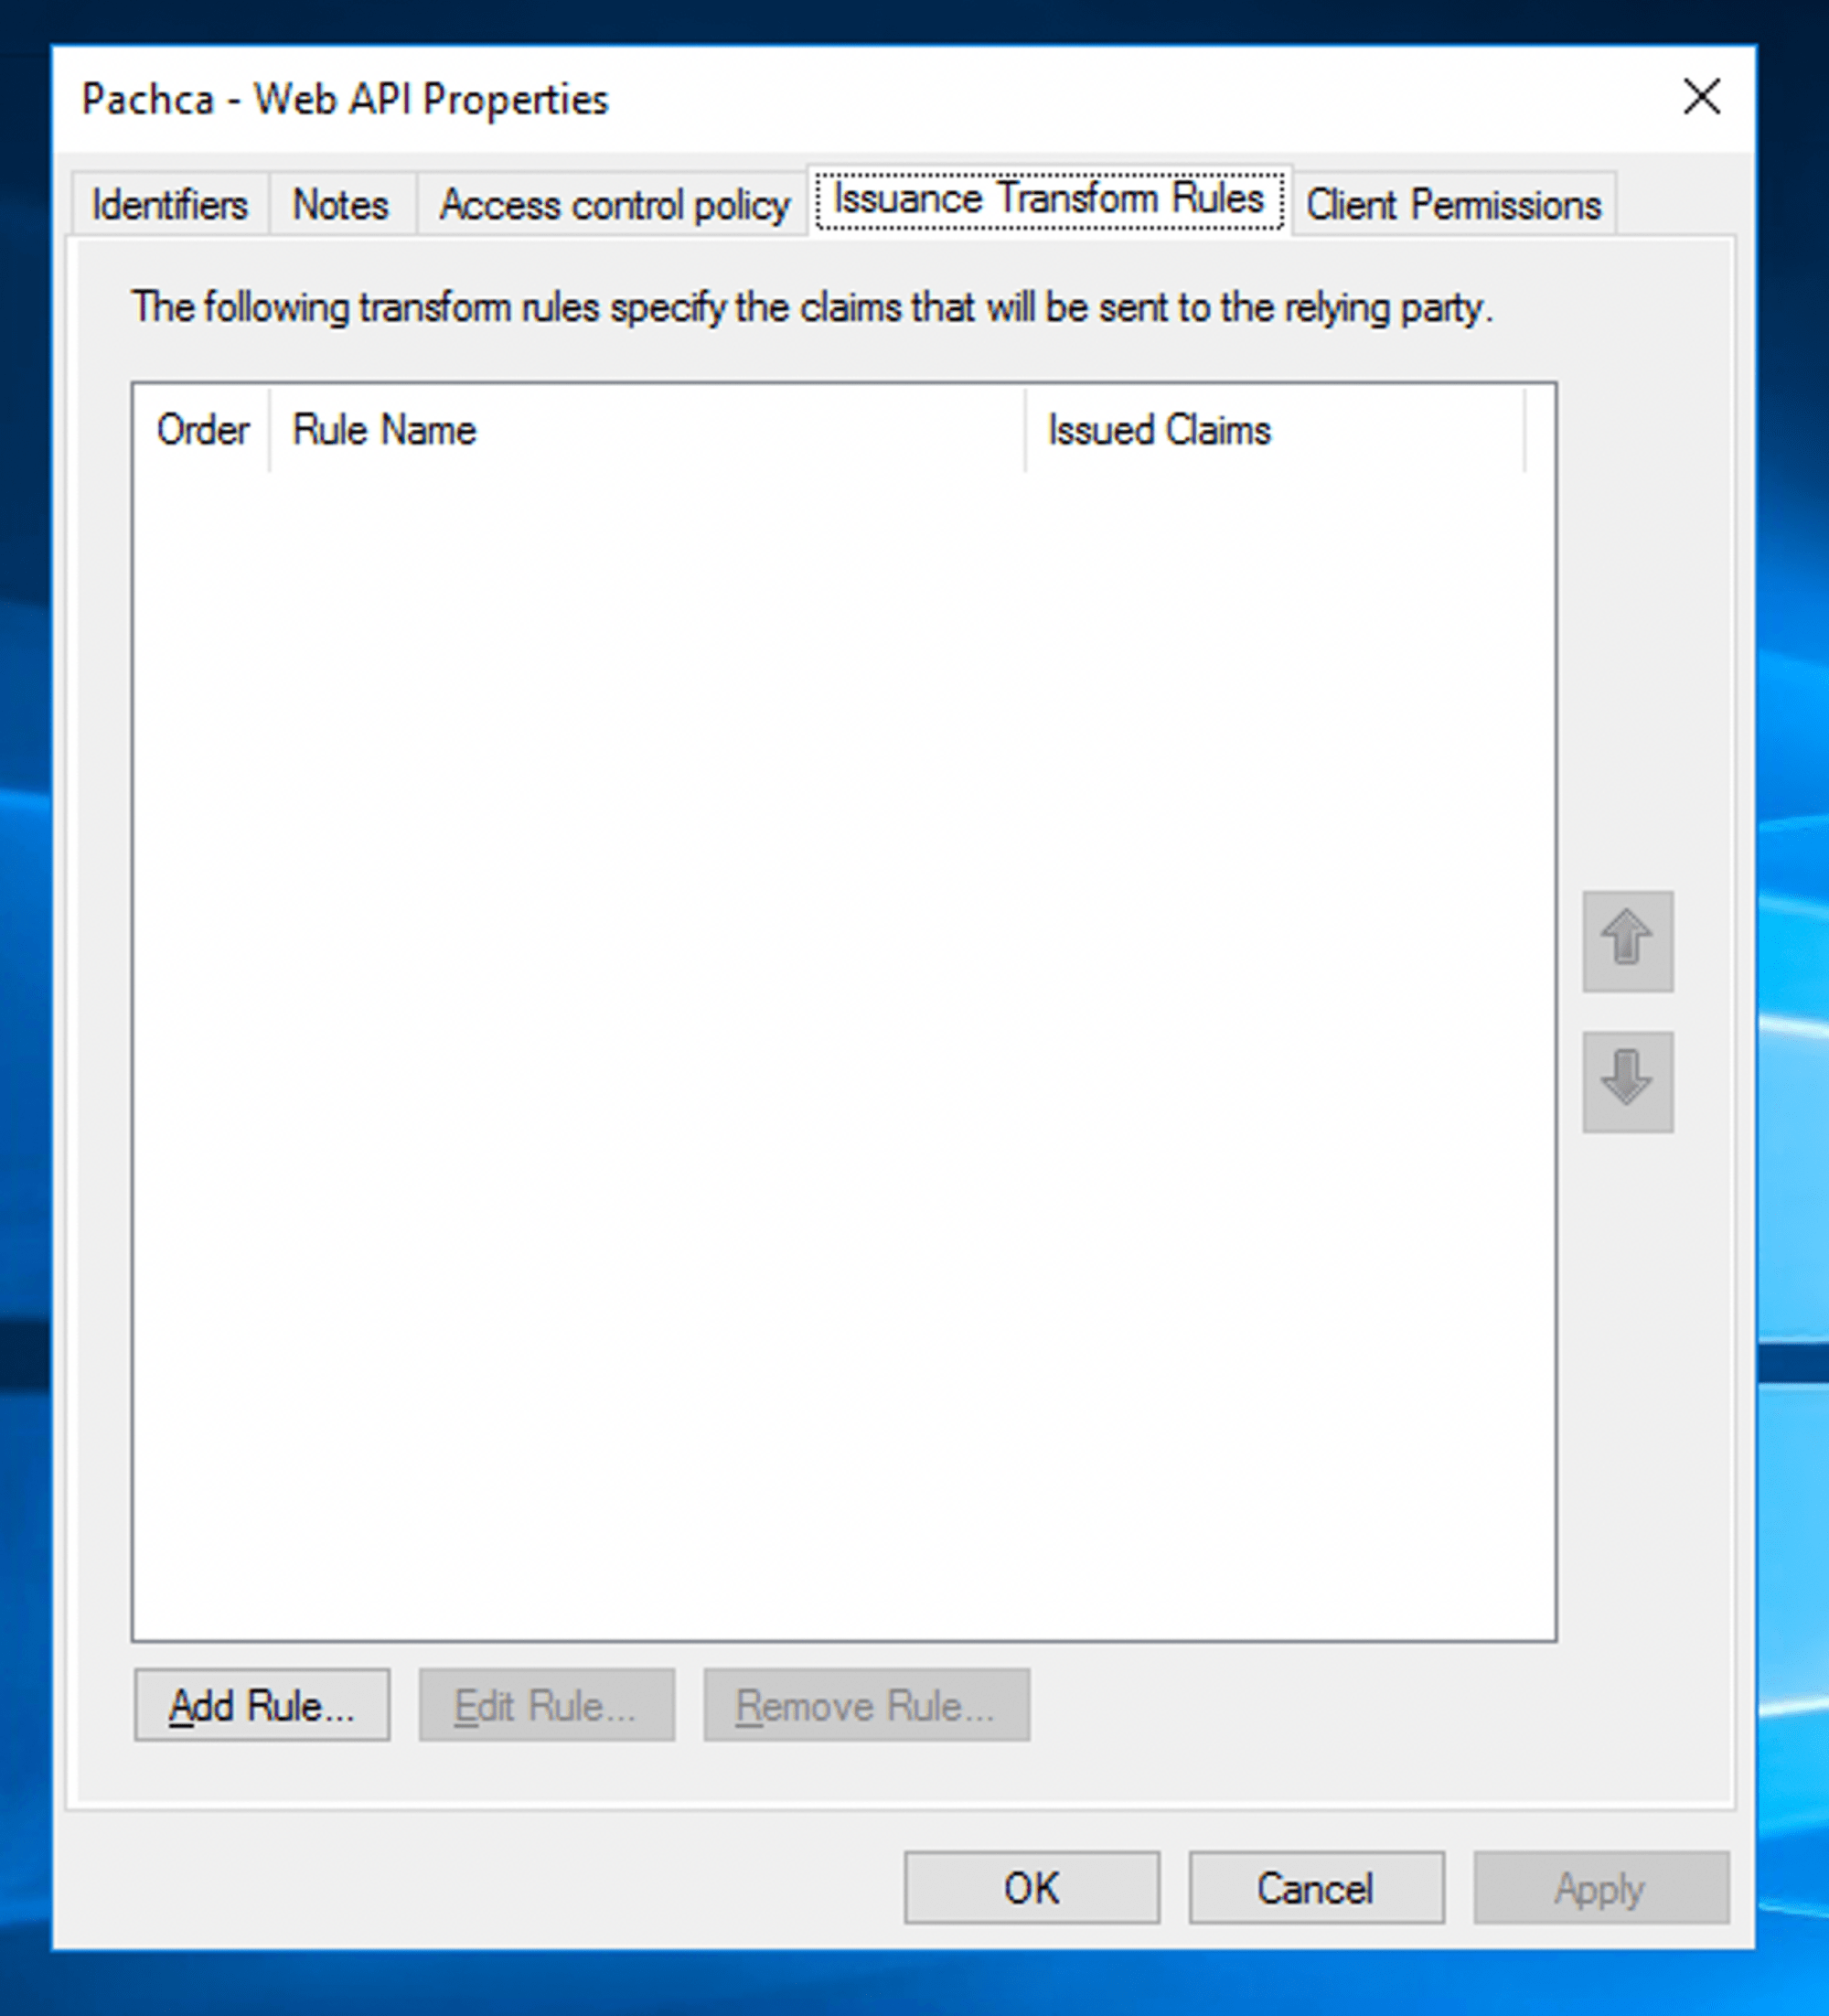
Select the Web API you created and click Edit.
Go to the Issuance Transform Rules tab and click Add Rule….
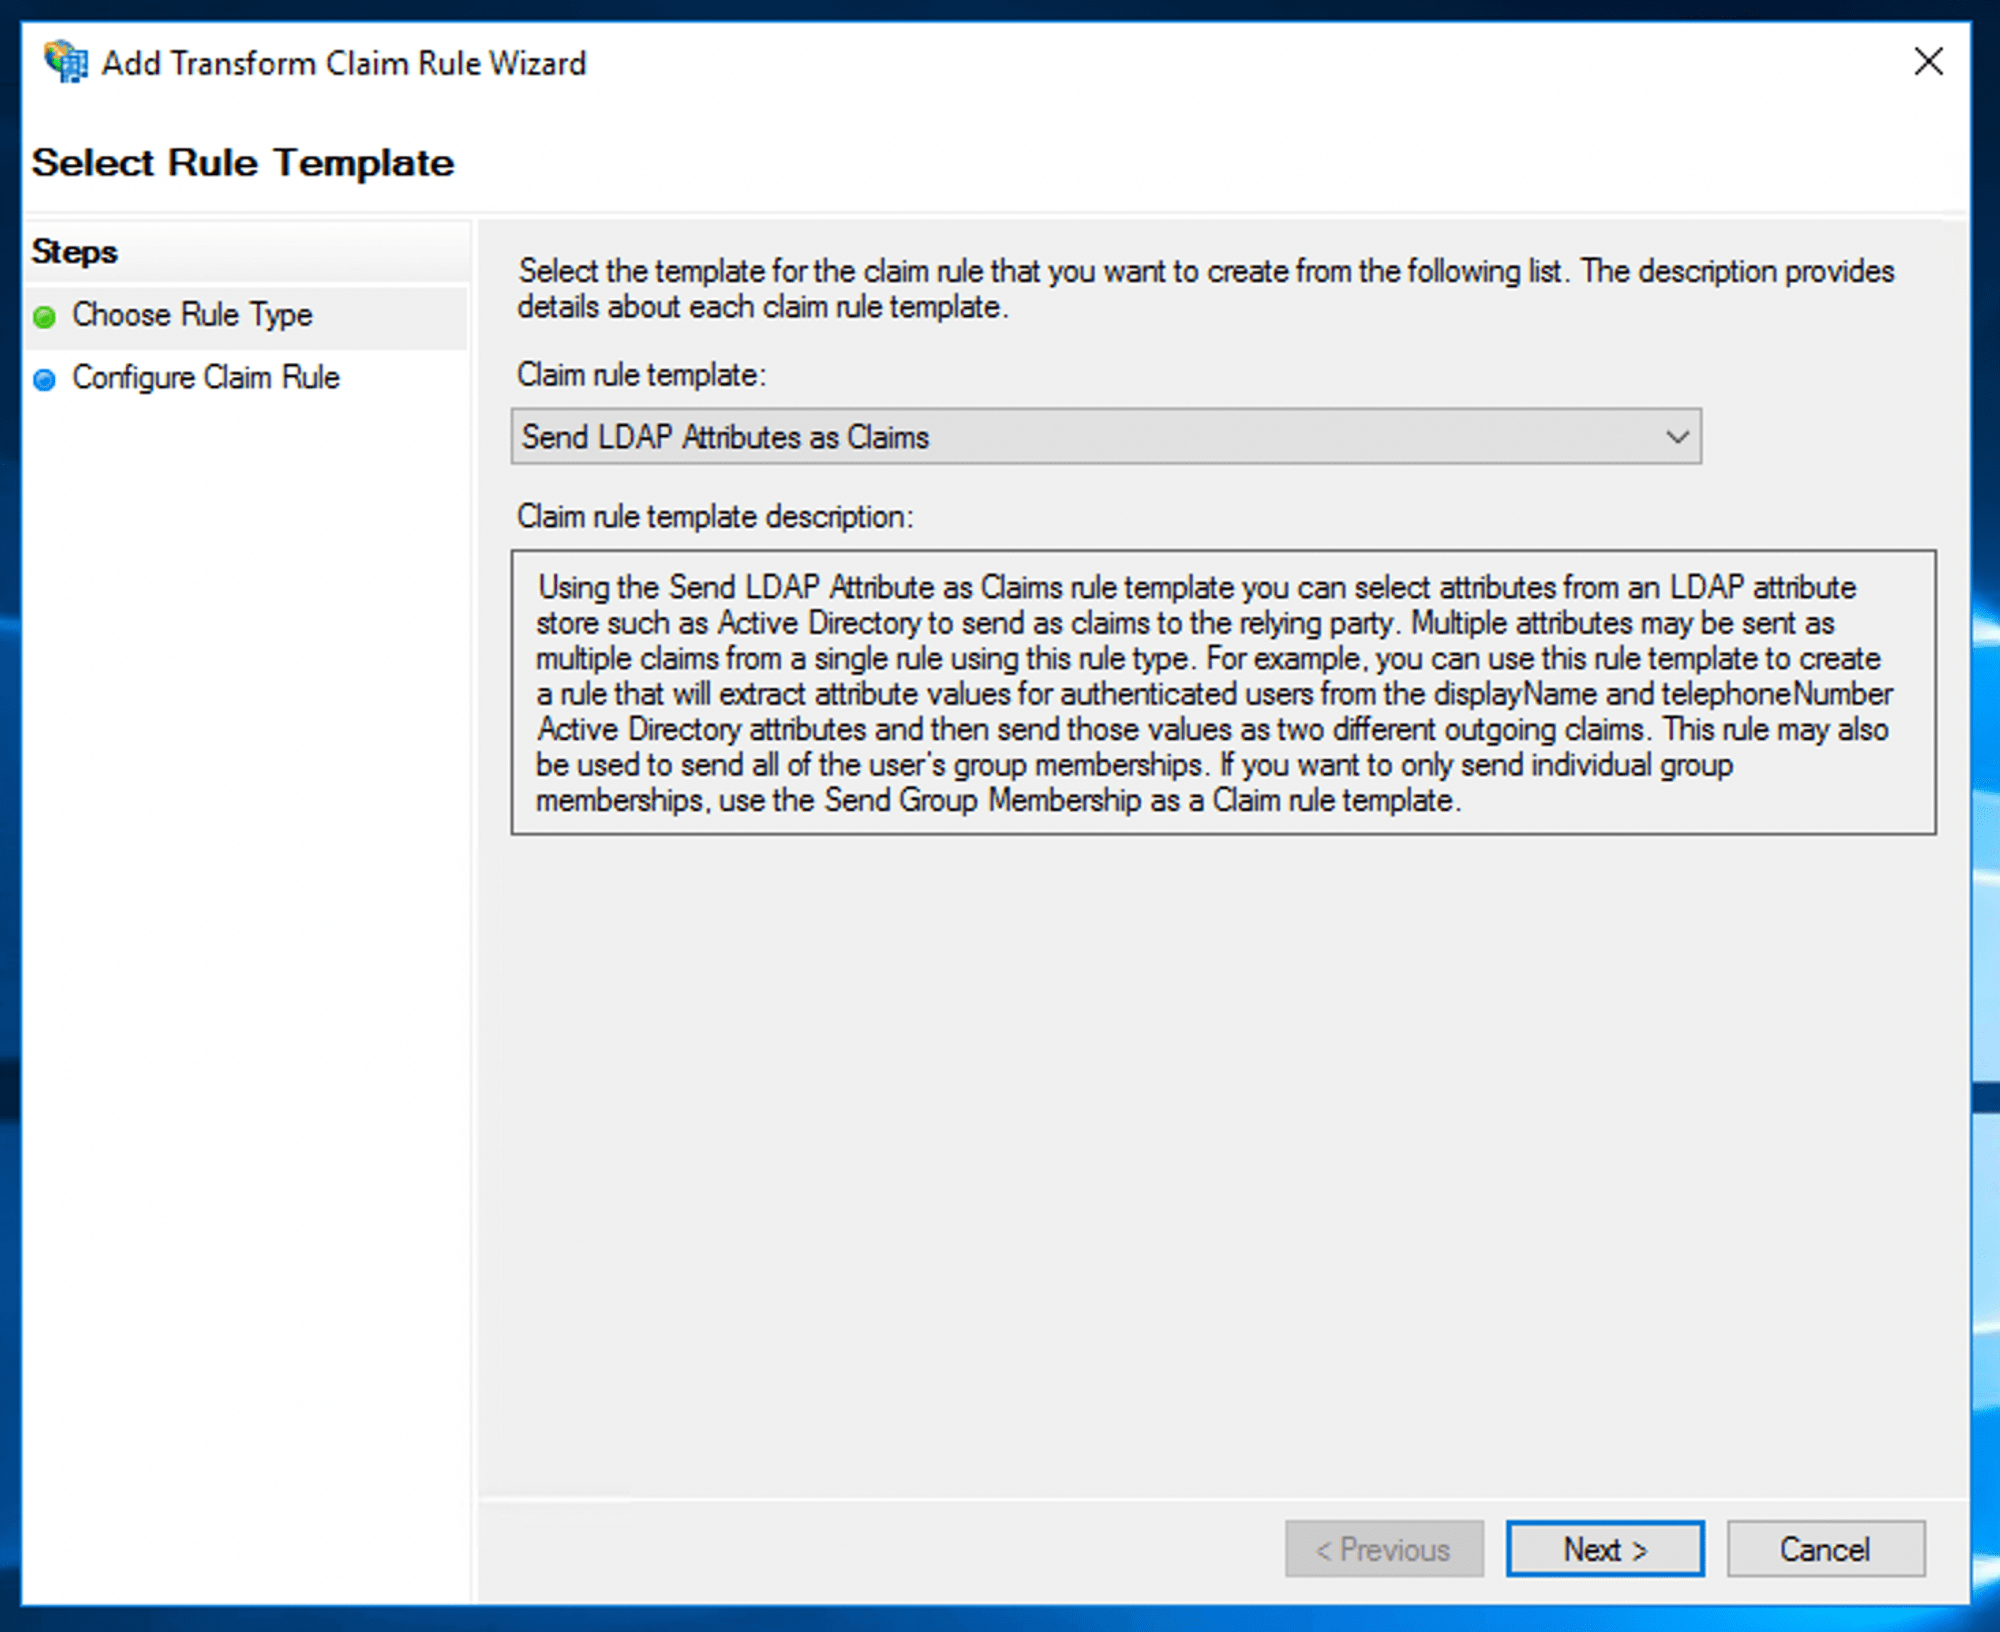
Click Next.
In the Claim rule name field, enter any name (for example, "User profile").
In the Attribute store field, select Active Directory.
Fill in the table with these values:
- E-Mail-Addresses: email
- Given-Name: firstName
- Surname: lastName
Click Finish to complete the configuration.
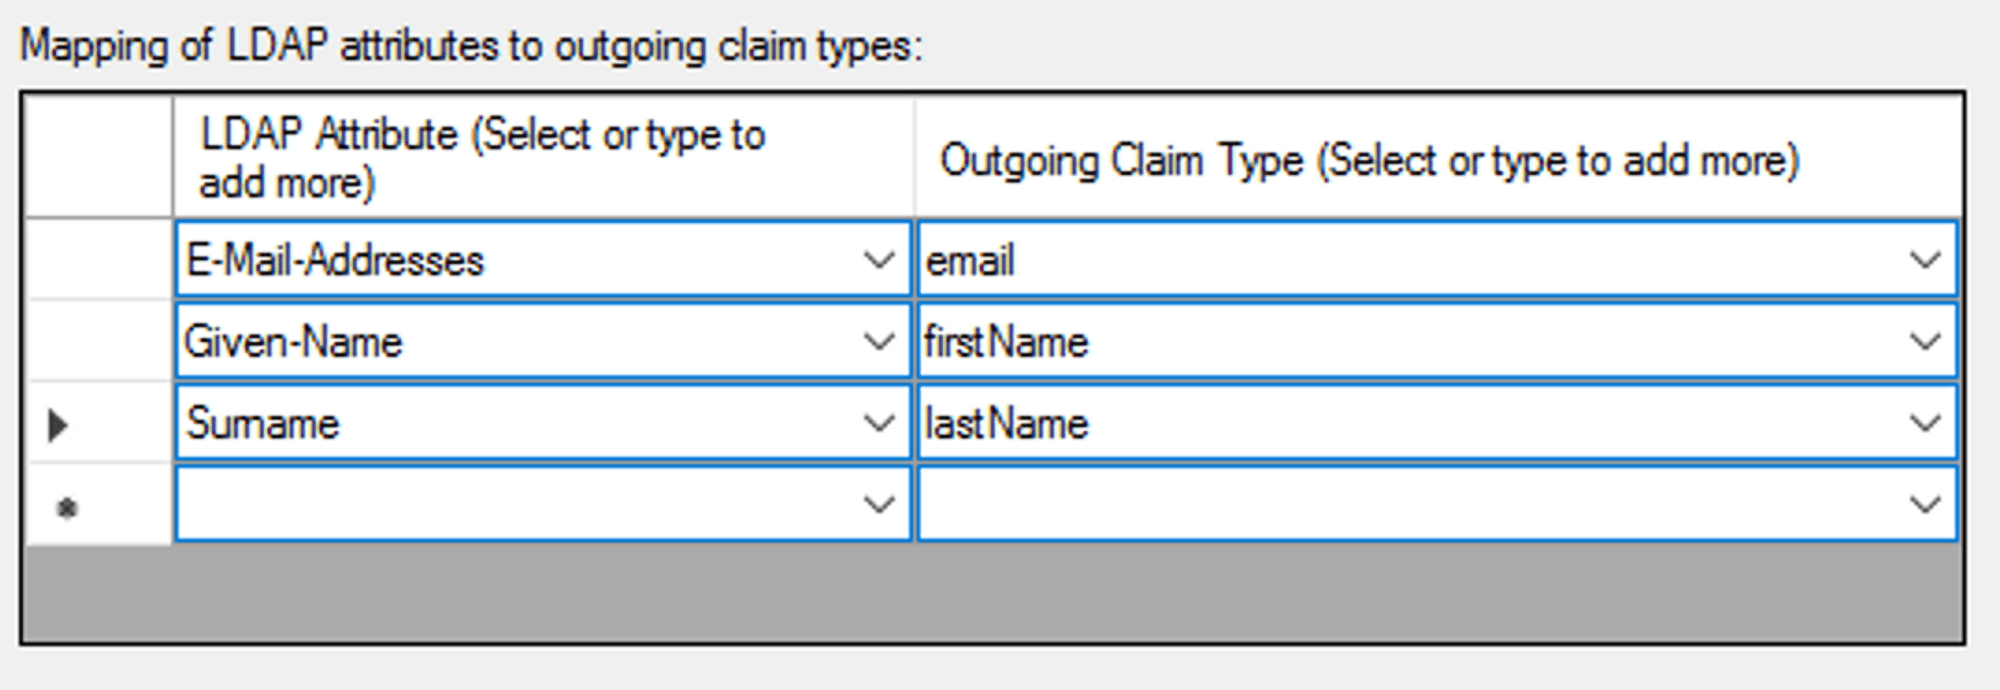
We can also agree on handling other fields in Pachca to fit your use case. To pass them, add the mapping to this table and tell us the name of the custom Outgoing Claim Type
Pachca profile fields and their attribute names:
- Phone: phone_number
- Job title: title
- Department: department
- Group tags: group_tags
You can also pass any other text fields from your directory to Pachca, such as an employee's manager or birthday. To do this:
- Create the field in Members in Pachca (Members → settings → add field → set a name and any type except "file")
- Enter the attribute name in the mapping, as described above for the standard profile fields
Once the mapping is set up, let our support team know so they can connect it.
Troubleshooting
Error on the ADFS sign-in page
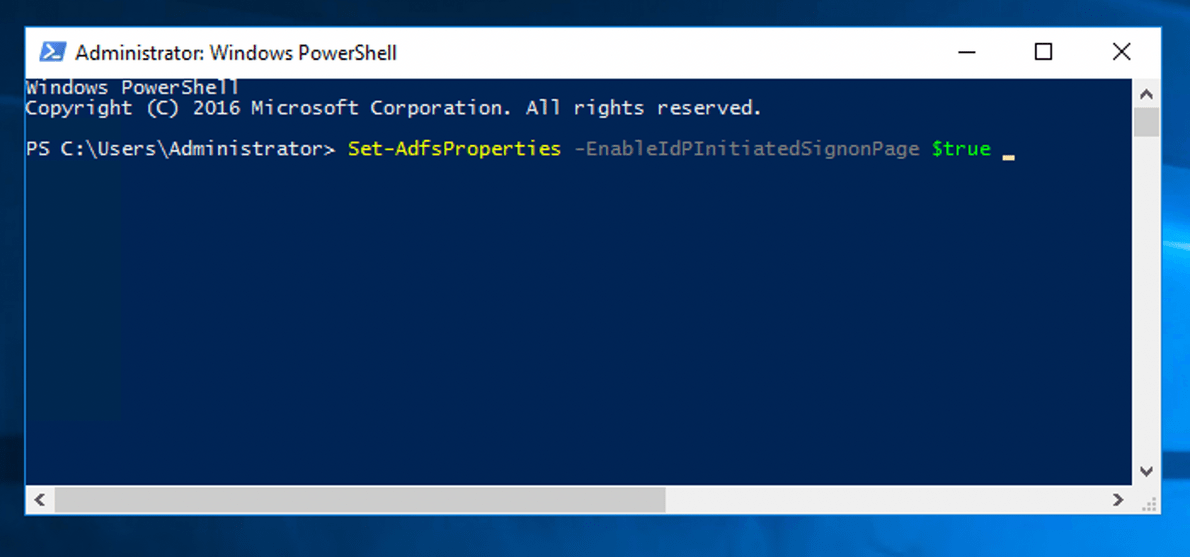
To allow sign-in through the Identity Provider, run this PowerShell command:
Set-AdfsProperties -EnableIdPInitiatedSignonPage $true
Error after signing in to ADFS successfully
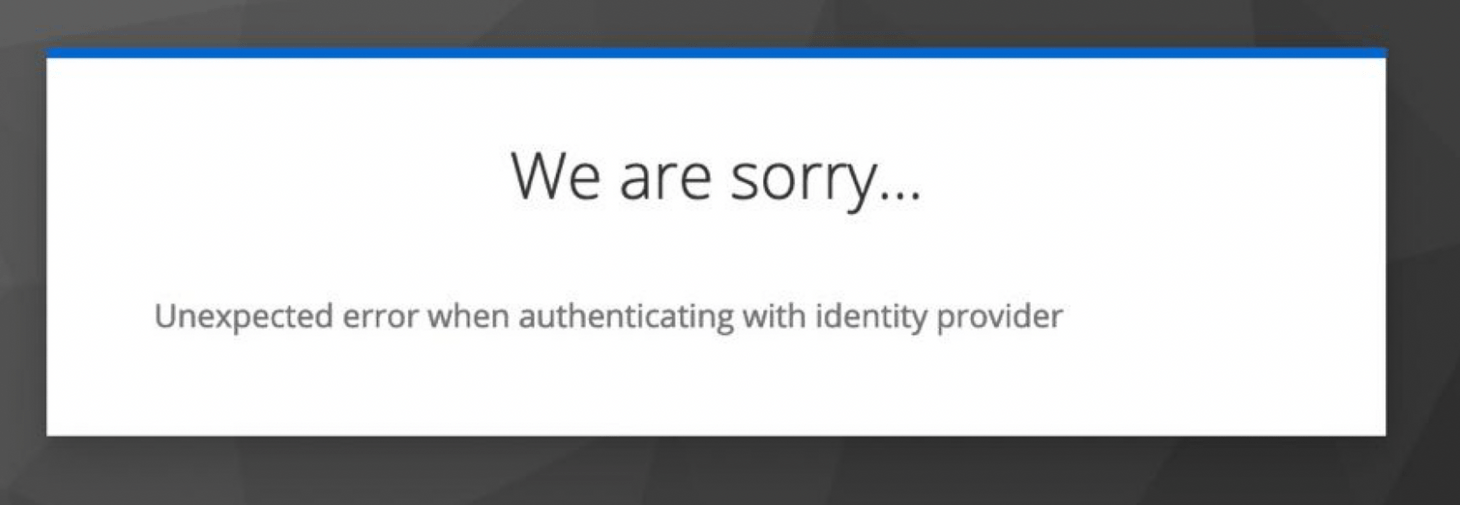
The server time may be wrong. Check your NTP sync.
Test the setup
On the Pachca login screen, click With email.
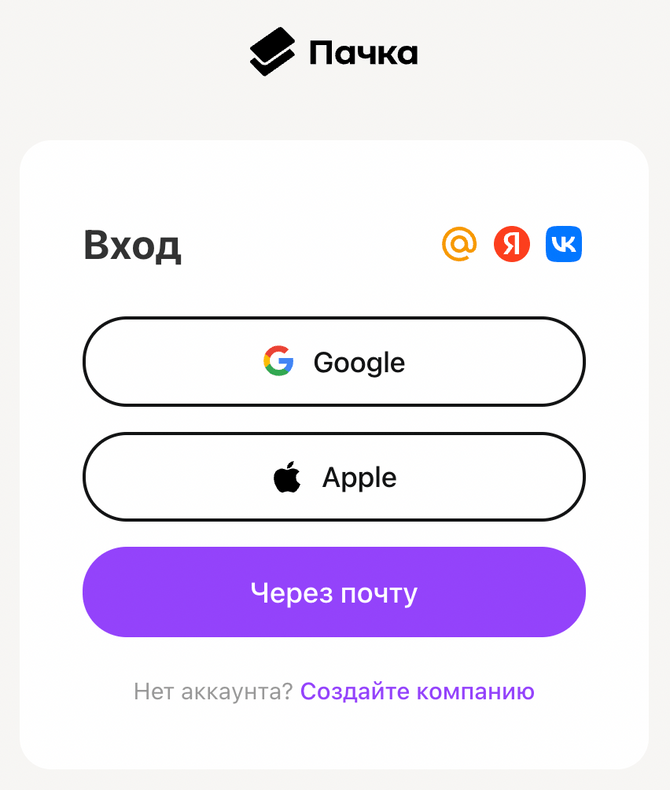
Click Log in with SSO.
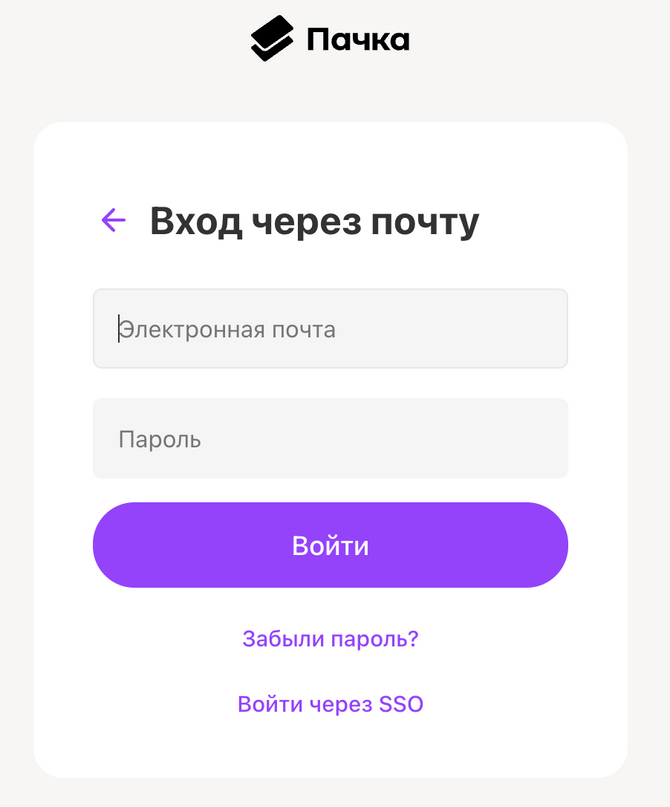
In the email field, enter your work email from AD.
Sign in through your company's system.
"Cookie not found" error
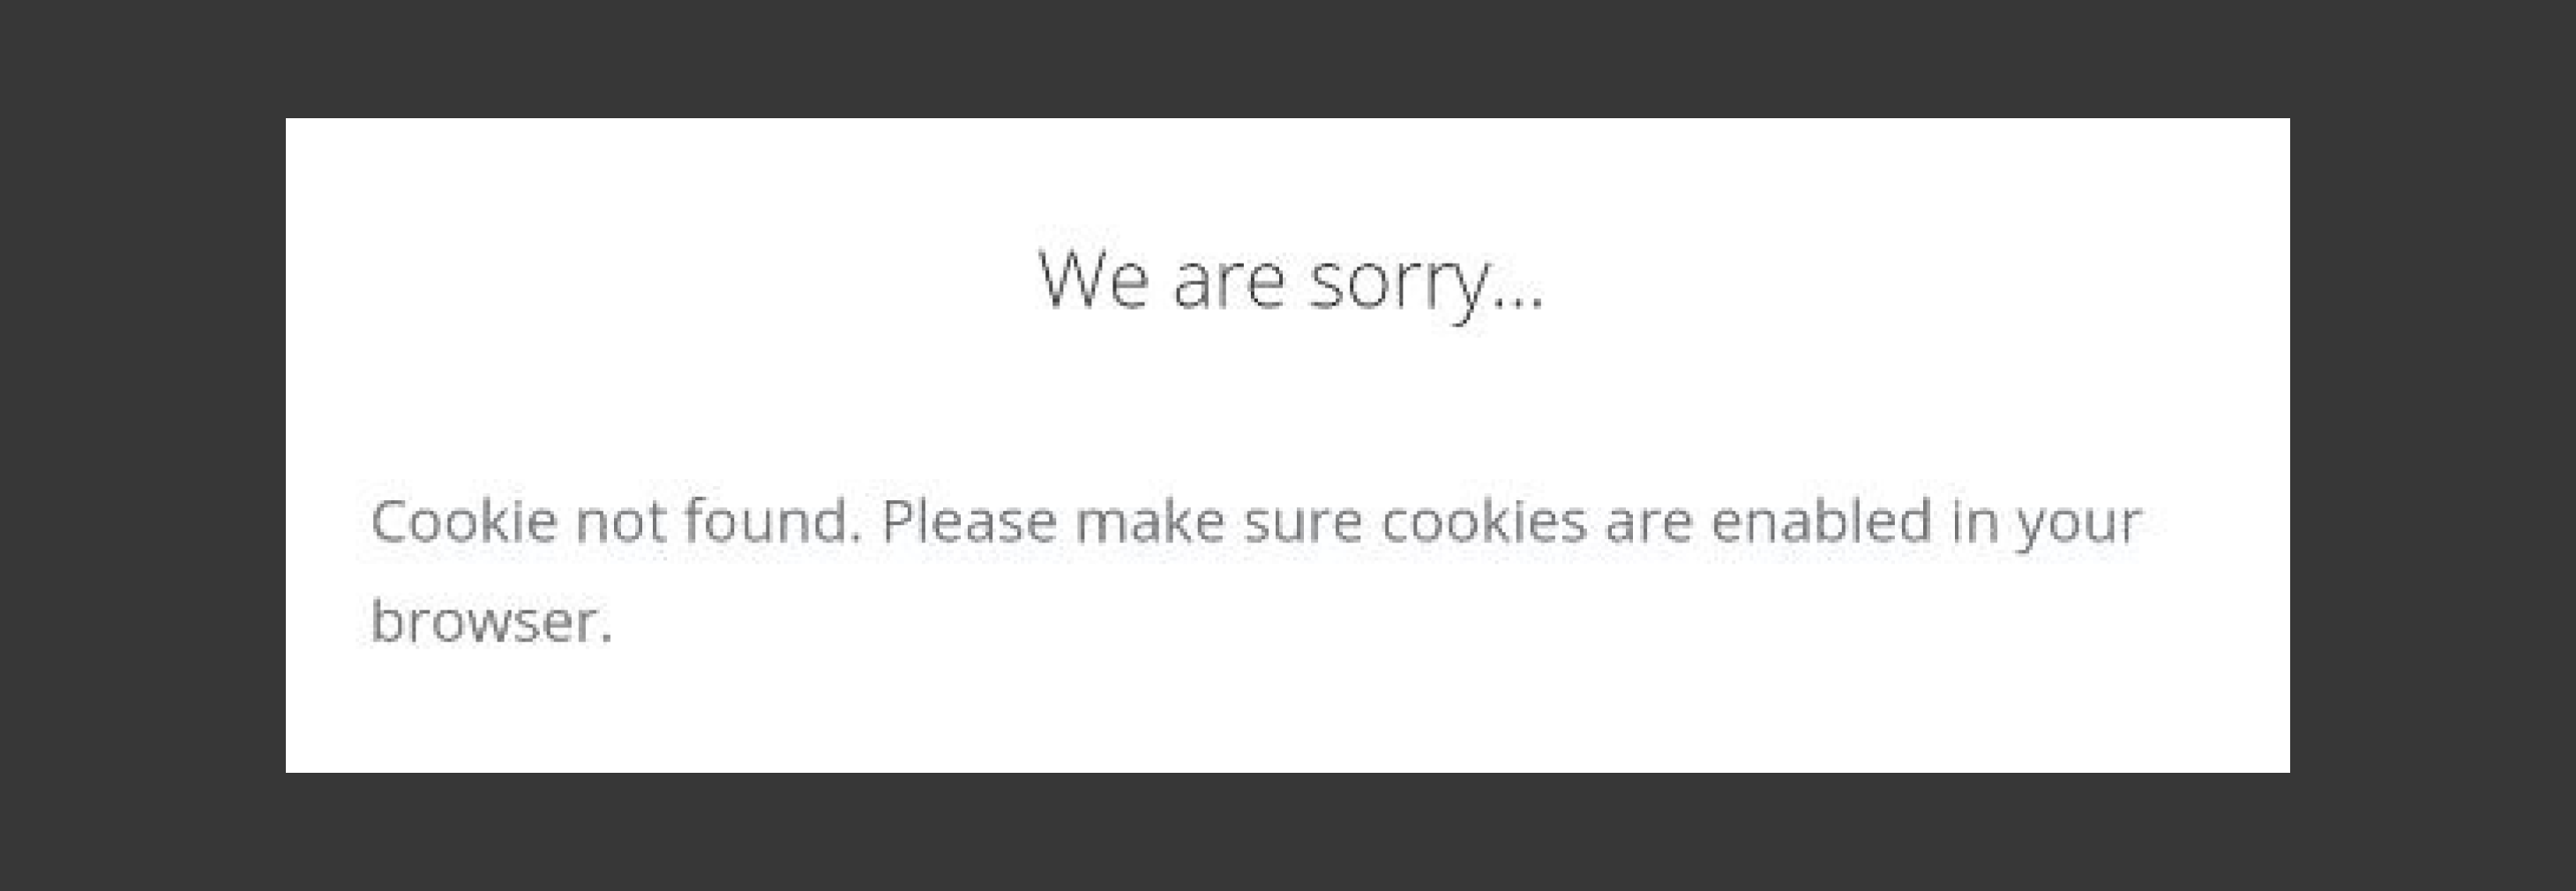
If you see the error "Cookie not found. Please make sure cookies are enabled in your browser" when logging in on a mobile device, change your default browser for opening links to Google Chrome.