SSO in Pachca with Keycloak
The Pachca integration uses the OpenID Connect protocol.
Go to the Realm you'll use for the Pachca integration. It must not be the Master realm.
Create a new Client and send us its name.

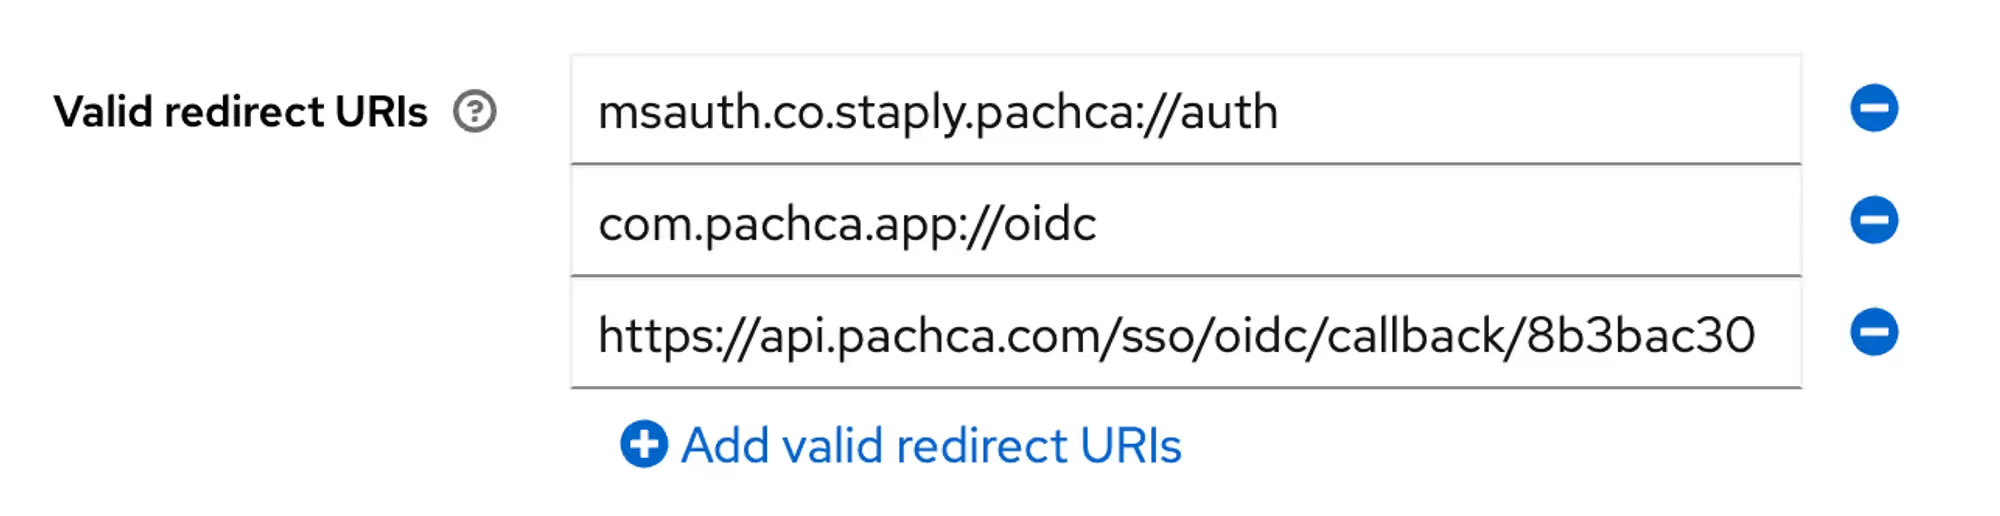
Under Valid redirect URIs, add:
- msauth.co.staply.pachca://auth
- com.pachca.app://oidc
- Your unique URL, which we'll send you
Client authentication must be turned on.
In Credentials, copy the Secret and send it to us.
Automatic logout from Pachca (Backchannel logout)
You can set up automatic session termination: when an employee logs out of their account in the SSO provider, their Pachca session ends too.
To do this, open the client you created for Pachca in Keycloak and, under Logout settings:
- Turn off Front channel logout.
- In the Backchannel logout URL field, enter
https://auth.pachca.com/realms/<your realm name>/protocol/openid-connect/logout/backchannel-logout. Pachca support will give you the exact URL. - Turn on Backchannel logout session required.
- Turn on Backchannel logout revoke offline sessions.
Once you're done, contact Pachca support, and we'll turn on Backchannel logout on our side.
Sync employee attributes to Pachca
To illustrate, we'll walk through passing an attribute from Windows ADFS to Pachca via Keycloak.
First, set up attribute passing to Keycloak.
In AD FS Management, open the settings of the application you created for Pachca.
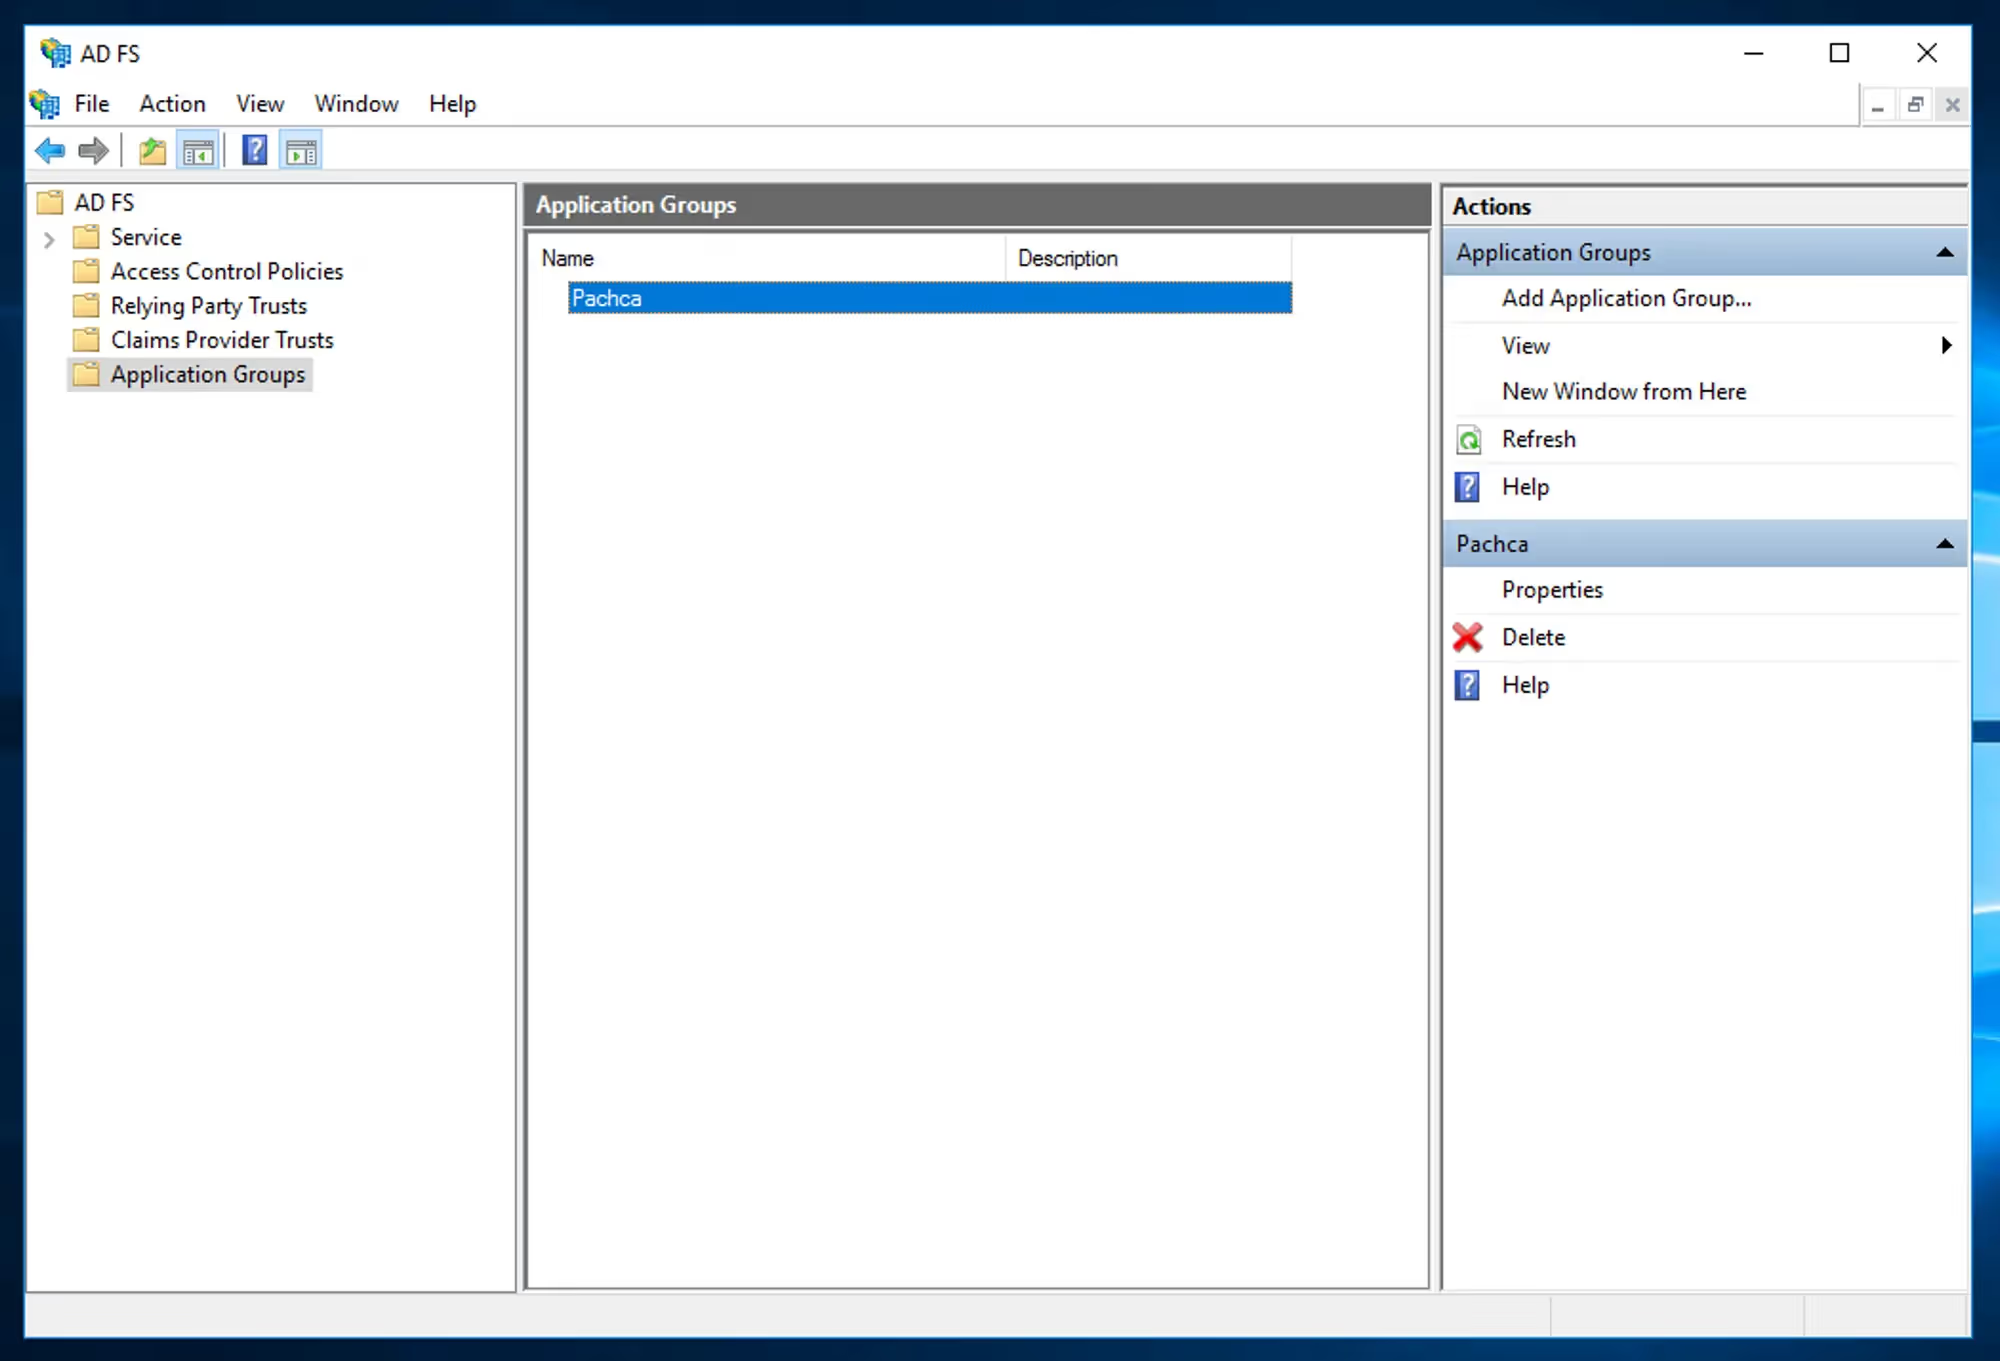
Click "Edit…" 👇
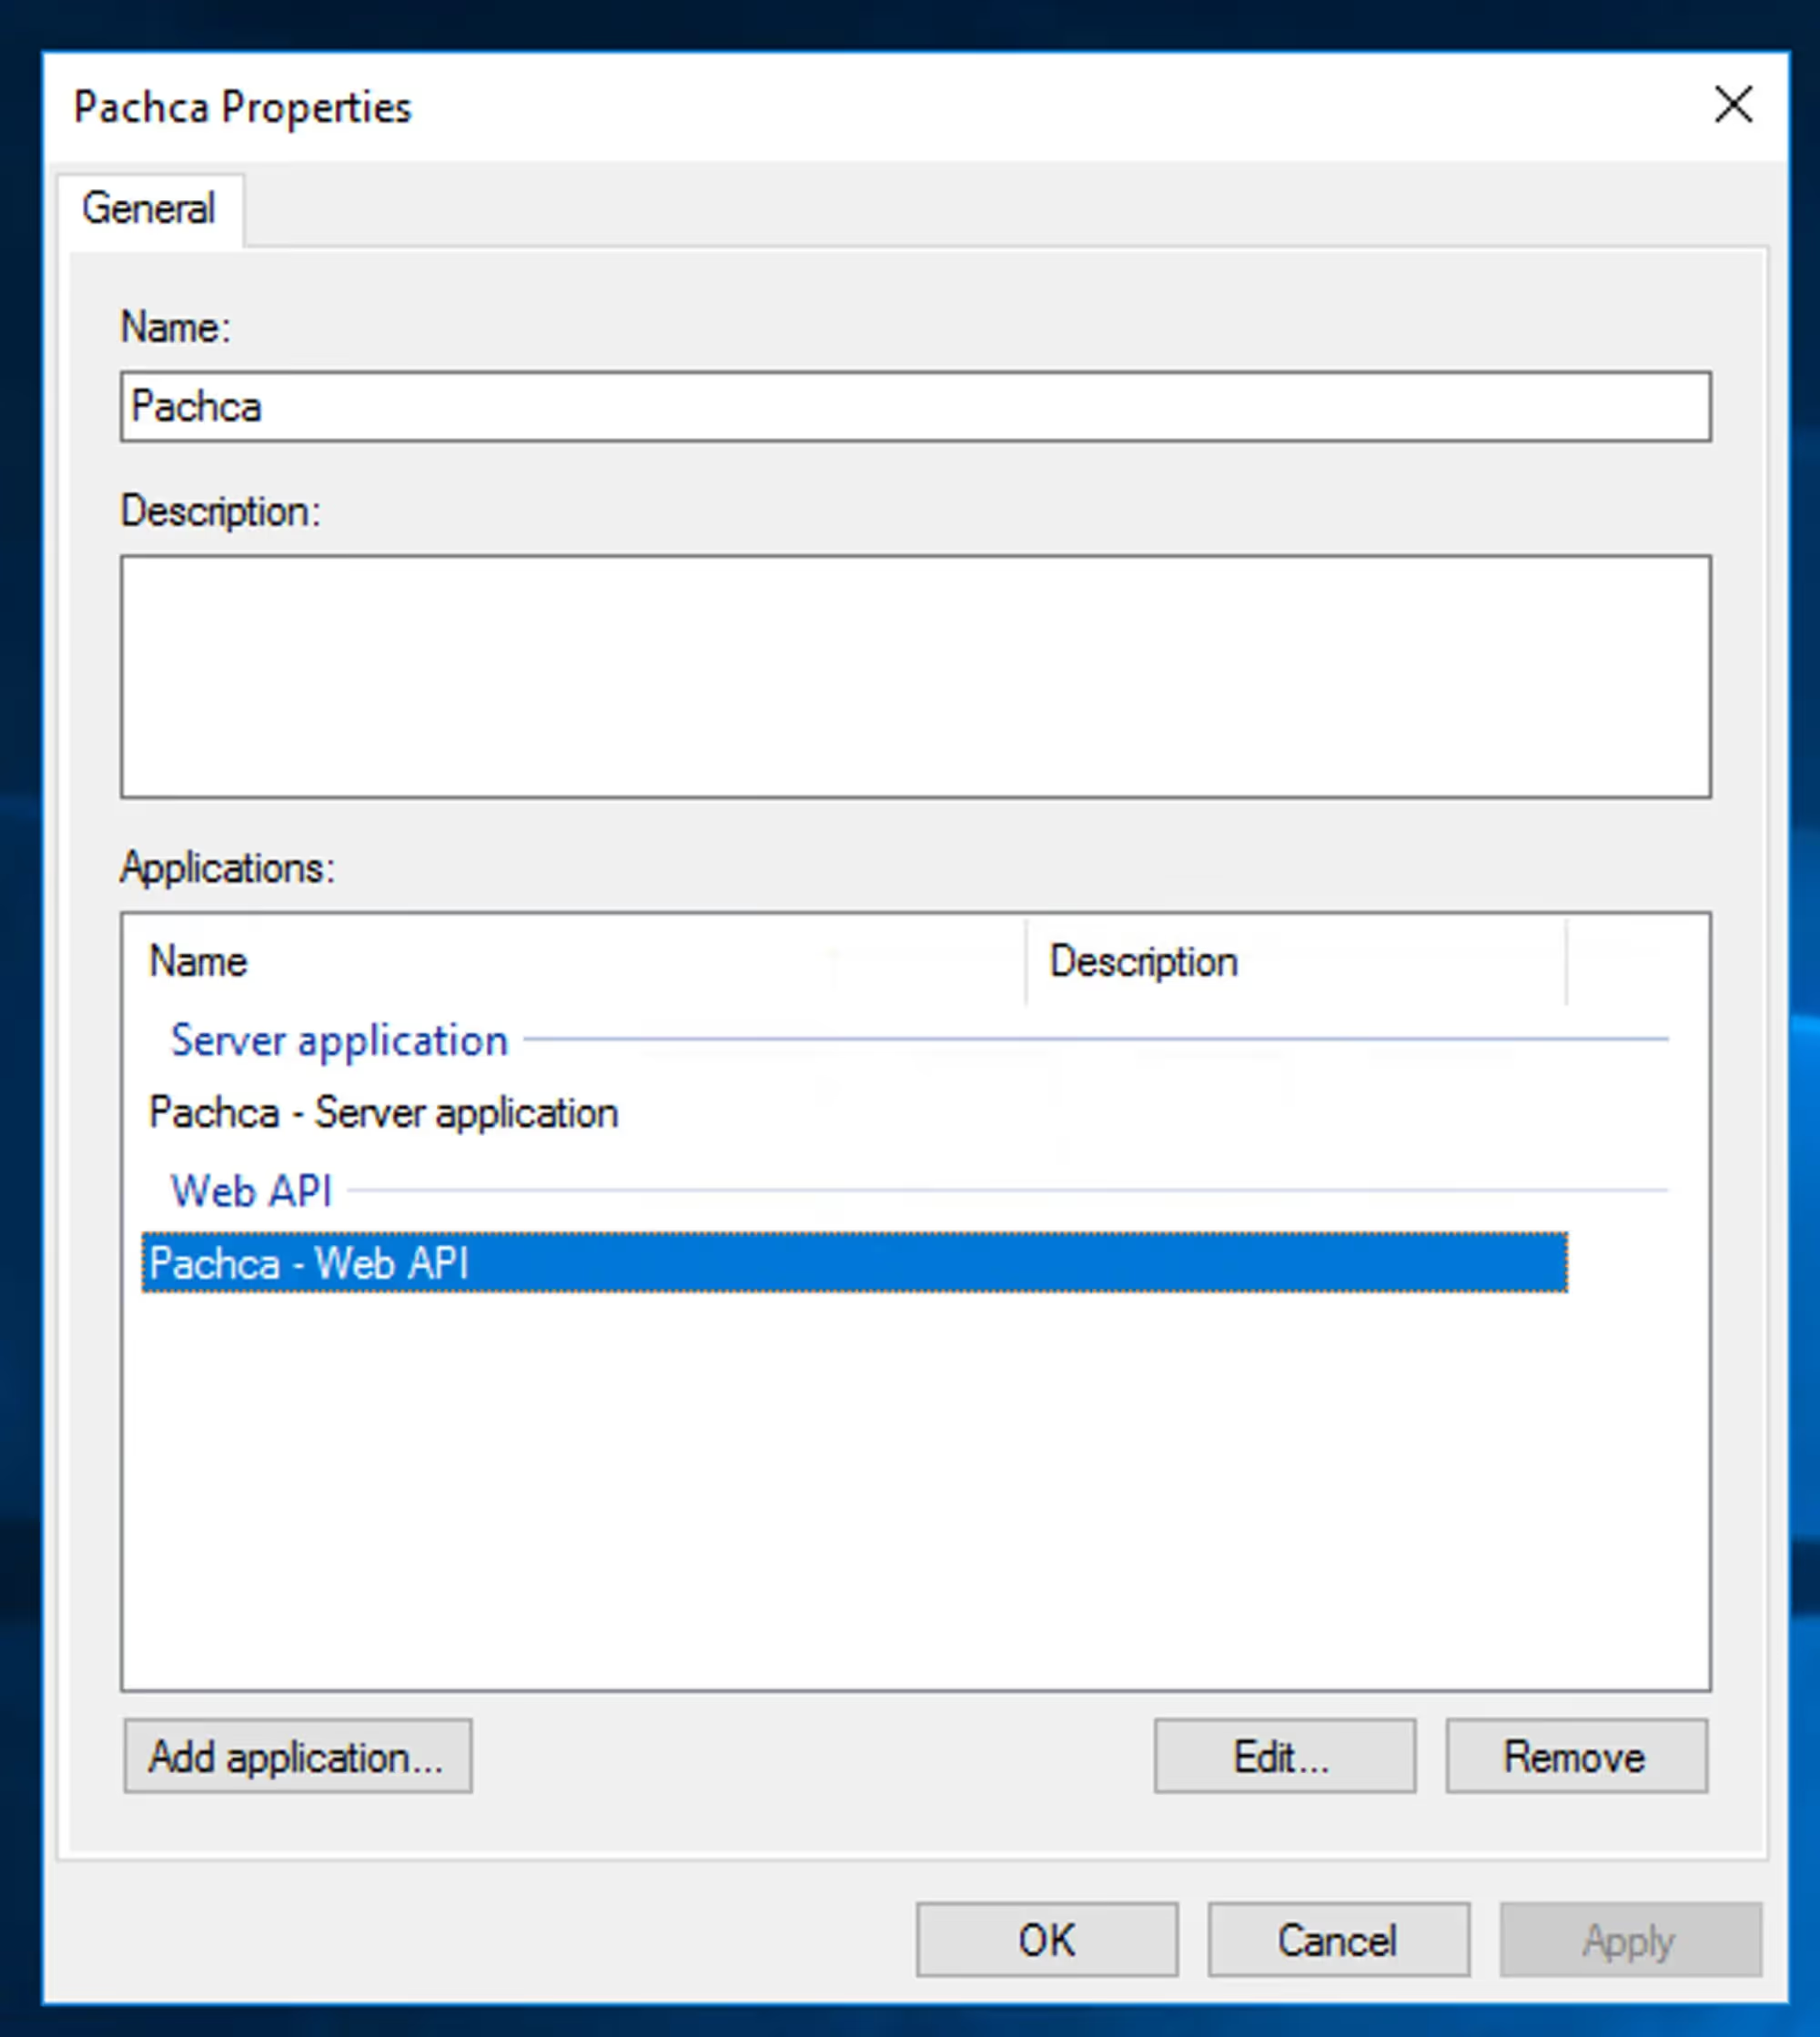
On the "Issuance Transform Rules" tab, click "Edit Rule…"
Fill in the table with the attributes you need.
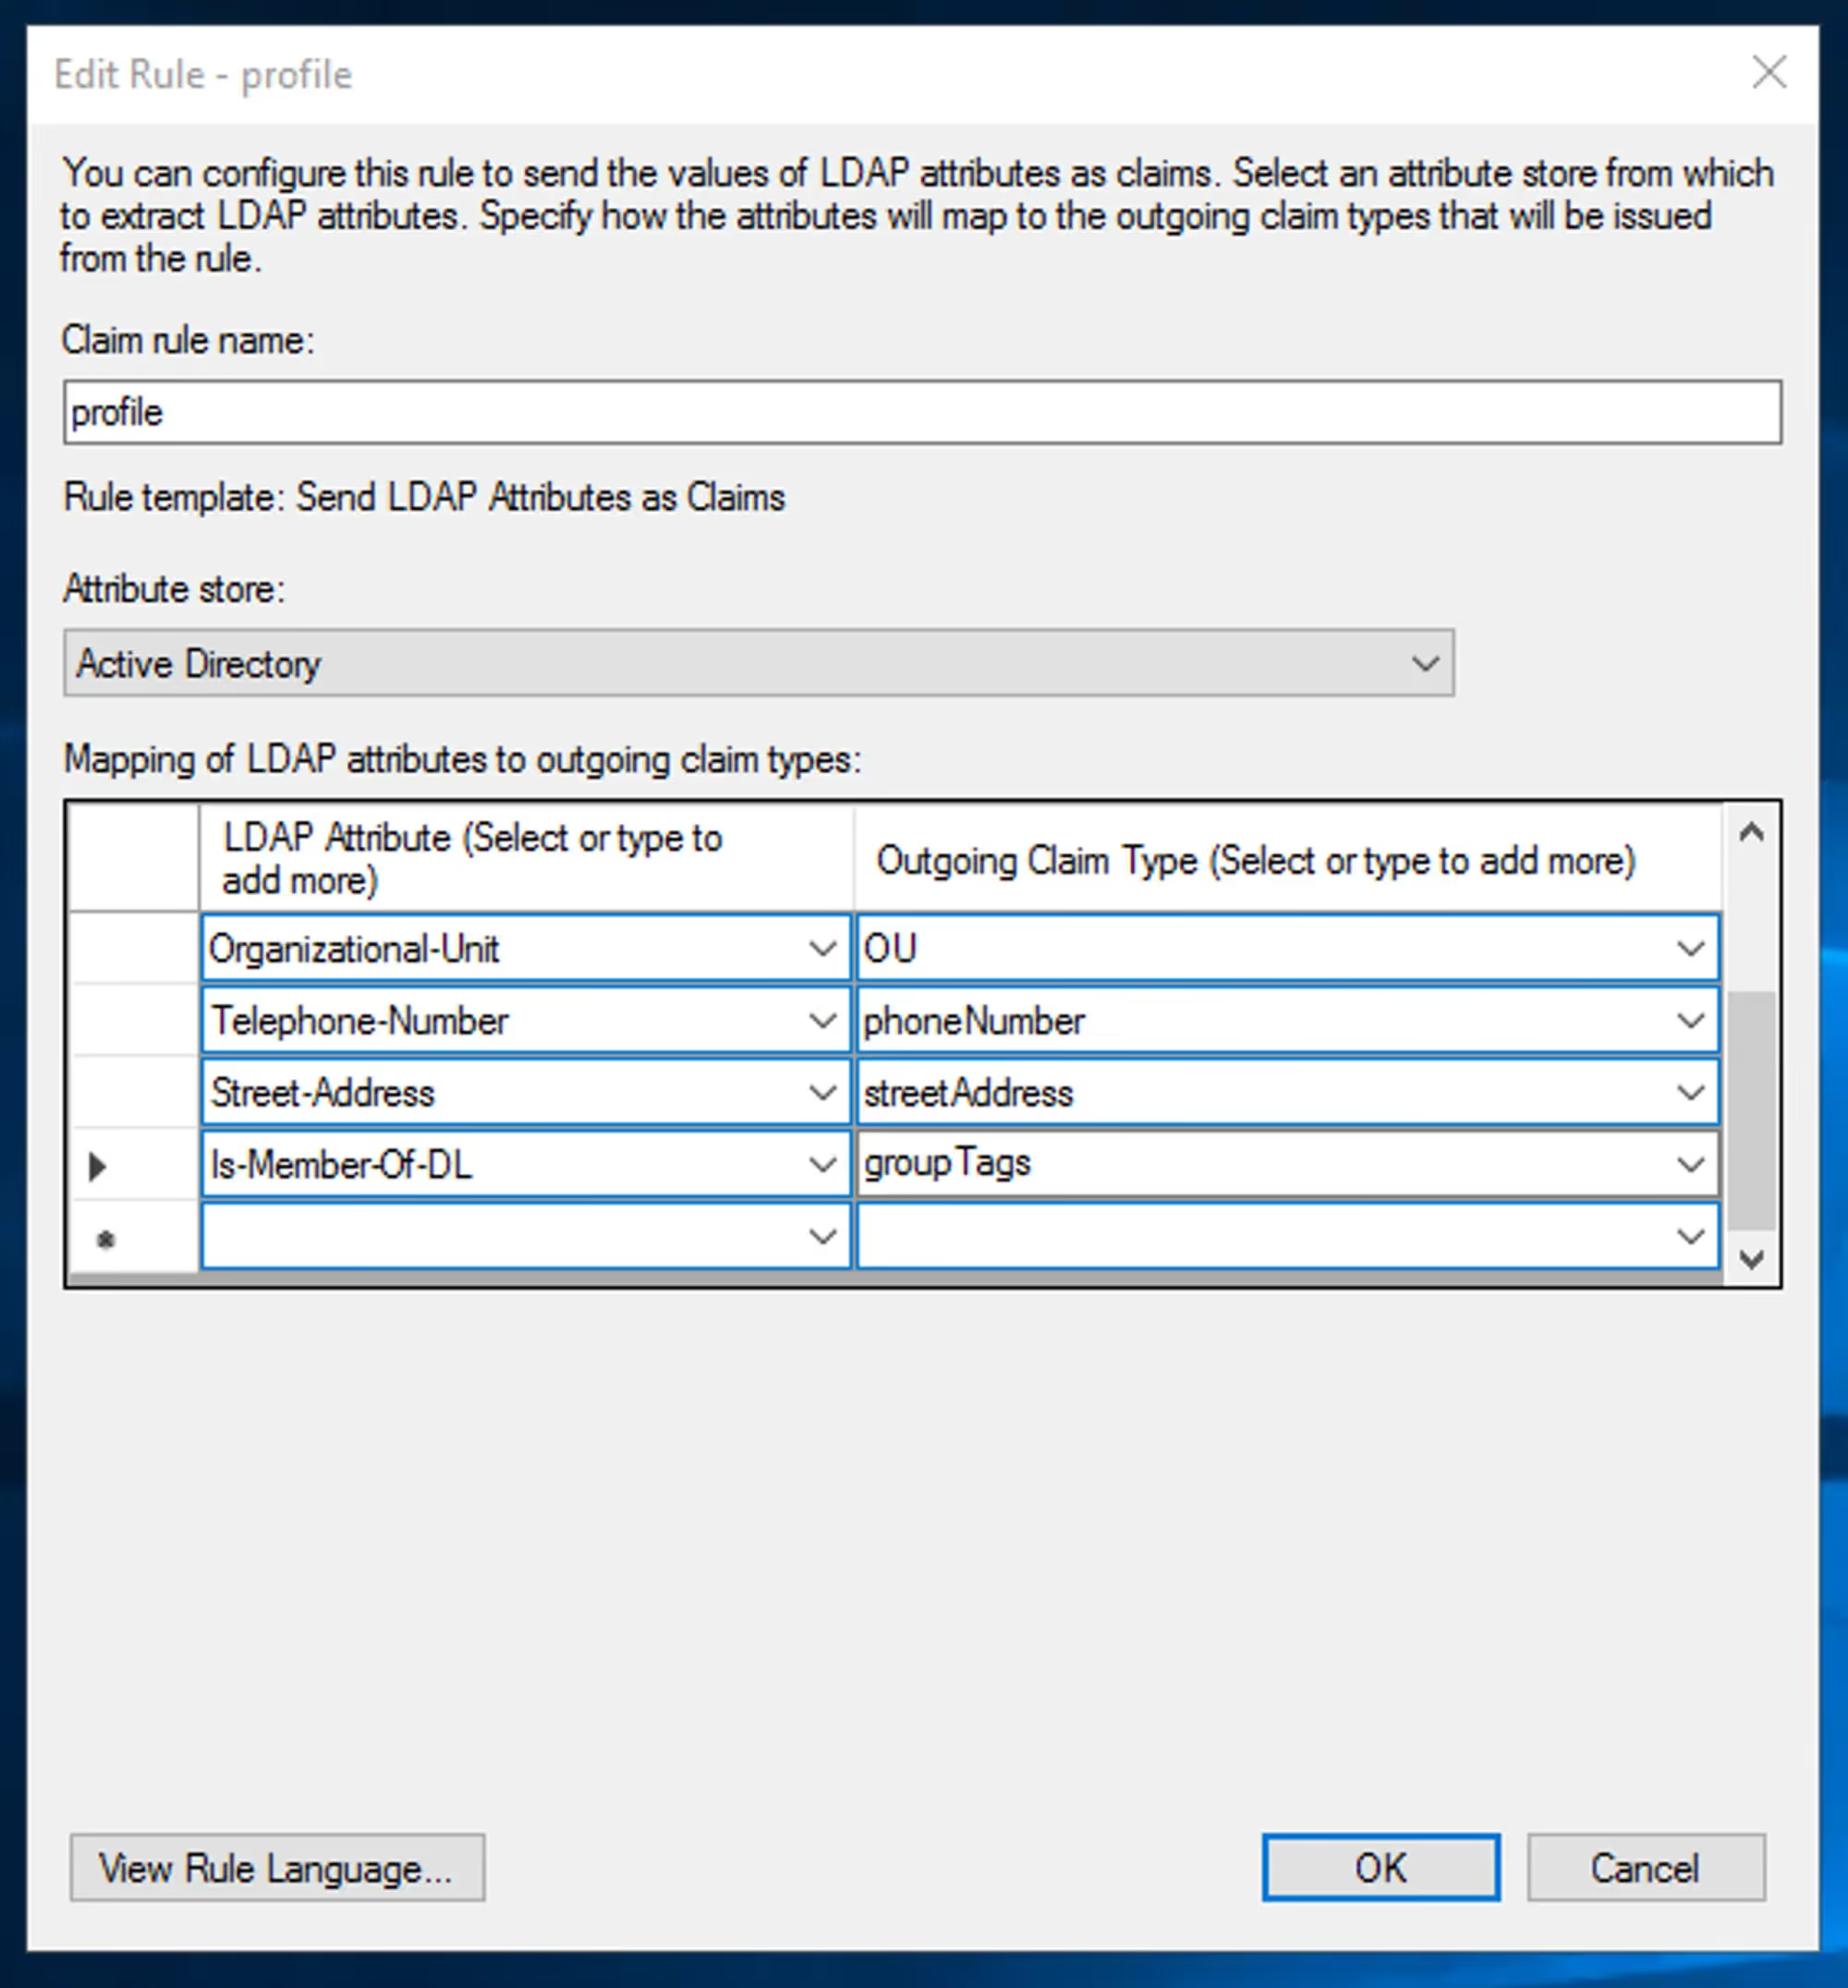
For example, to pass an employee's groups, select the "Is-Member-Of-DL" field.
In Keycloak, go to the settings of the client you created for Pachca under "Clients".
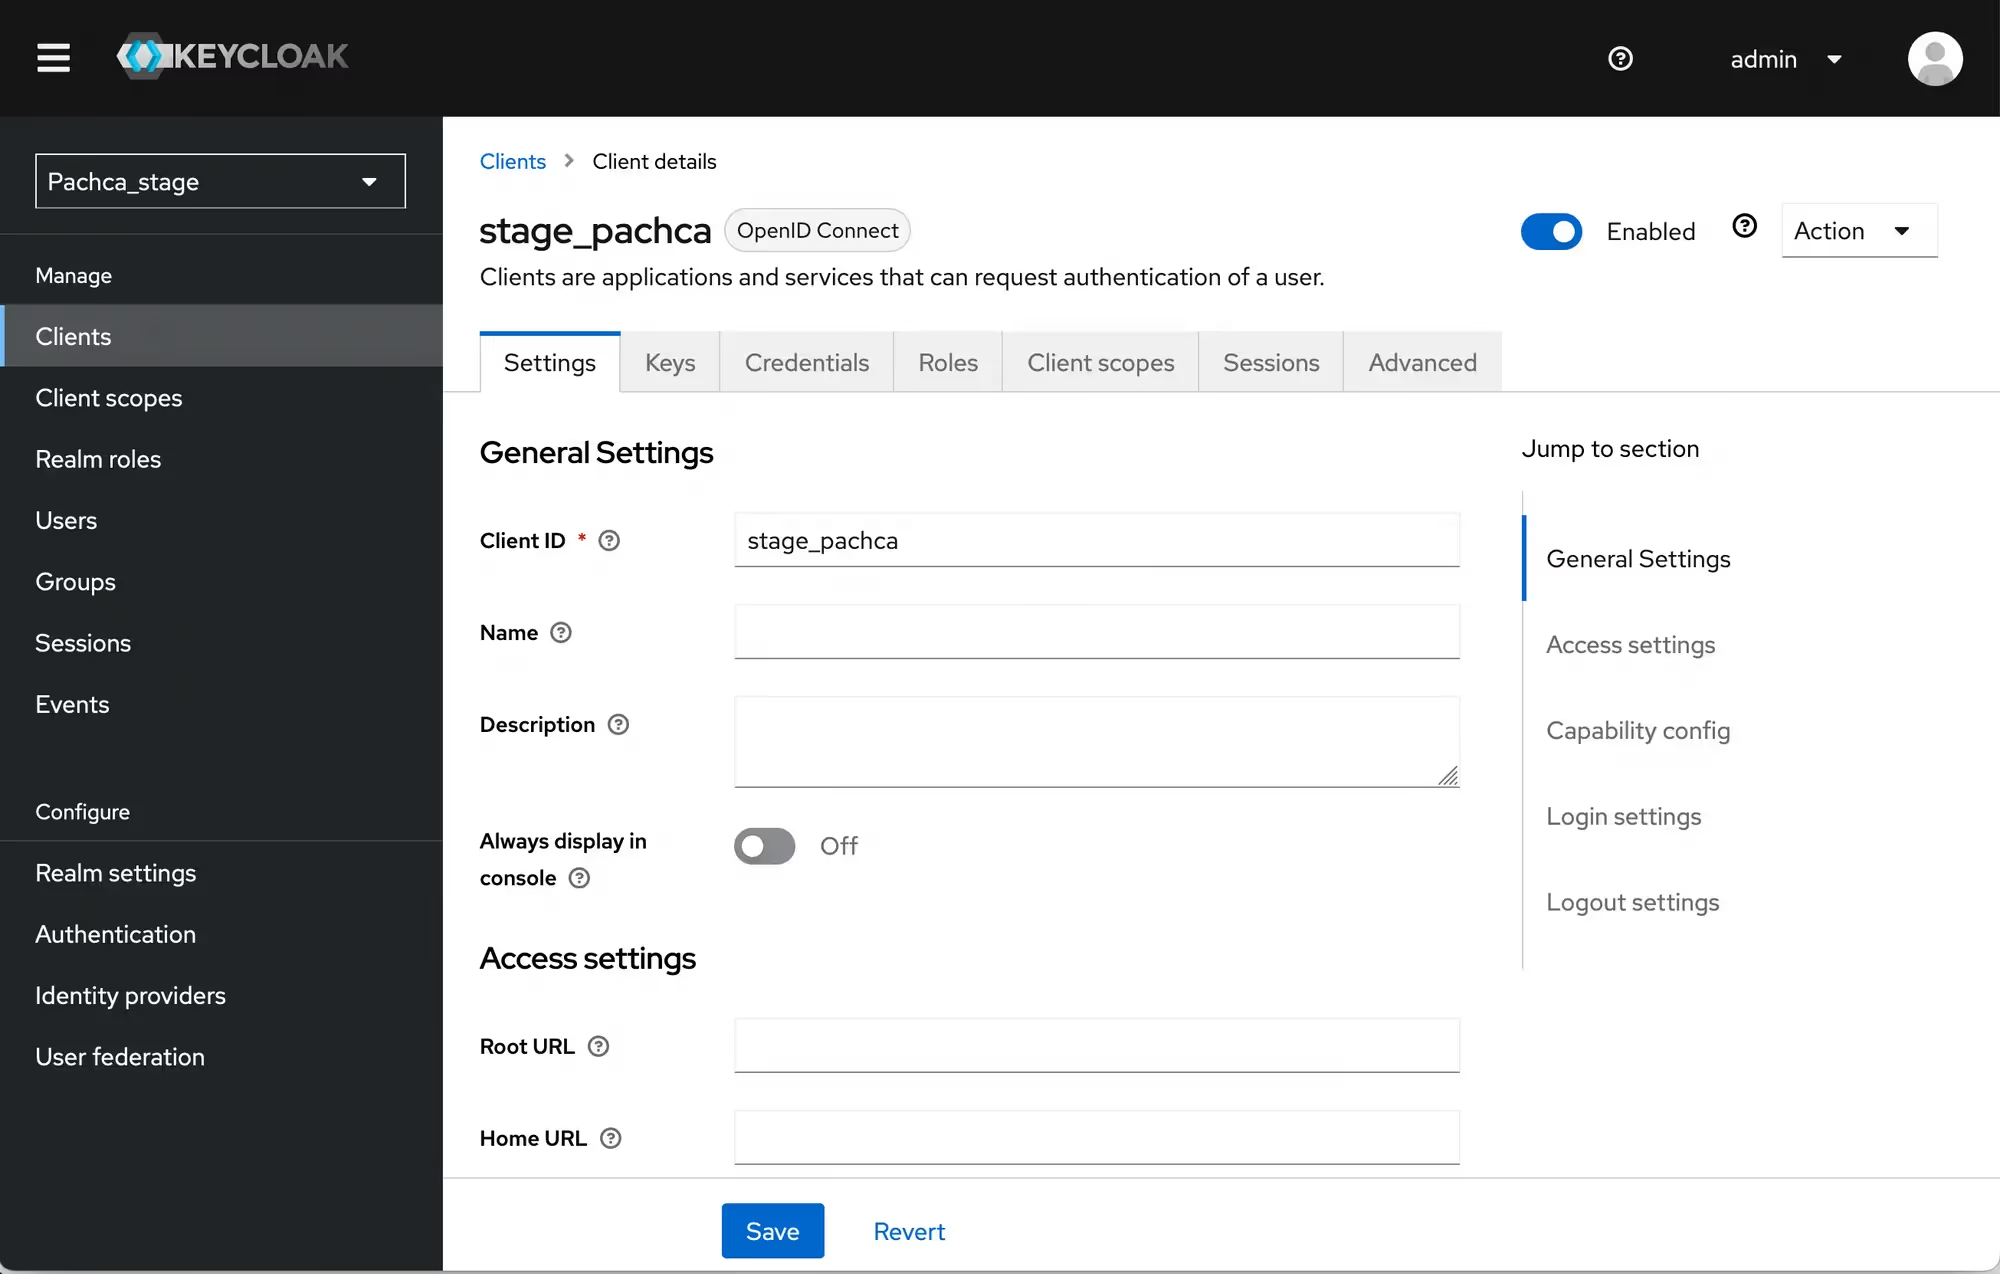
Go to "Client scopes"
Click the first item in the list, "<client name>-dedicated".
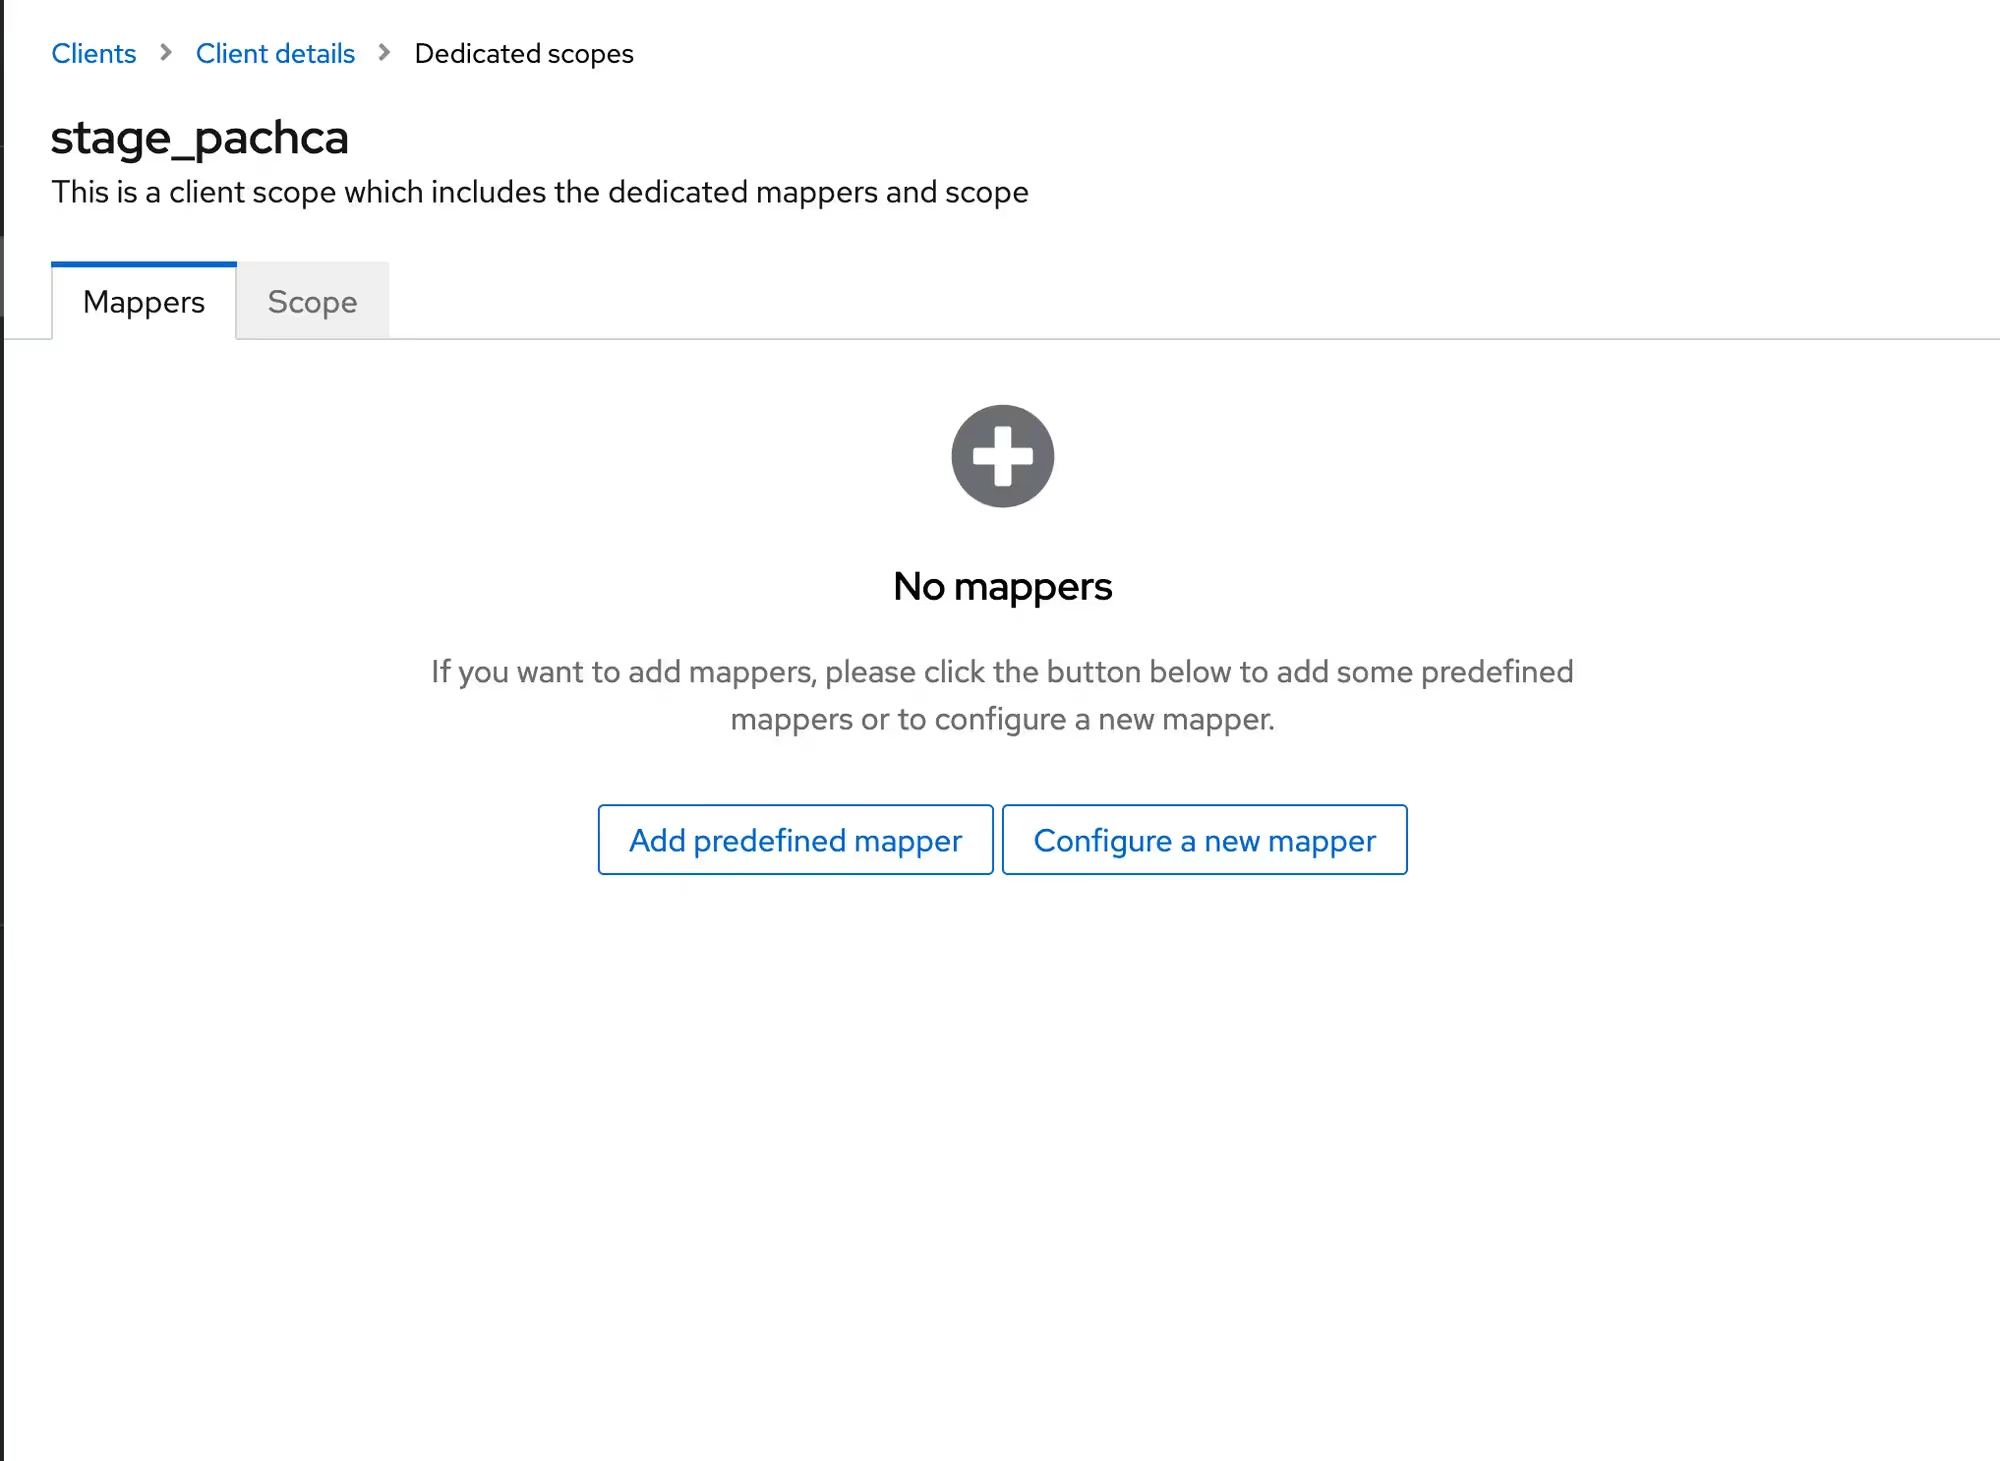
Click "Configure a new mapper".
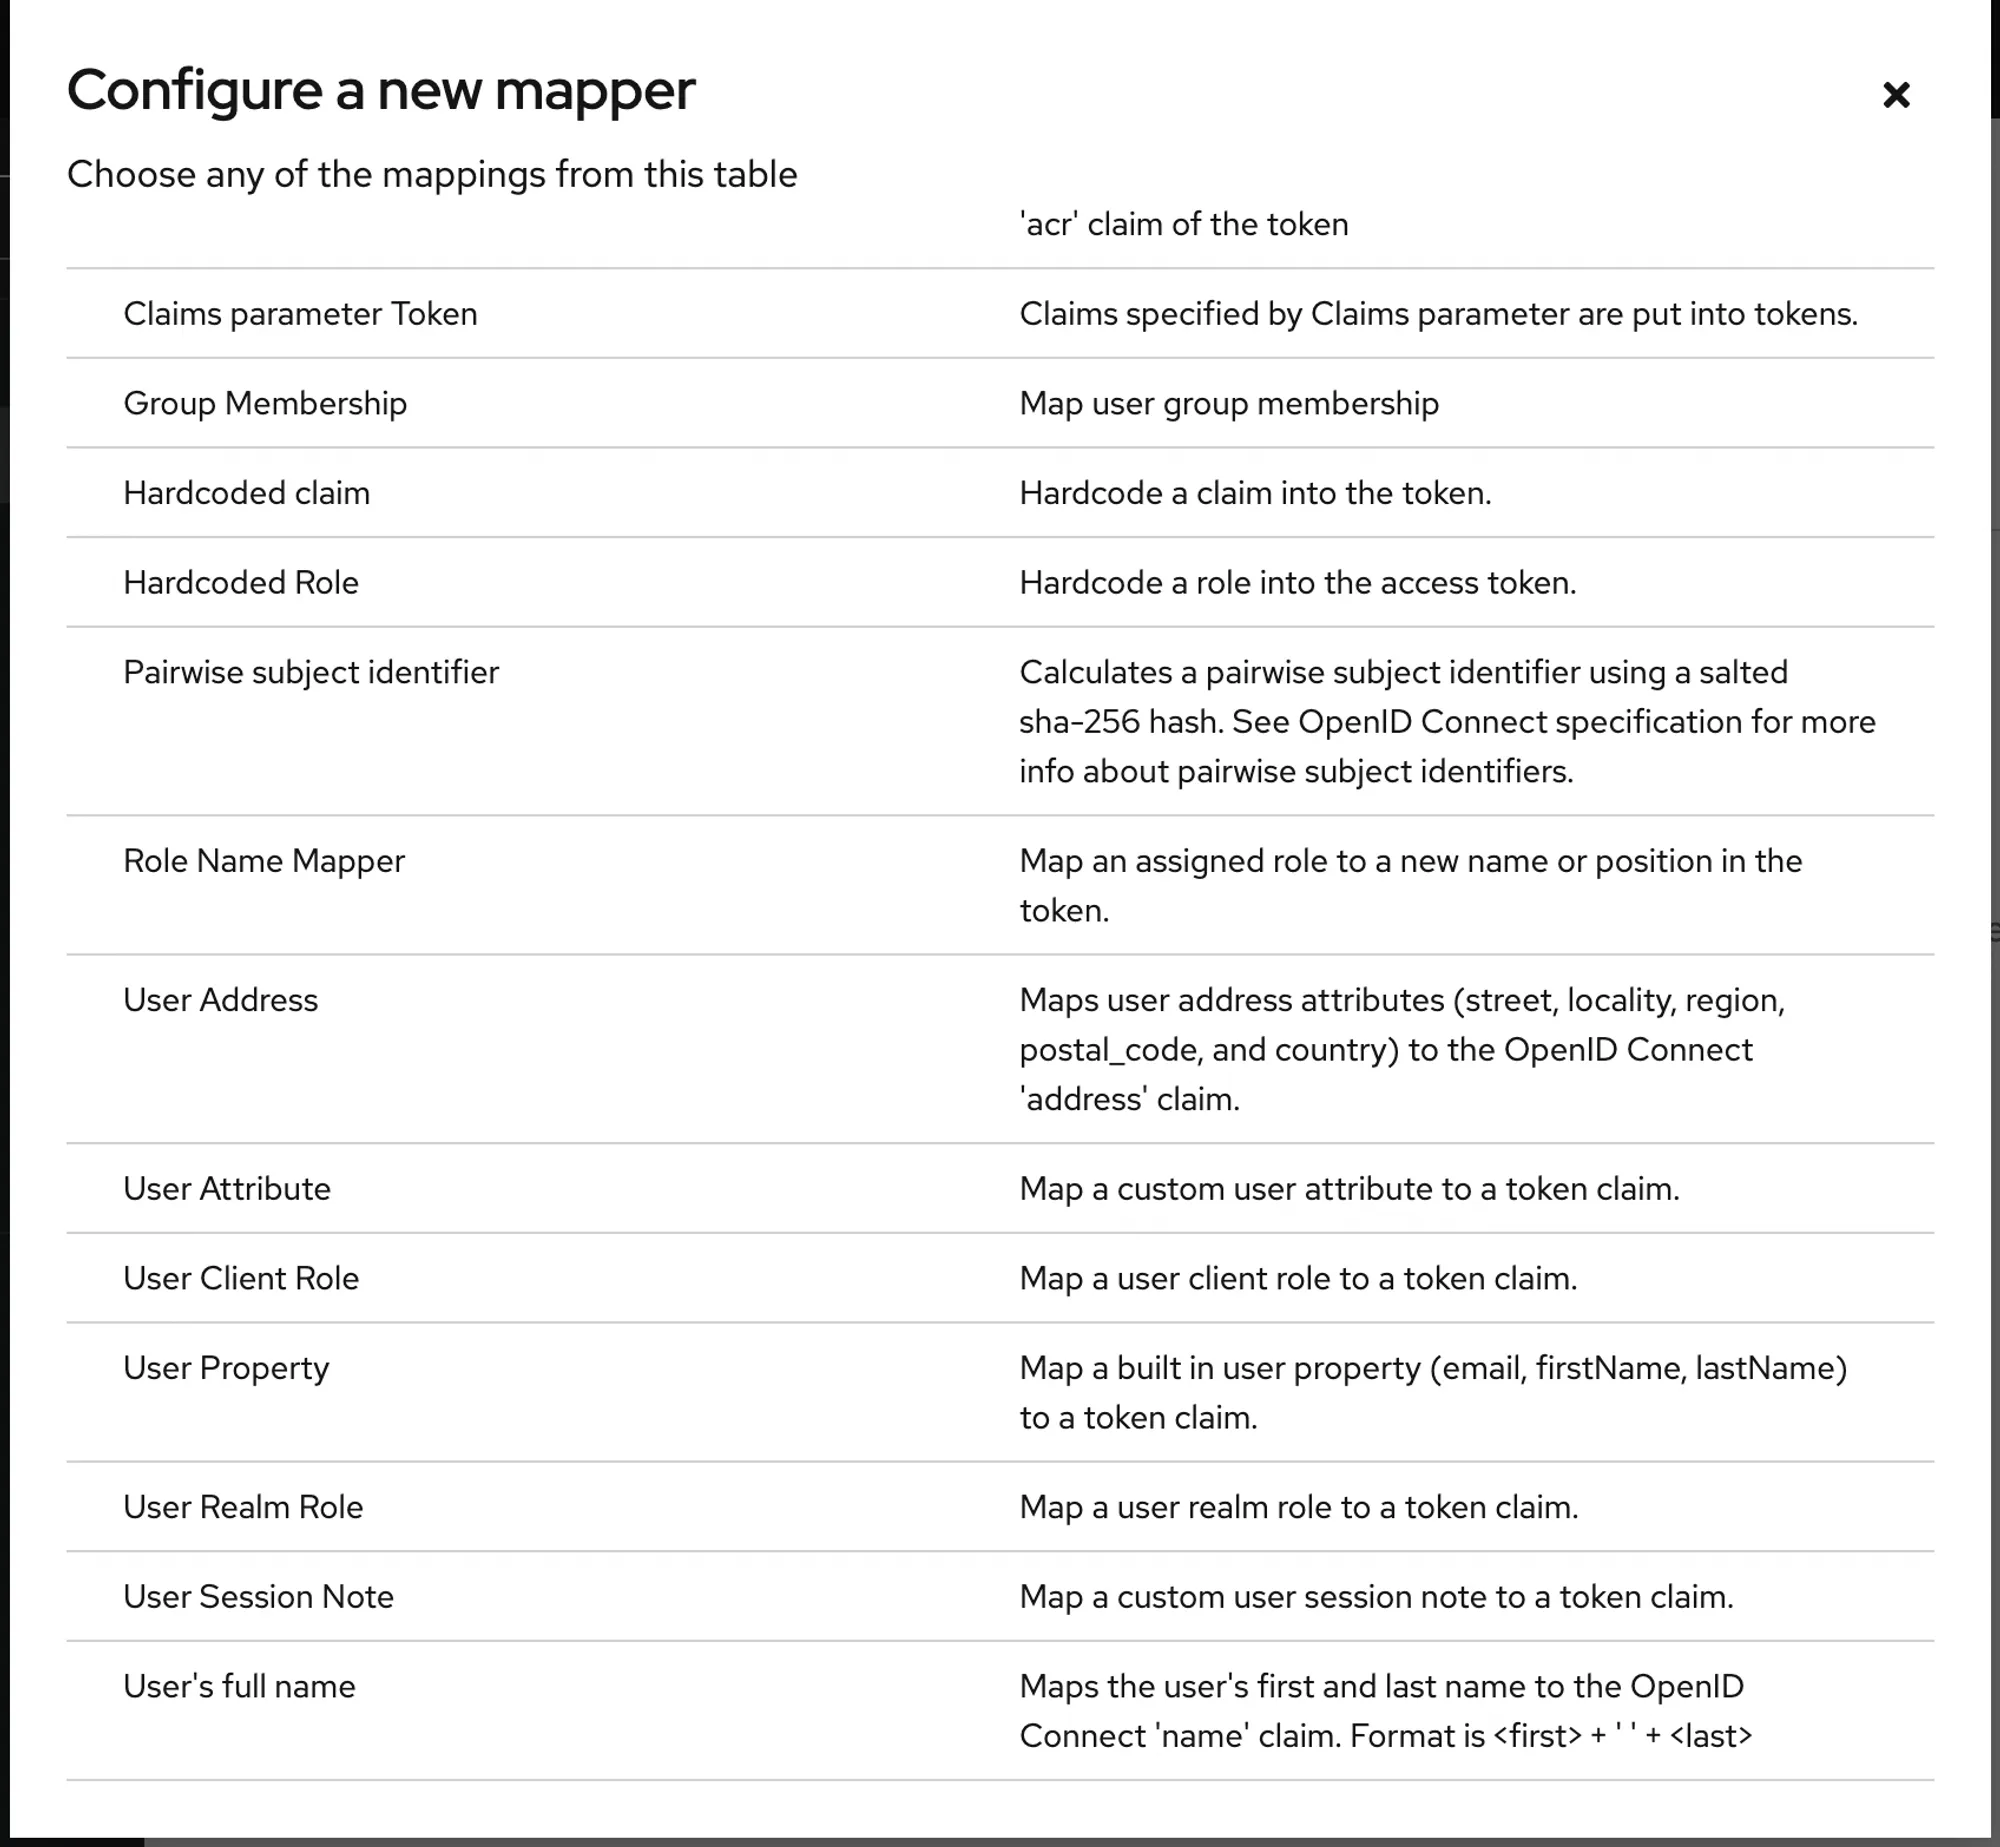
Select "User Attribute" from the list 👇
Fill in the form with the required values. In this example, we pass the value of the "groupTags" attribute to Pachca.
For the integration between Pachca tags and Active Directory groups to work, the attribute must have this exact name.
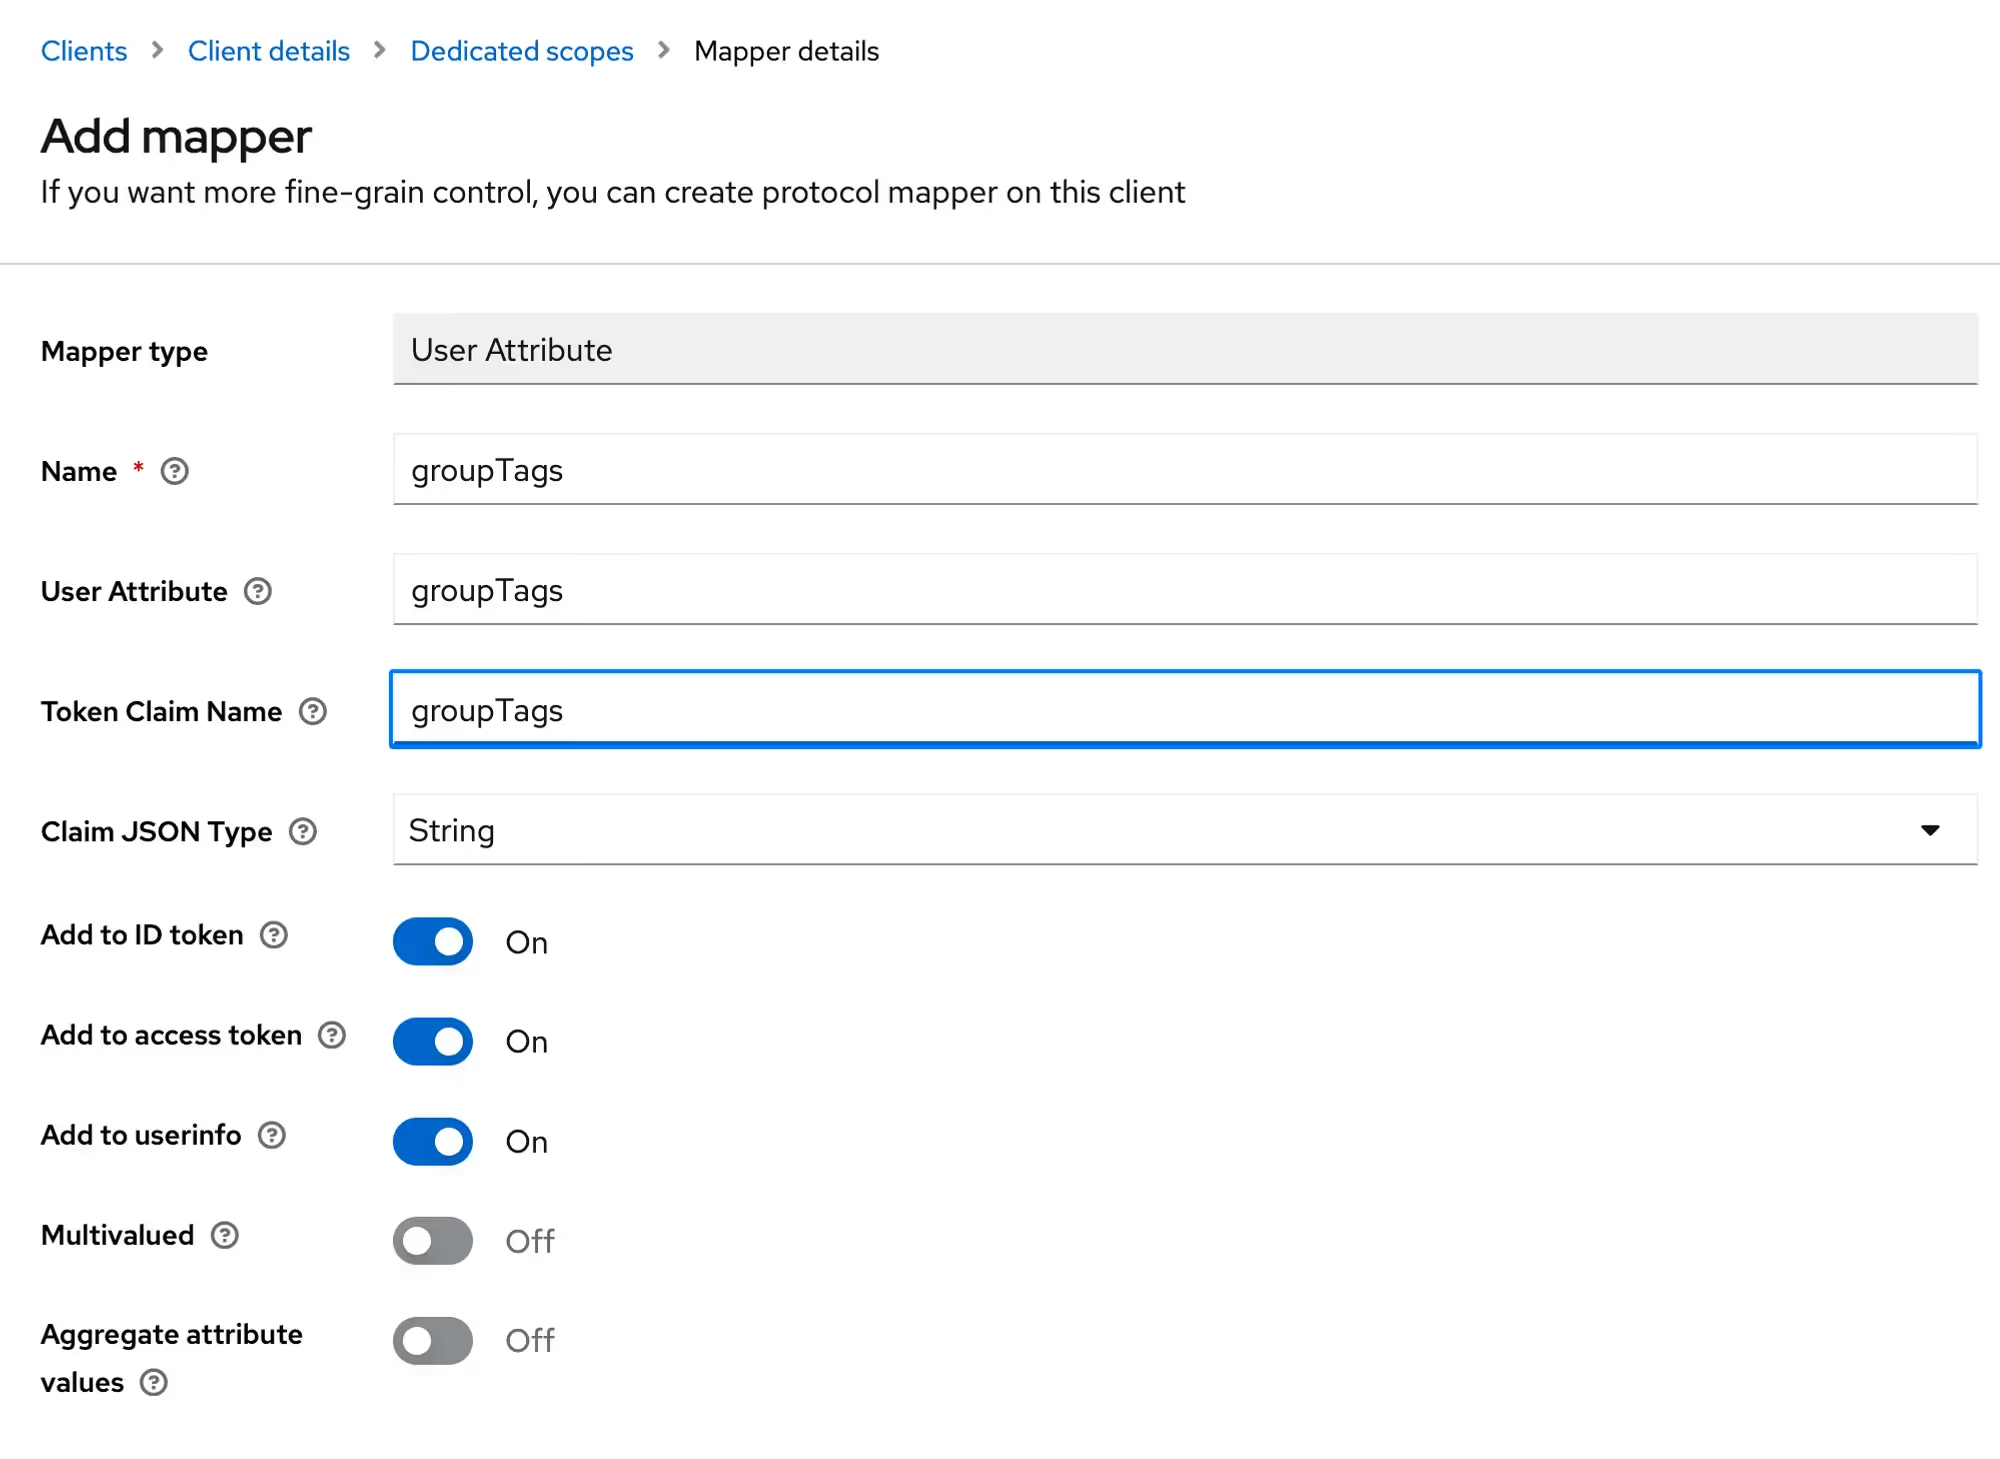
And here's how to pass an employee's phone number to Pachca:
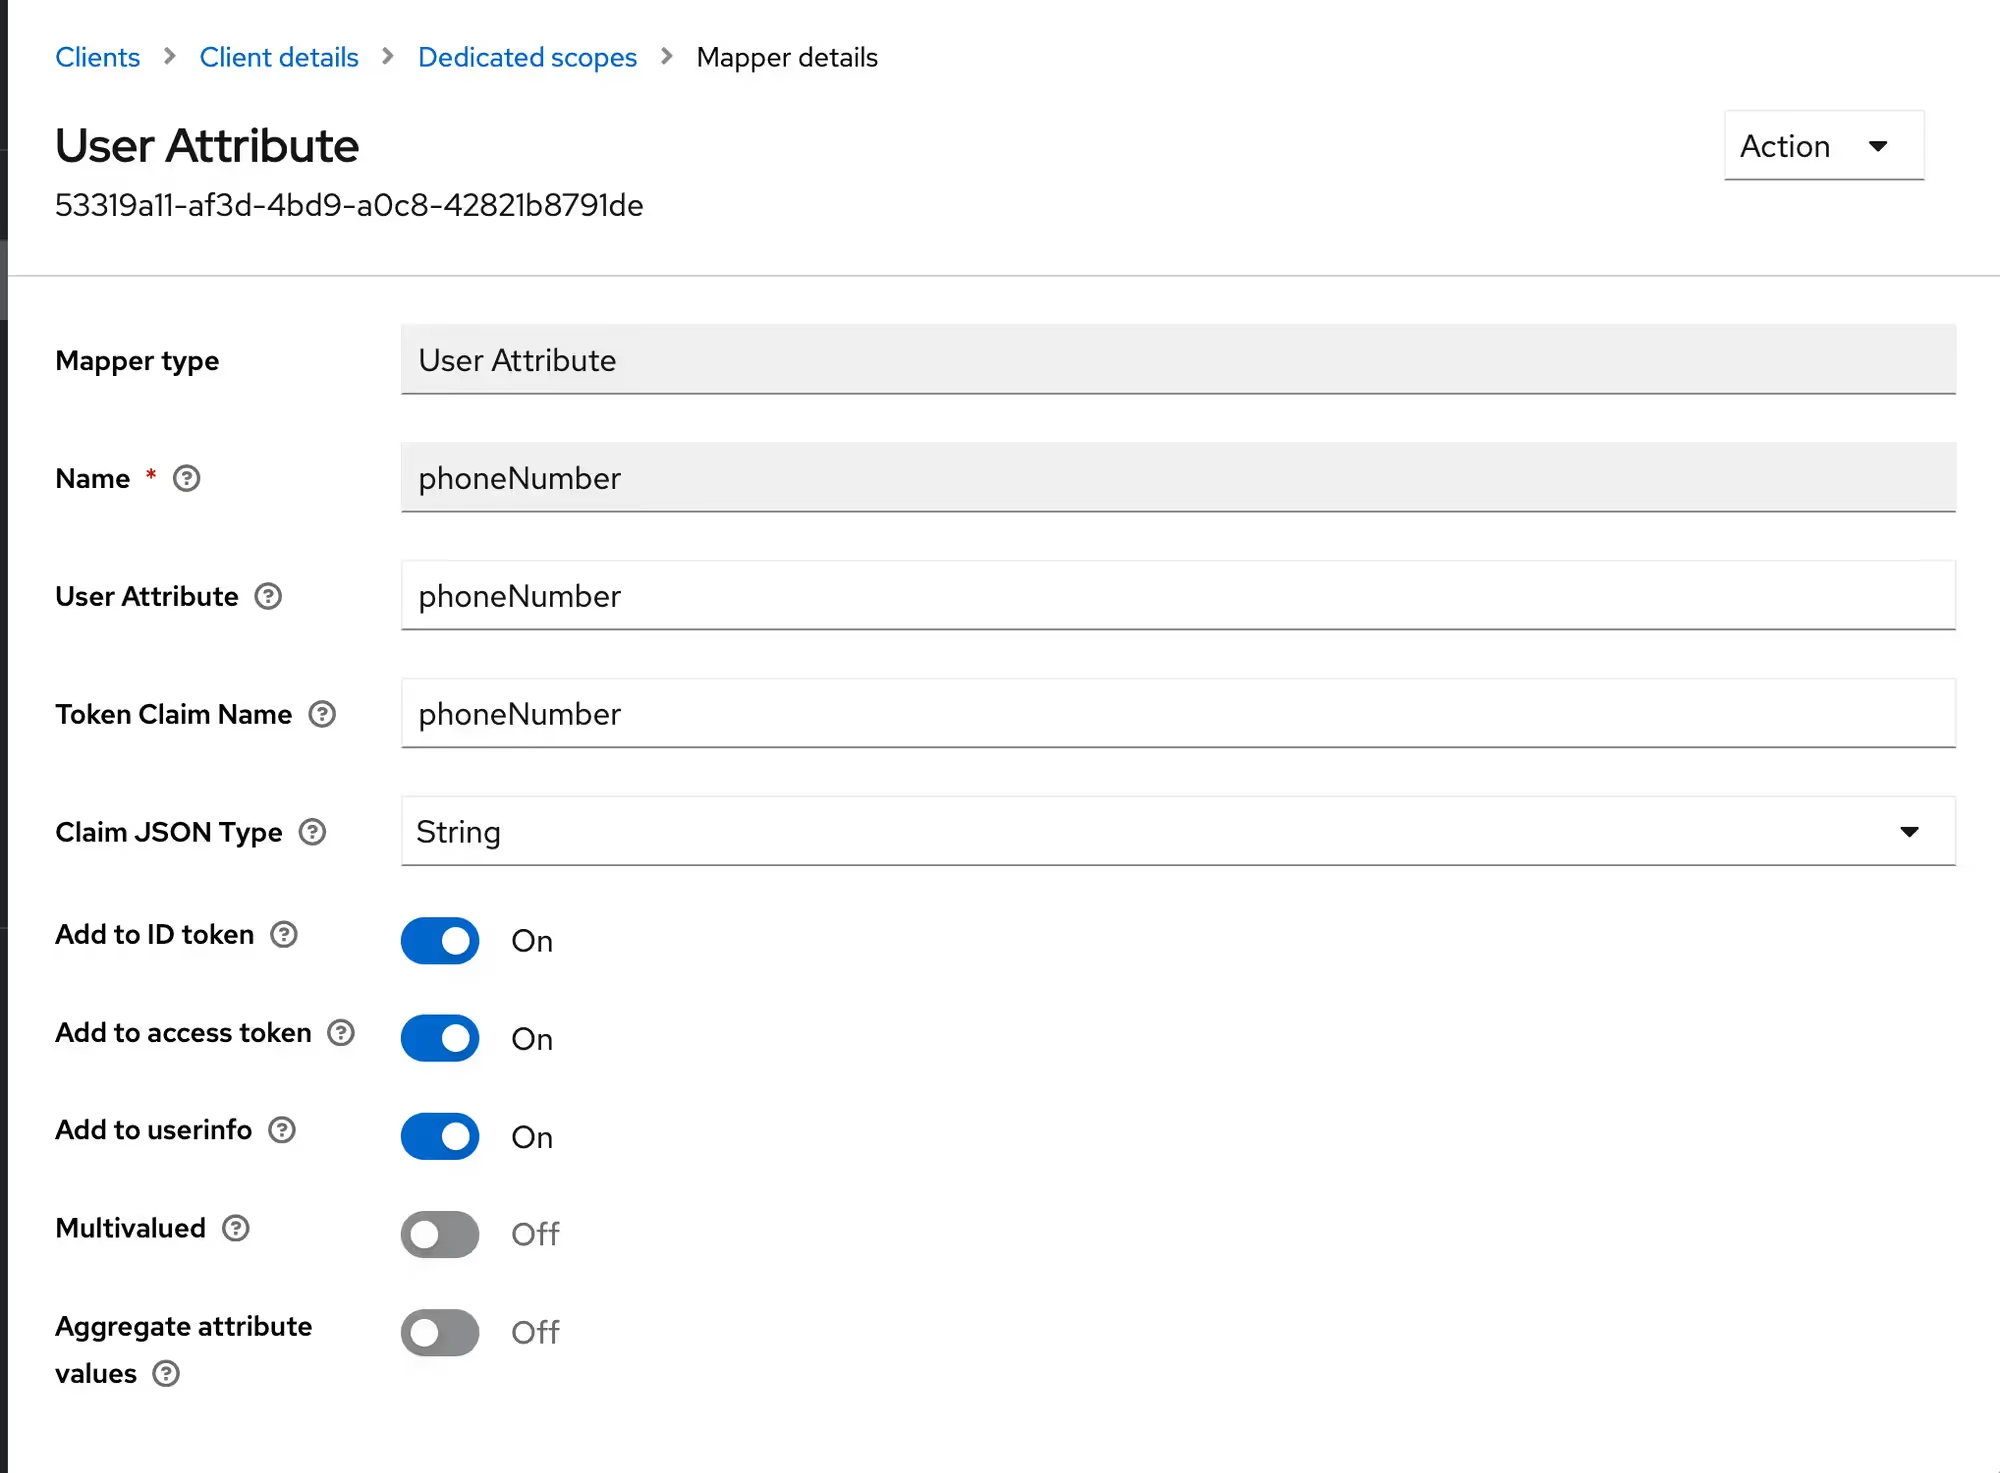
🎉 That's it. The next time an employee logs in with SSO, their new attribute values will be passed to Pachca.
To add other fields to an employee's Pachca profile, specify the attribute name in the mapping:
- Phone: phone_number
- Job title: title
- Department: department
- Group tags: group_tags
You can also pass any other text fields from your directory to Pachca, like an employee's manager or birthday. To do this:
- Create the field in Members in the Pachca interface (Members -> settings -> add field -> set a name and any type except "File")
- Specify the attribute name in the mapping, as described above for the standard profile fields
Once you've set up the mapping, let our support team know so we can connect it