Group tags
Add employees to all the chats they need at once with group tags
Instead of spending time adding each employee to your team chats one by one, assign them a group tag. The employee is automatically added to every chat that has this tag.
You can't assign a tag to someone with the Guest role.
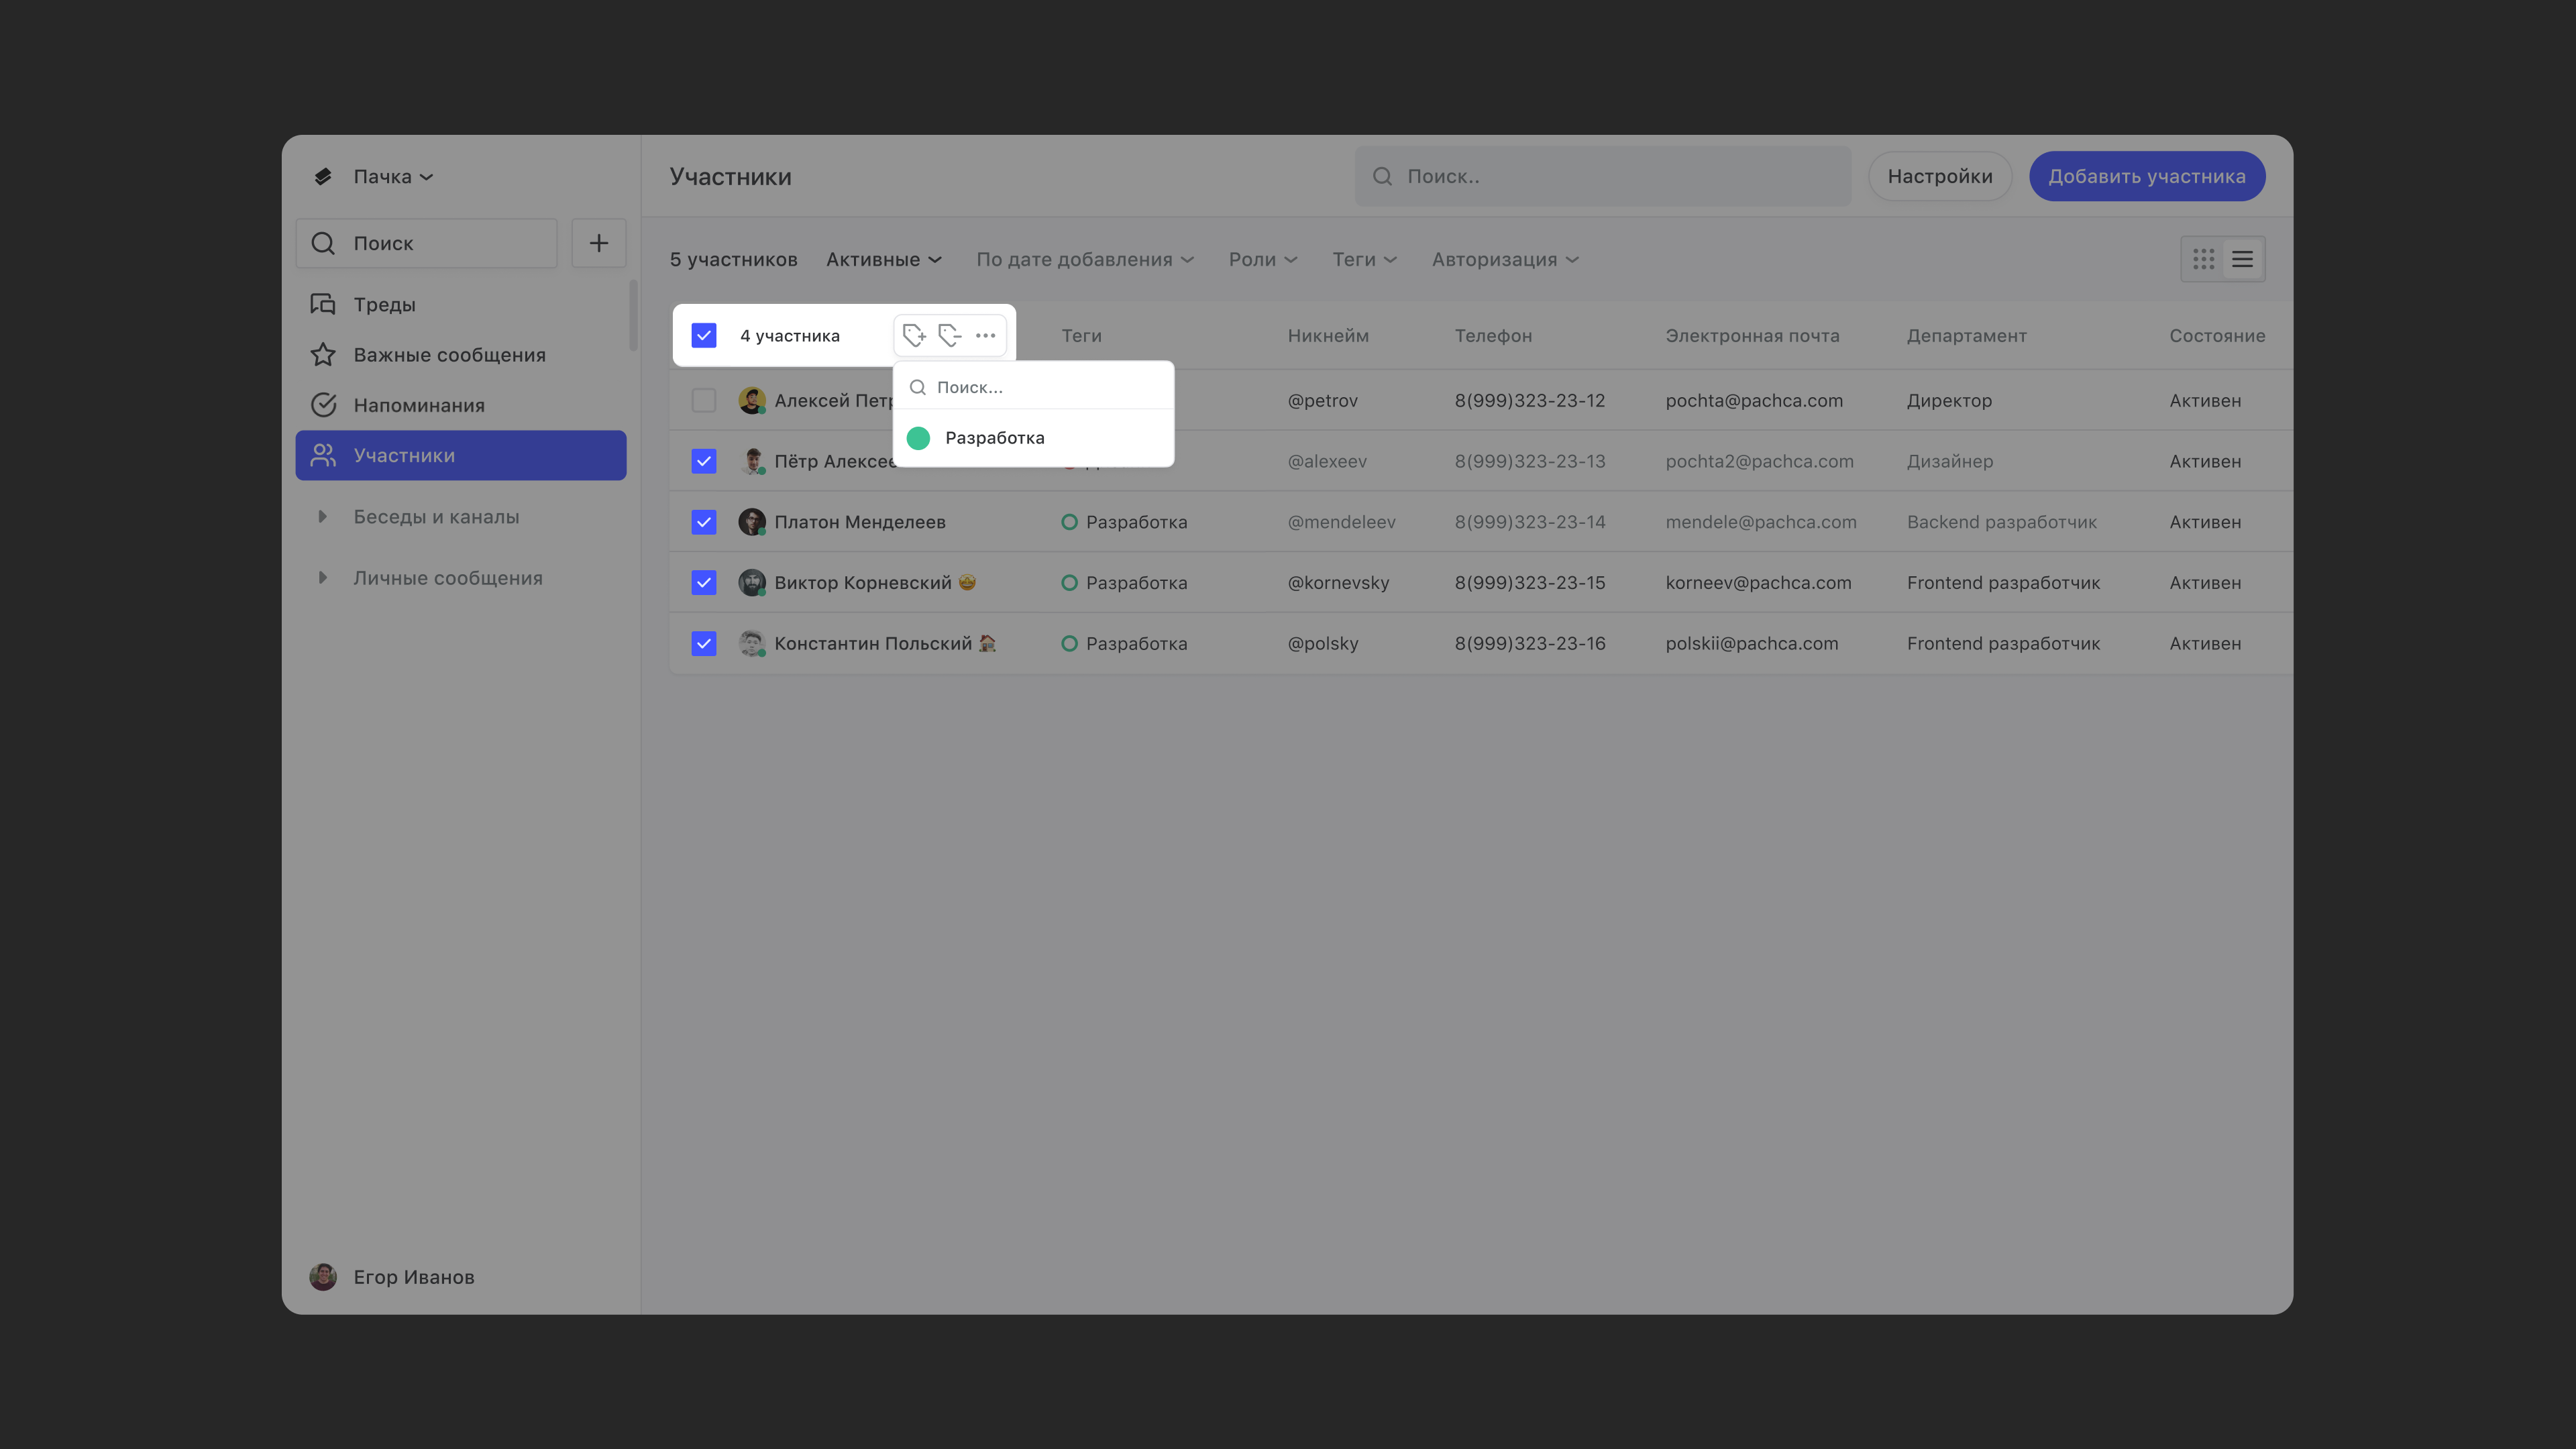
Only members with the Owner and Administrator roles can manage group tags. To do this, go to Members in the sidebar and switch to table view in the top-right corner. The table has a column showing each employee's tags.
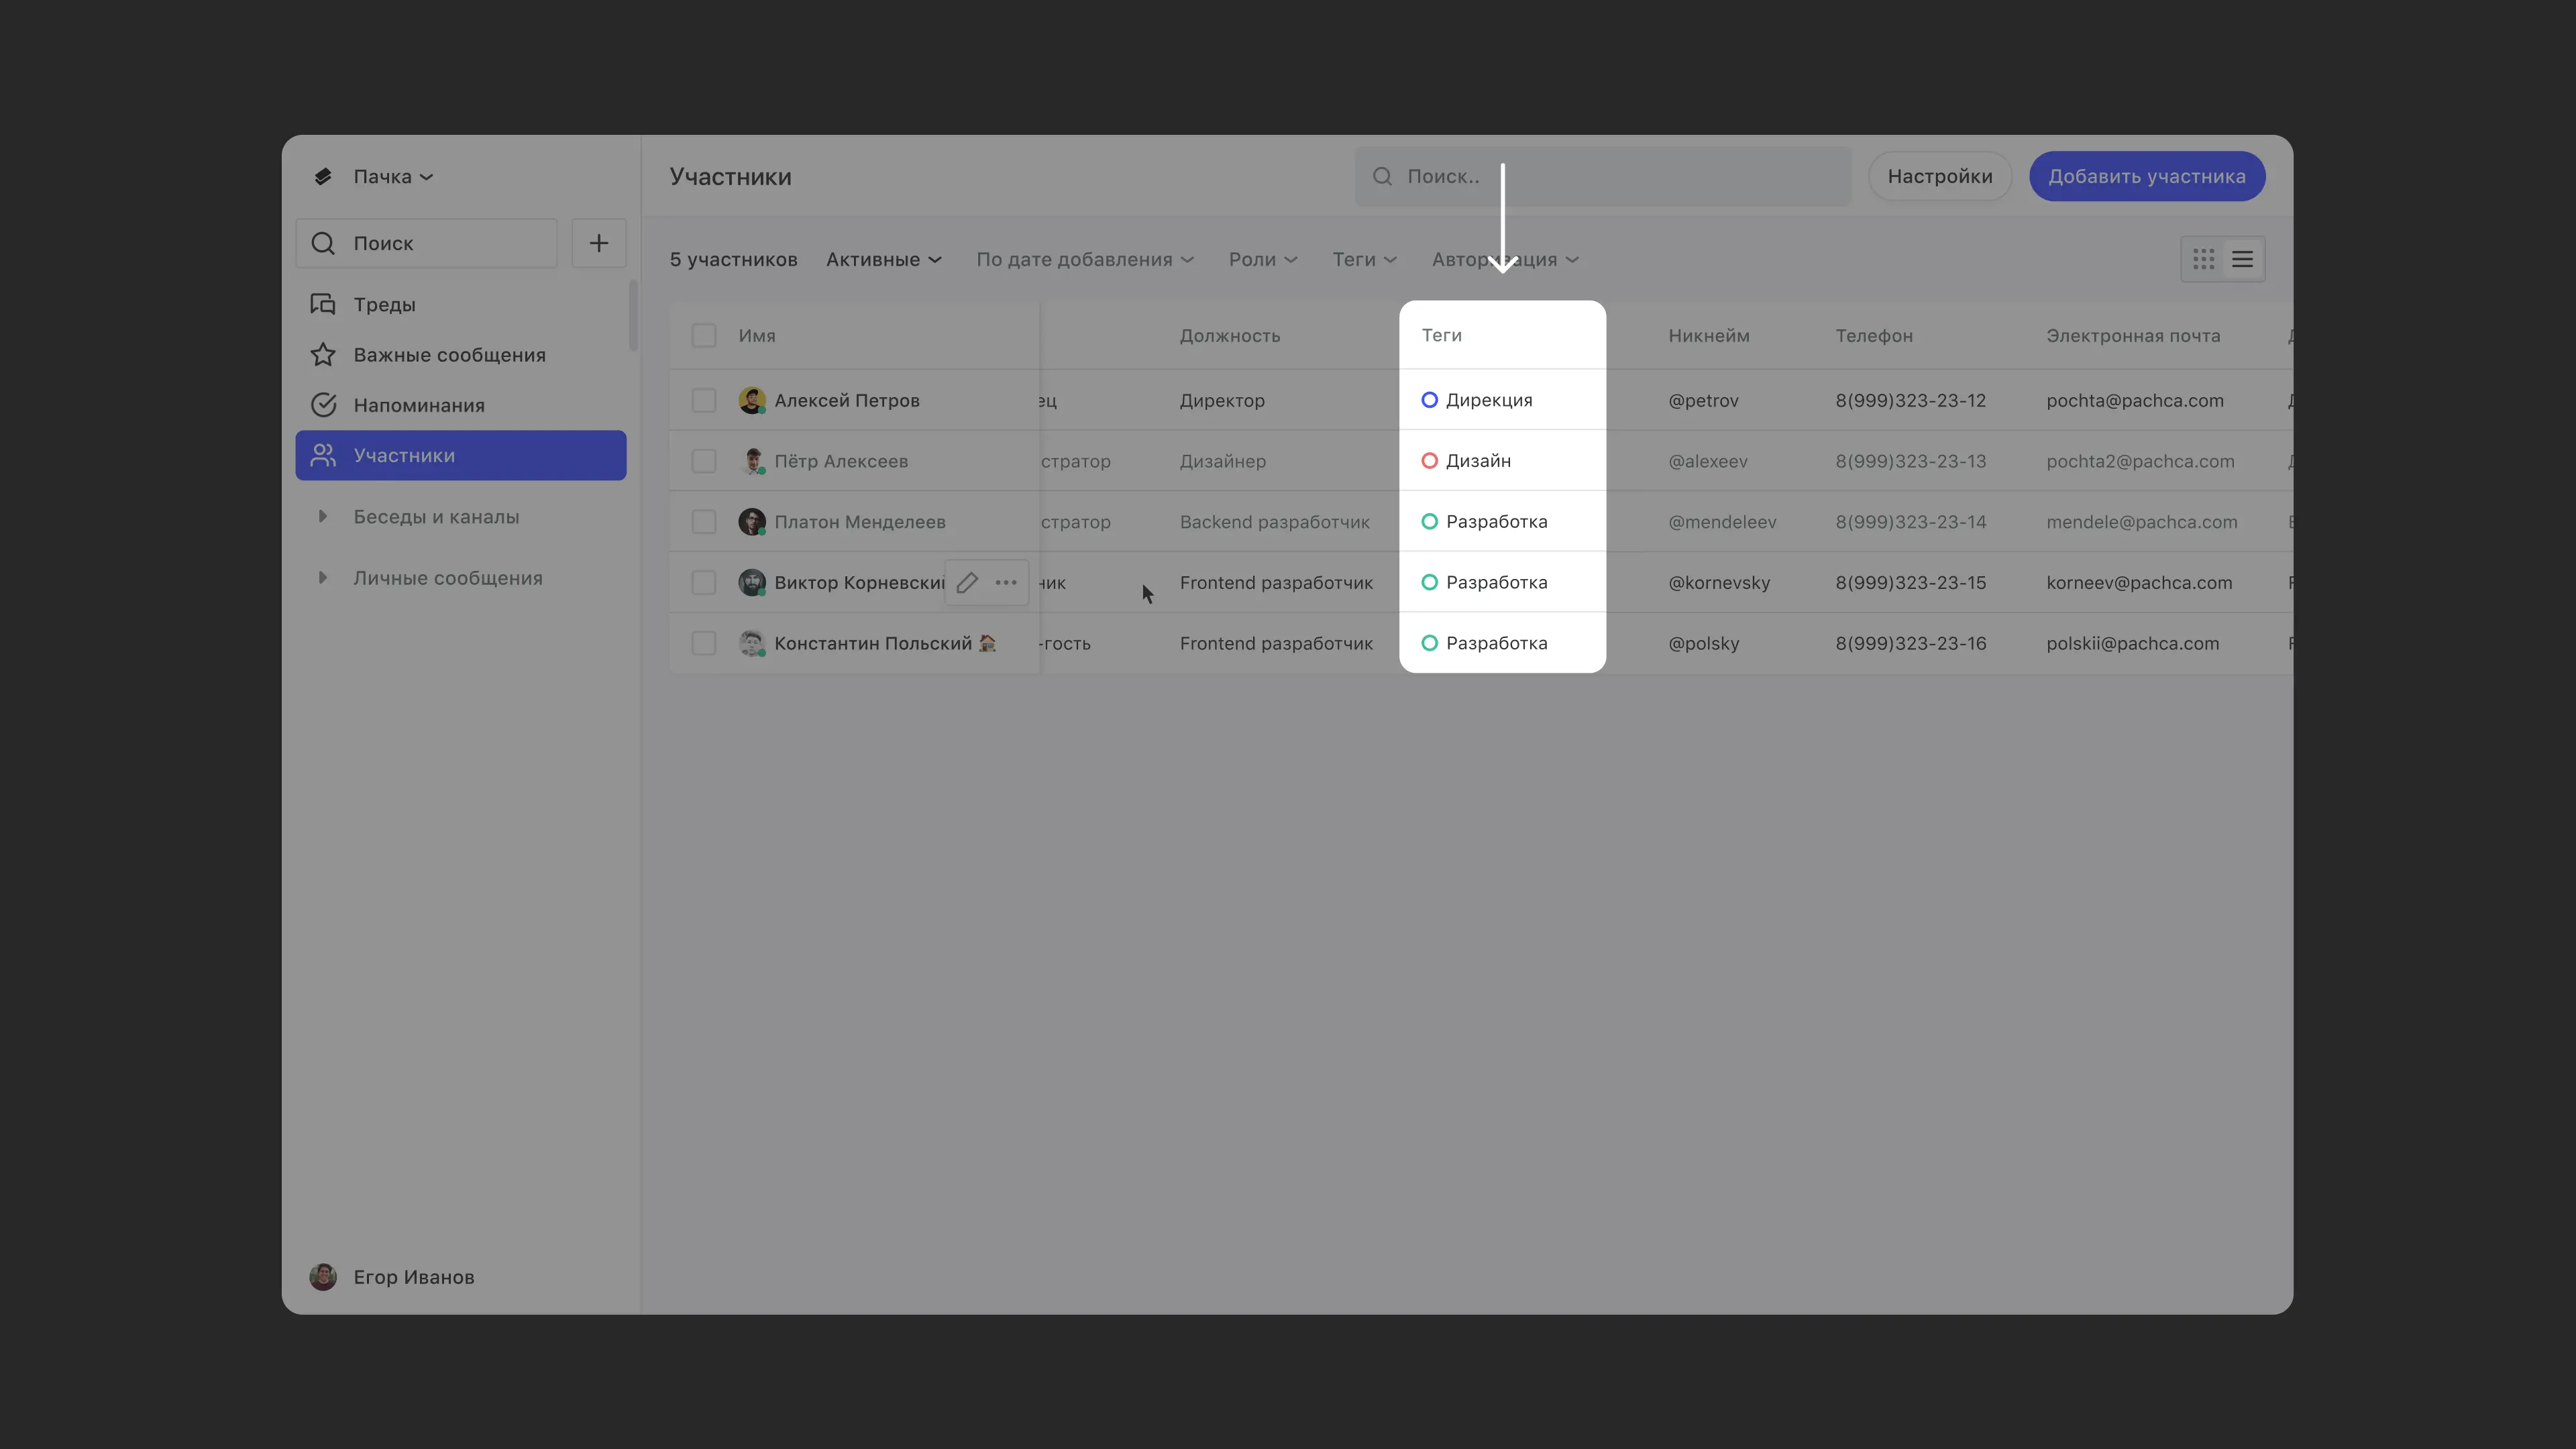
How to create a group tag
- In the members table, select the employees you want to give the new tag to
- Click the add tag icon
- In the window that opens, type the tag name and click Create. If the tag has several words, use "_" instead of spaces
You can also create a tag while editing someone's profile. Hover over the employee's name → click the pencil icon → type the tag name in the Tags field and click Create.
How to change the group tag for one employee
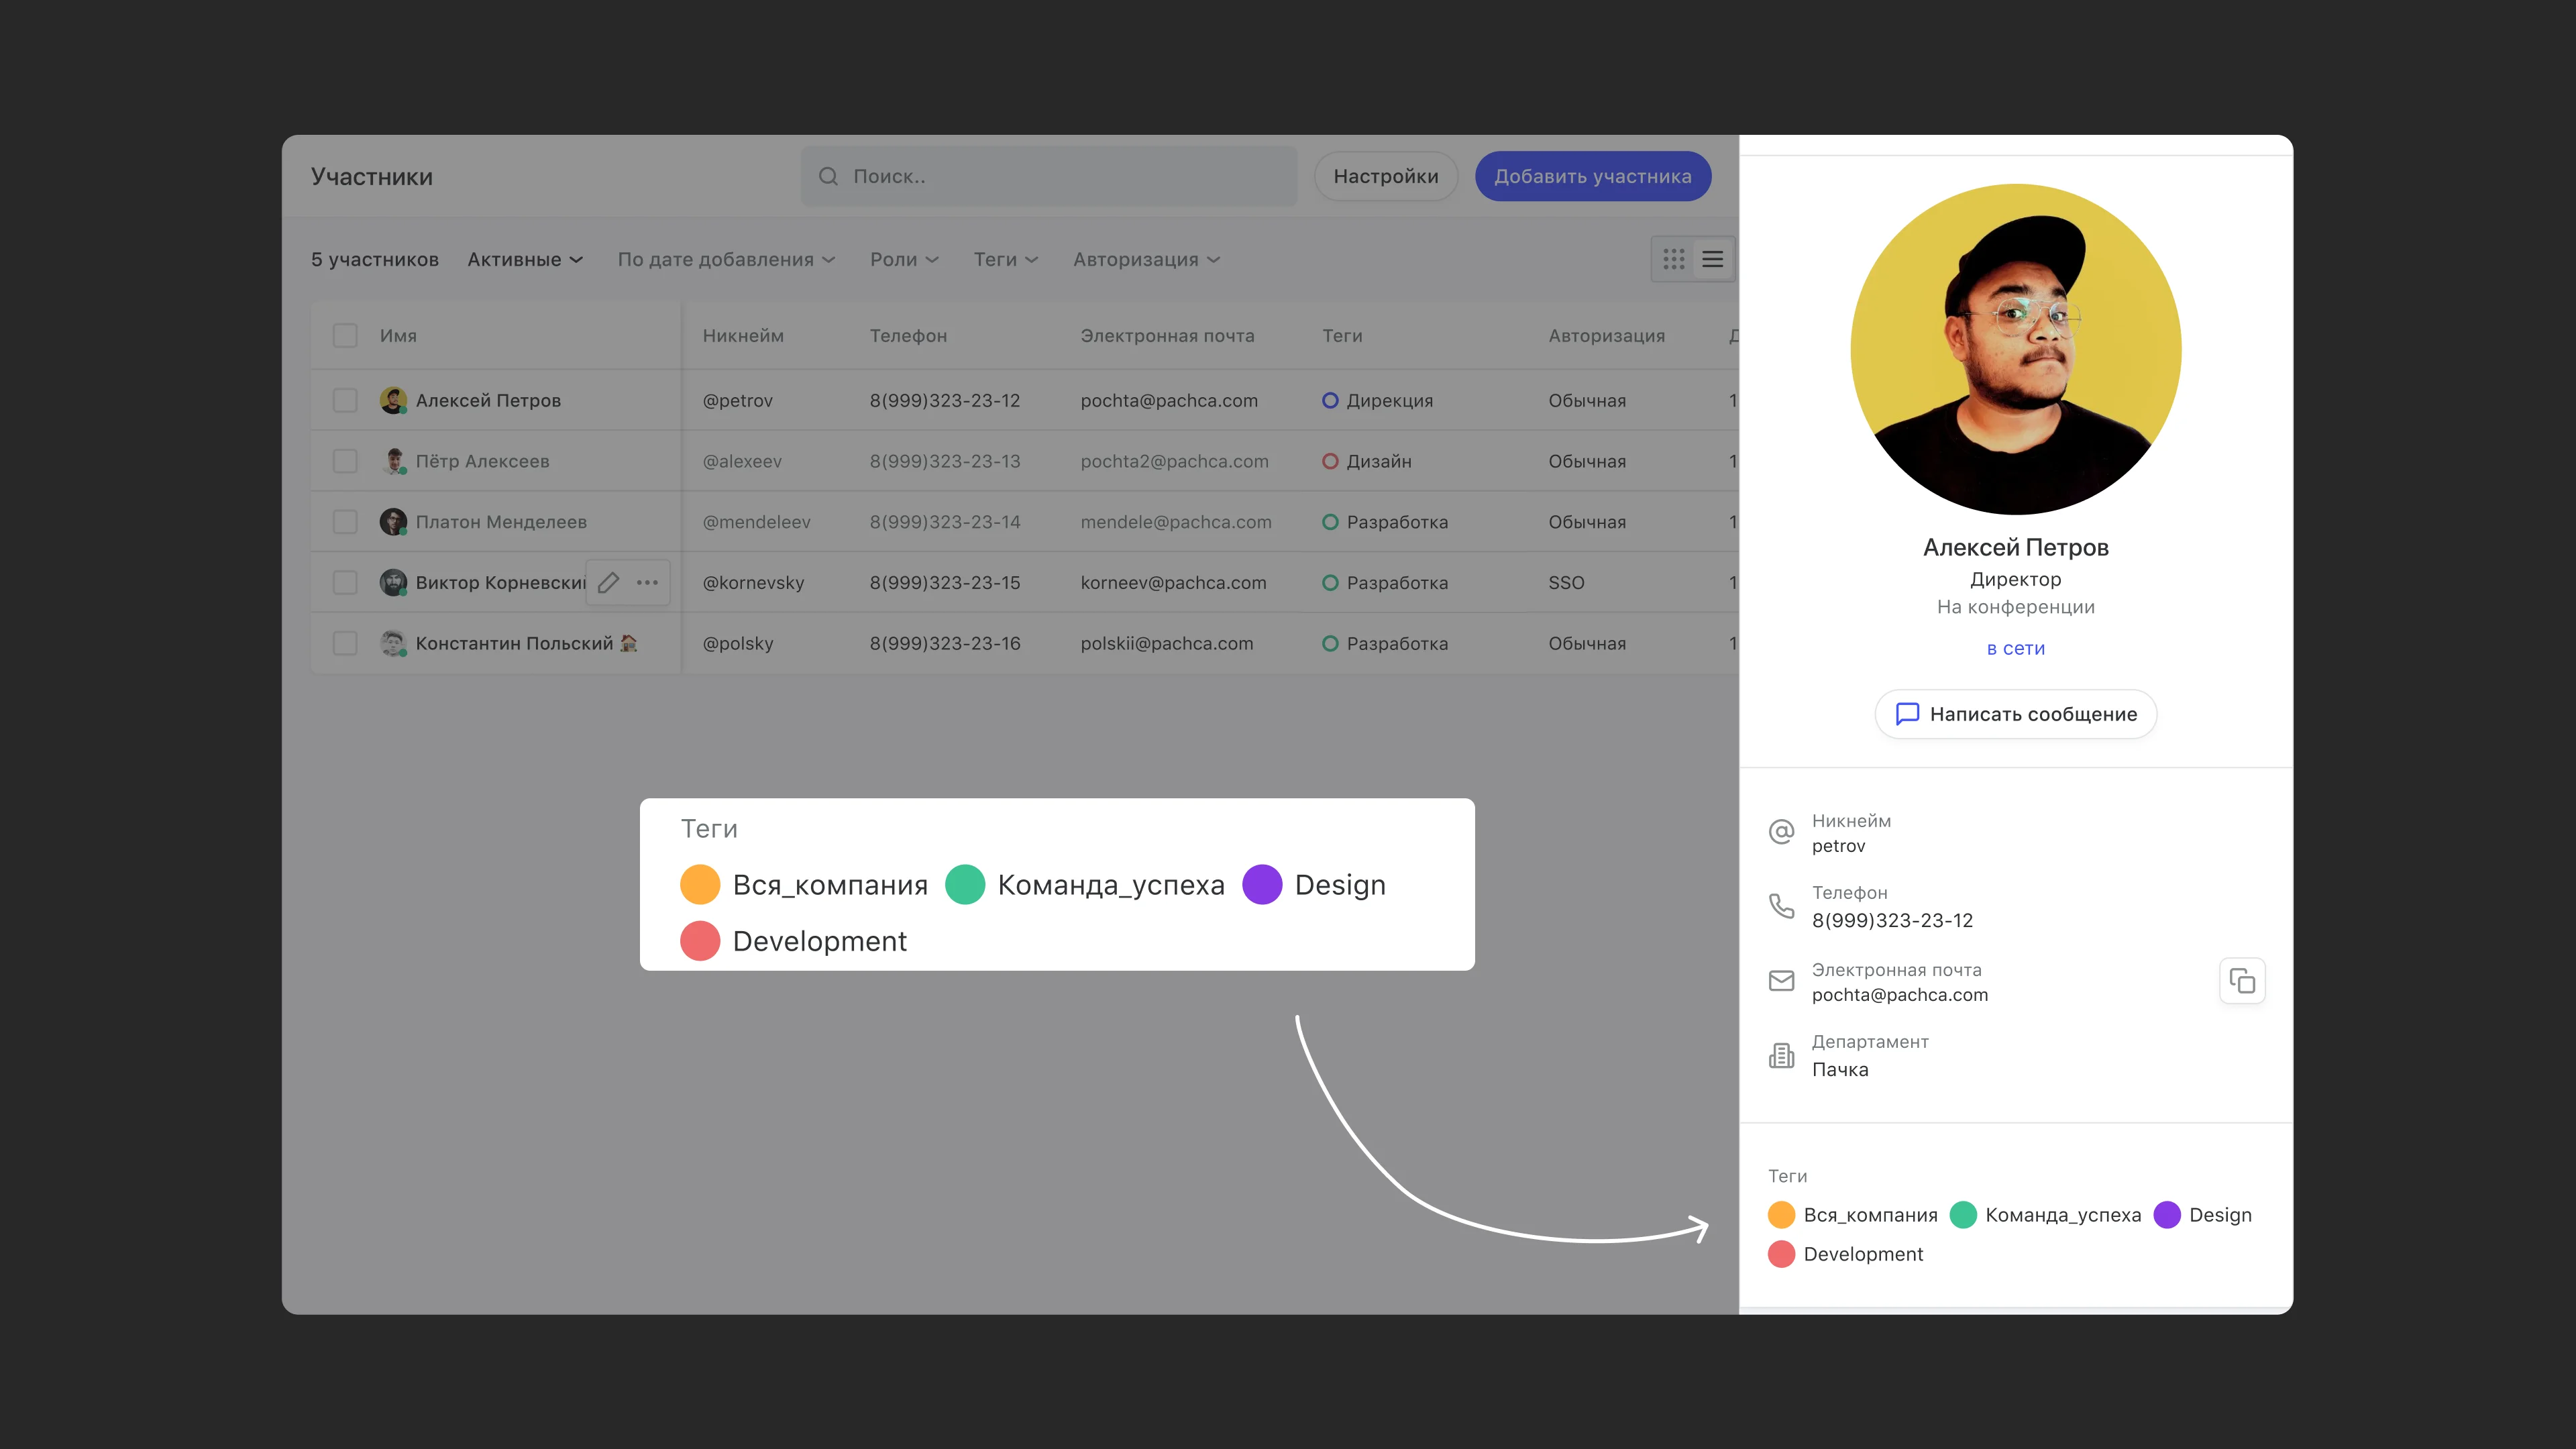
- Open the employee's profile
- At the top, click the three-dot icon and choose Edit profile
- Add or remove the tag you need in the Tags field
How to assign group tags to several employees at once
- Select the employees you want to add or remove a tag for
- Click the add or remove tag icon
- Pick the tag you need from the list
How to use group tags: examples
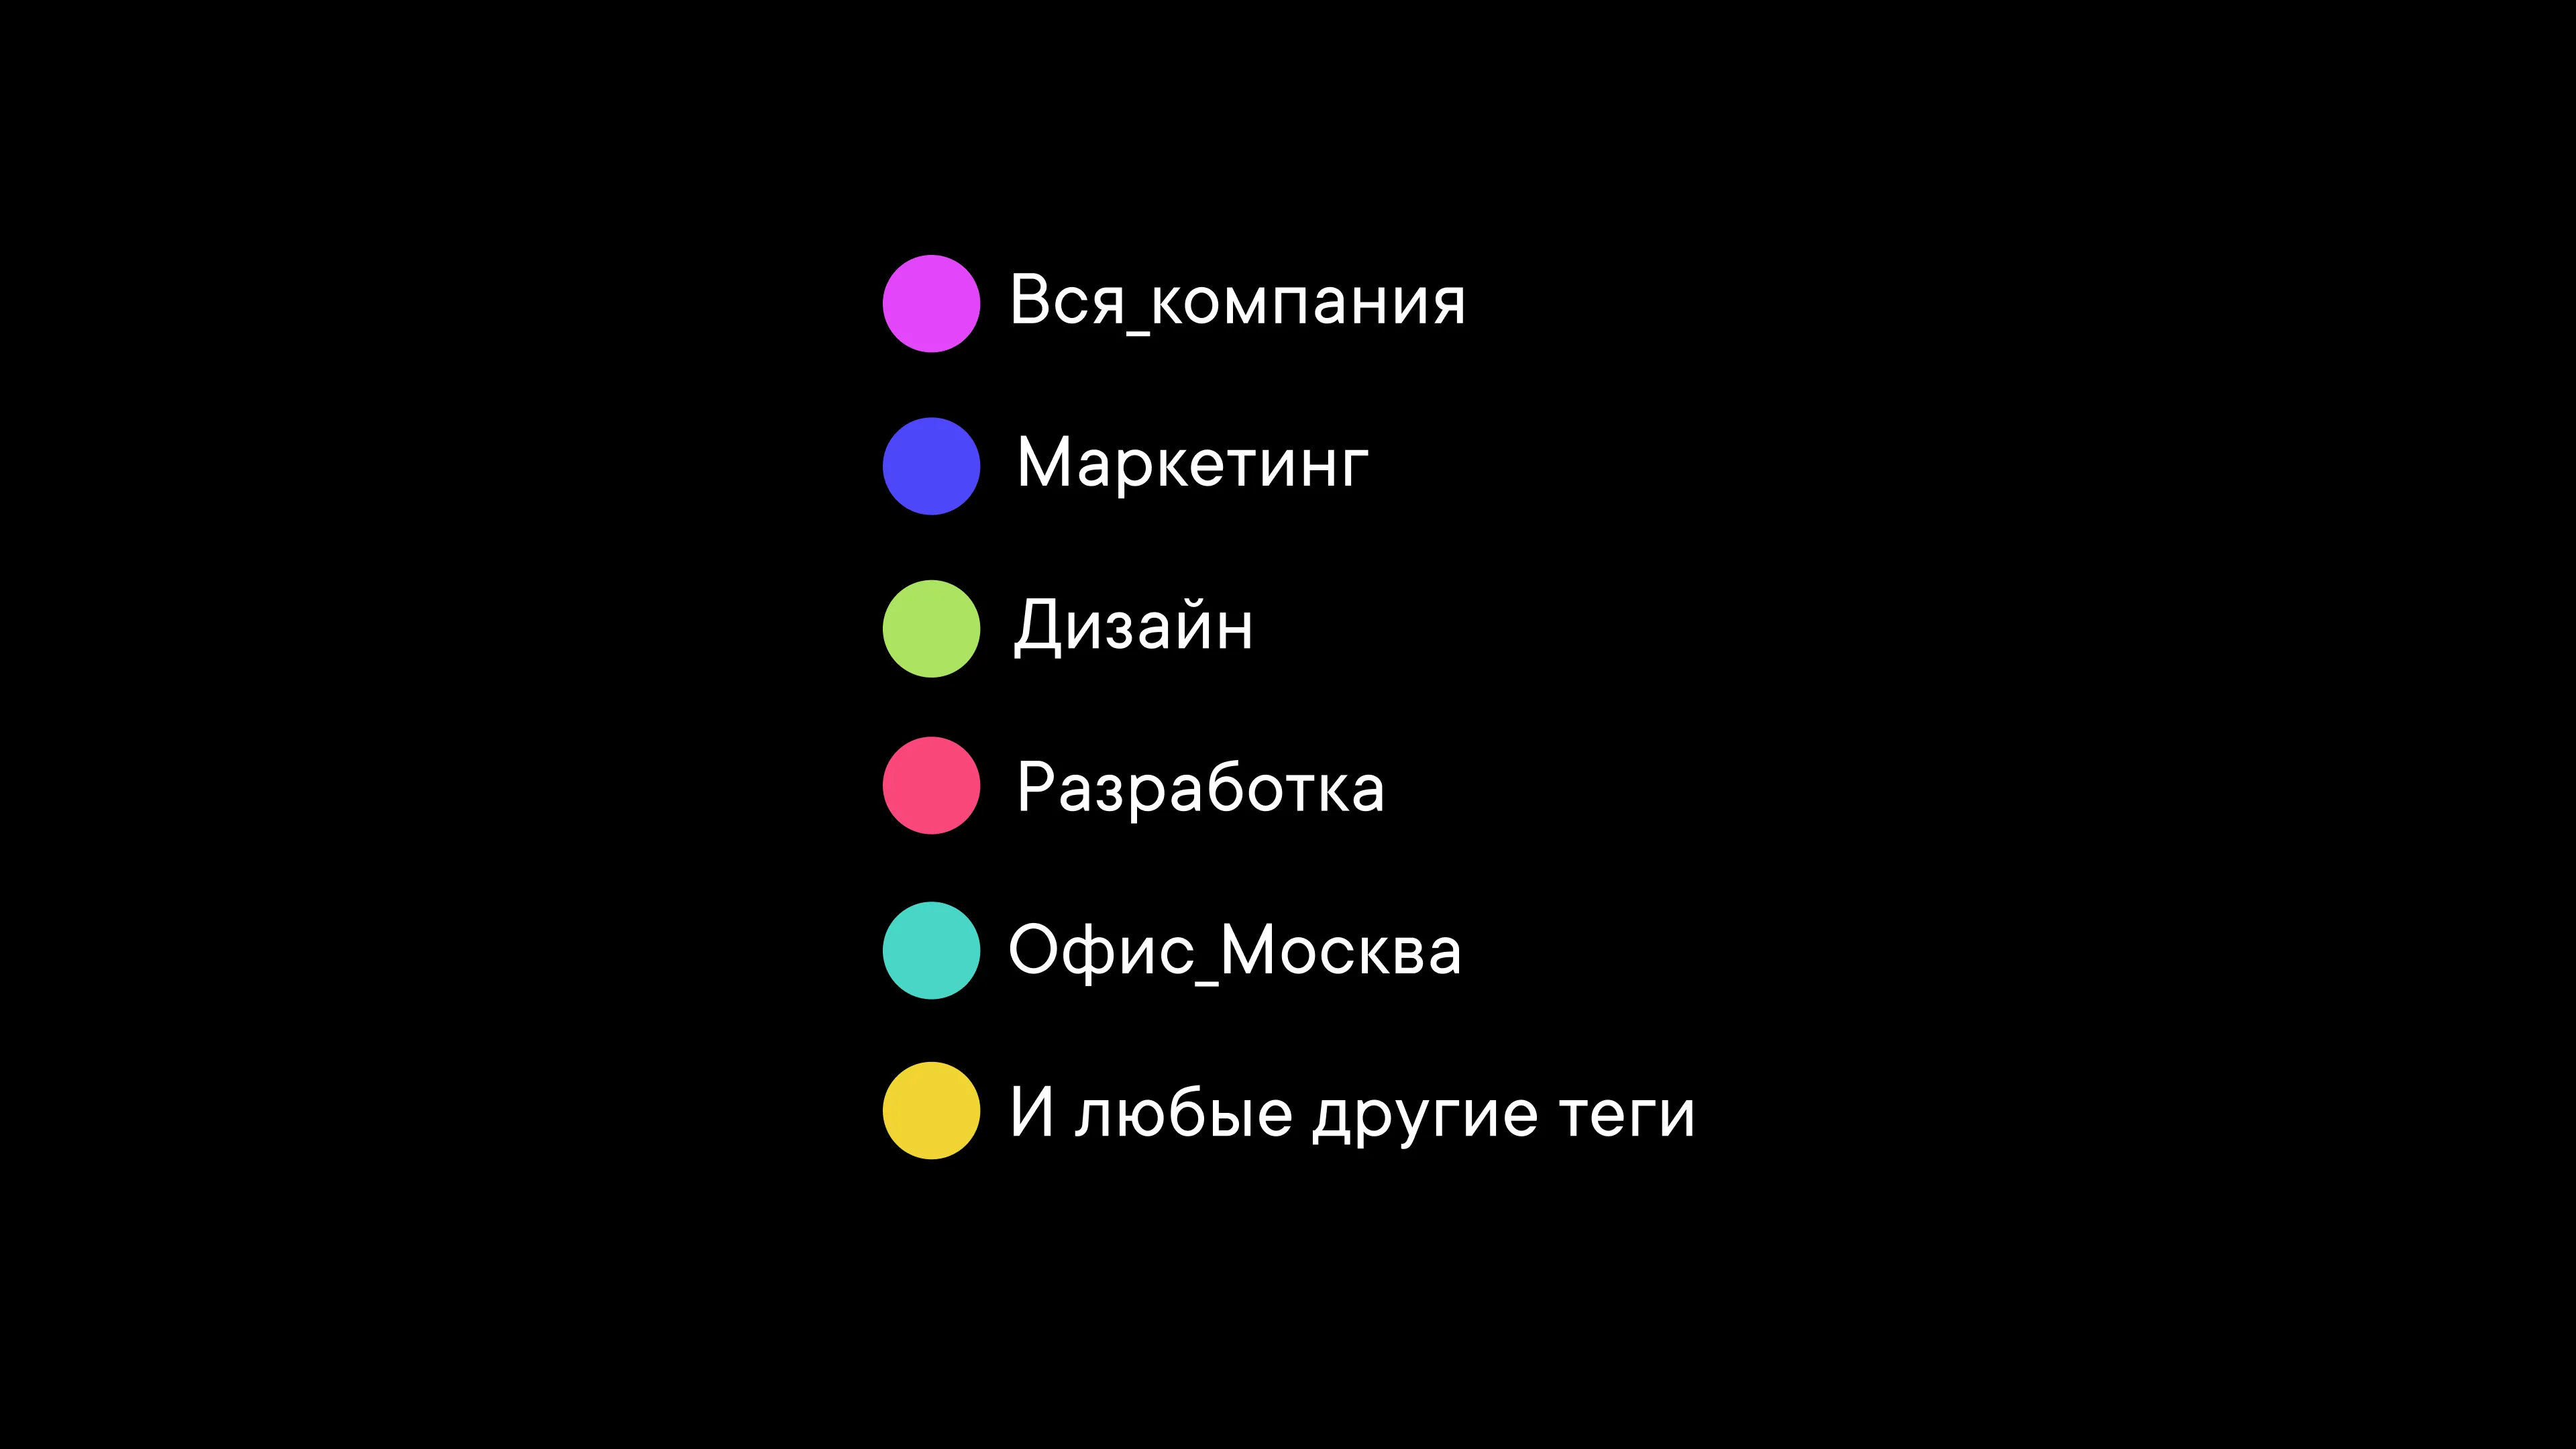
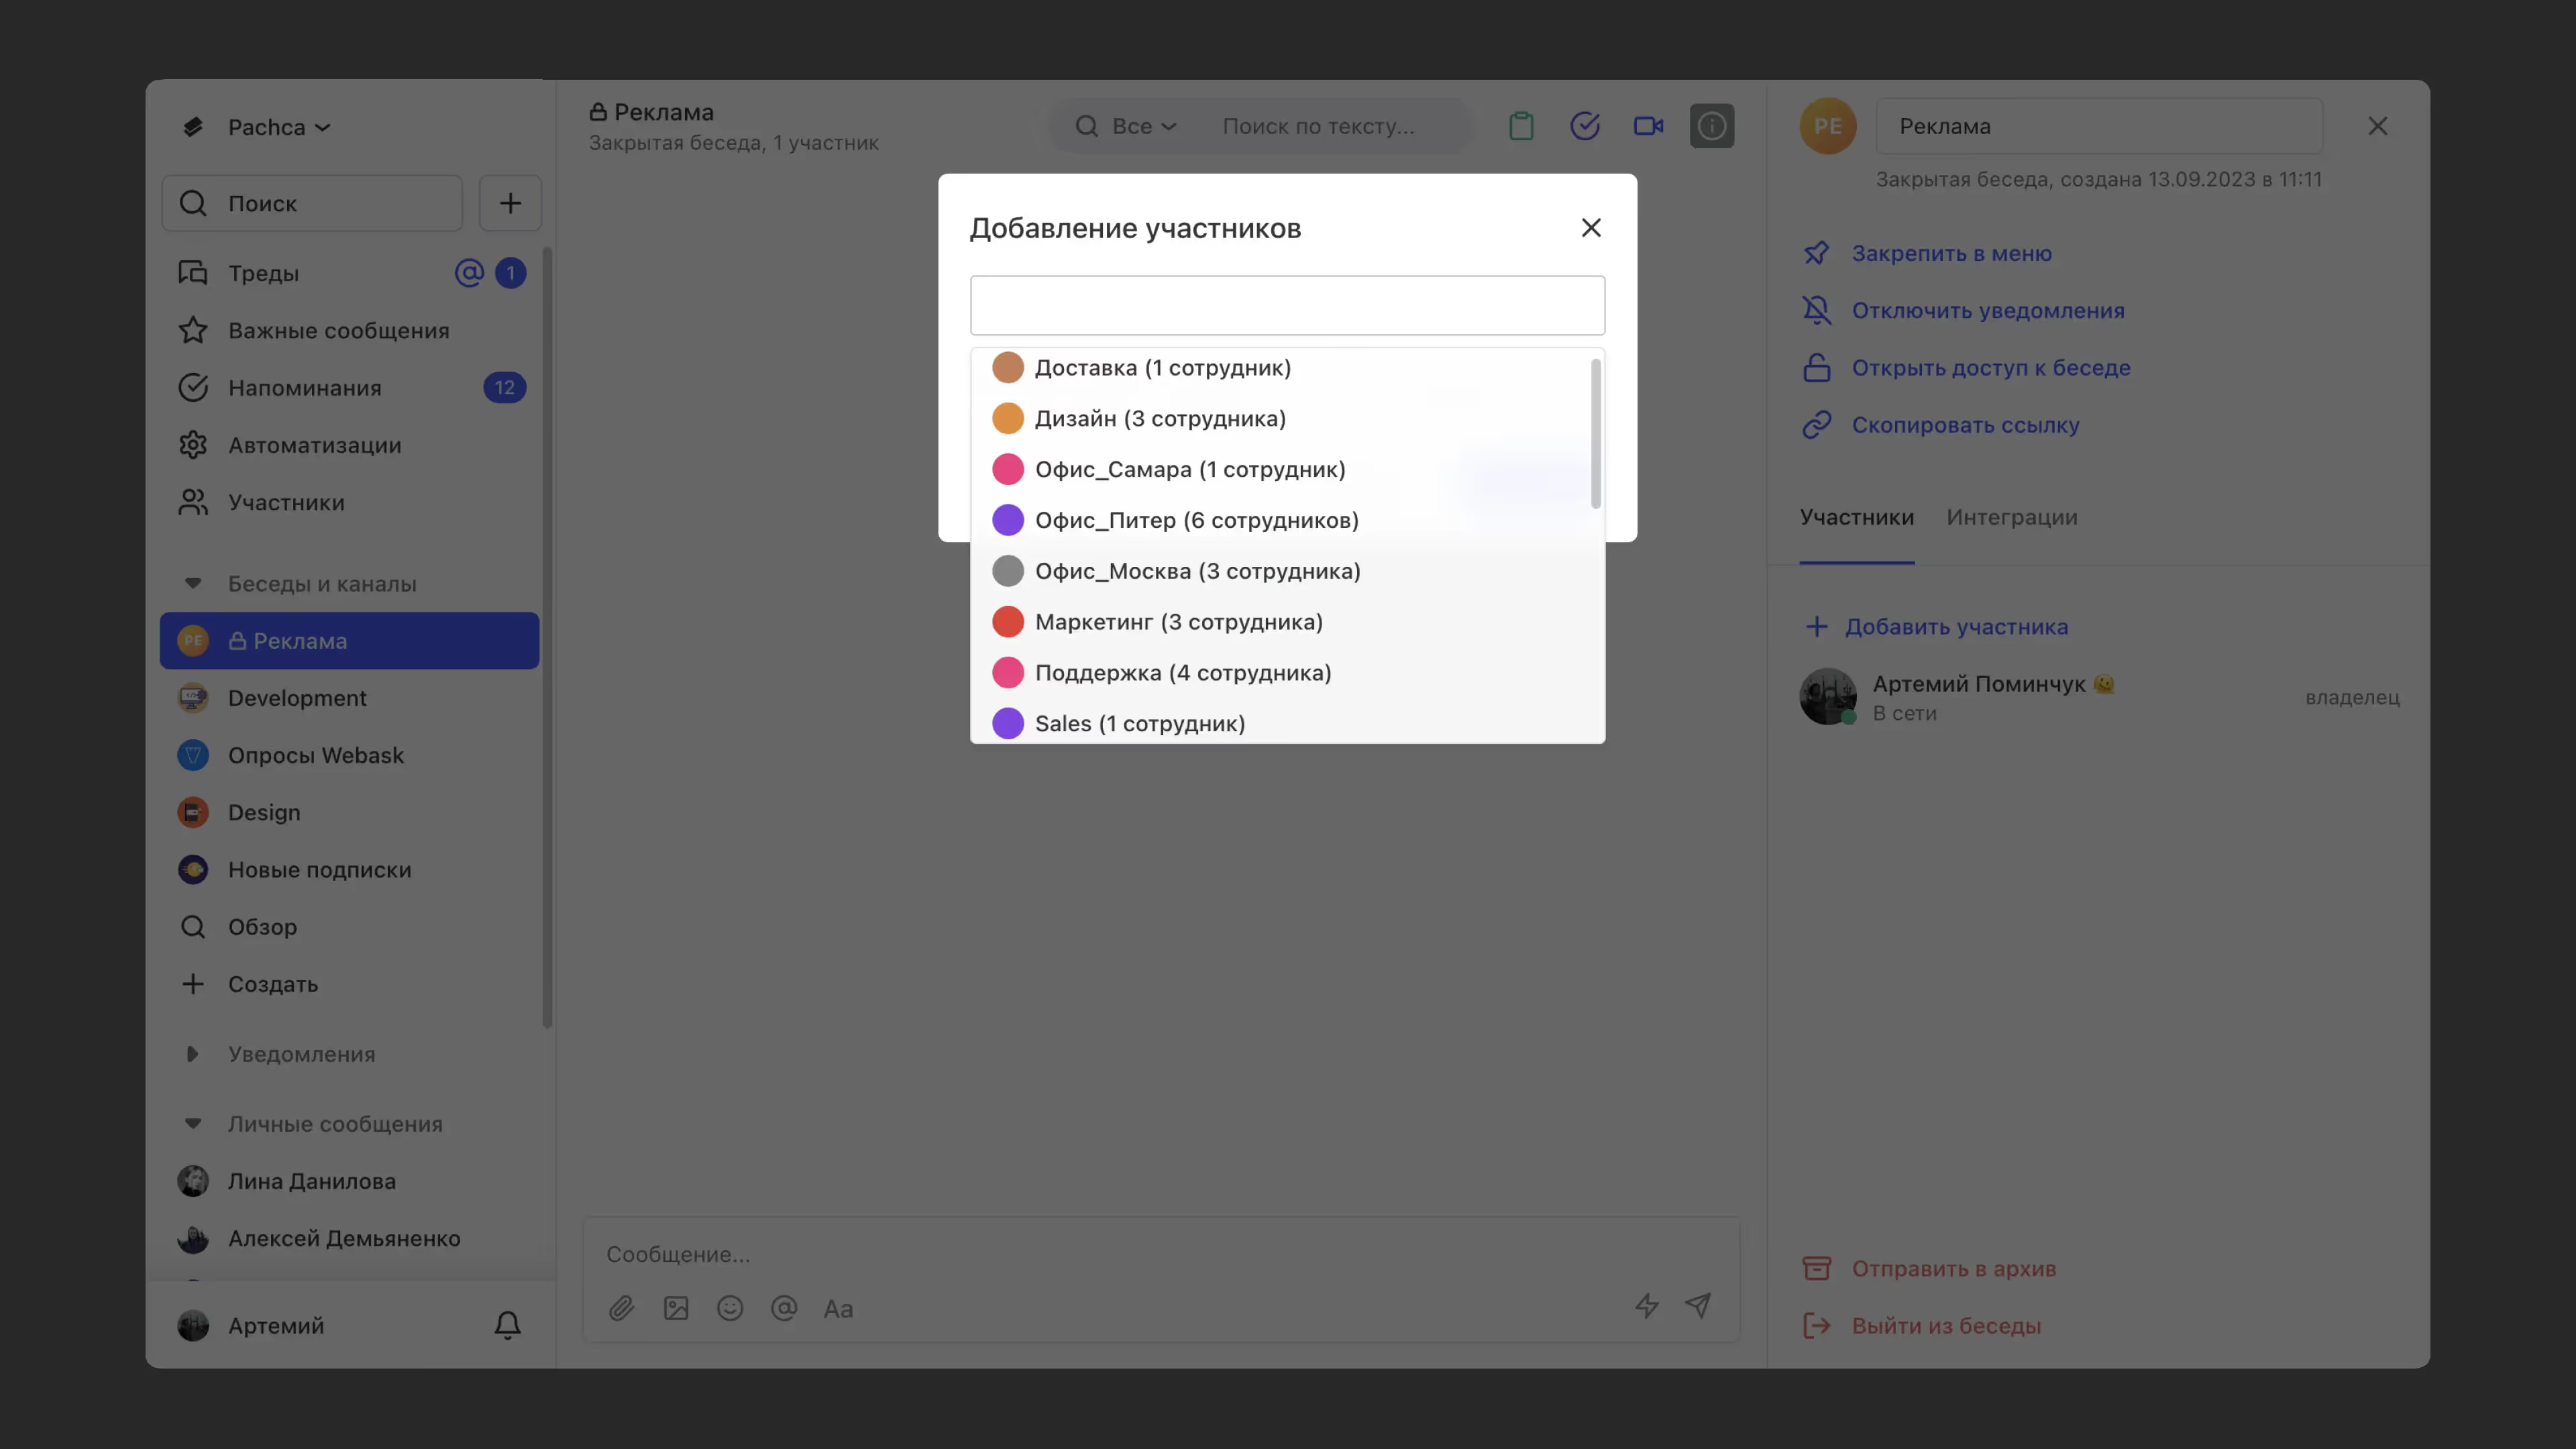
You can create a group tag for each department, like Engineering, Marketing and Sales. This makes it easier to give lots of people access to chats at once.
1. Create a chat and add the Marketing tag to it. Everyone with this tag joins the chat right away.
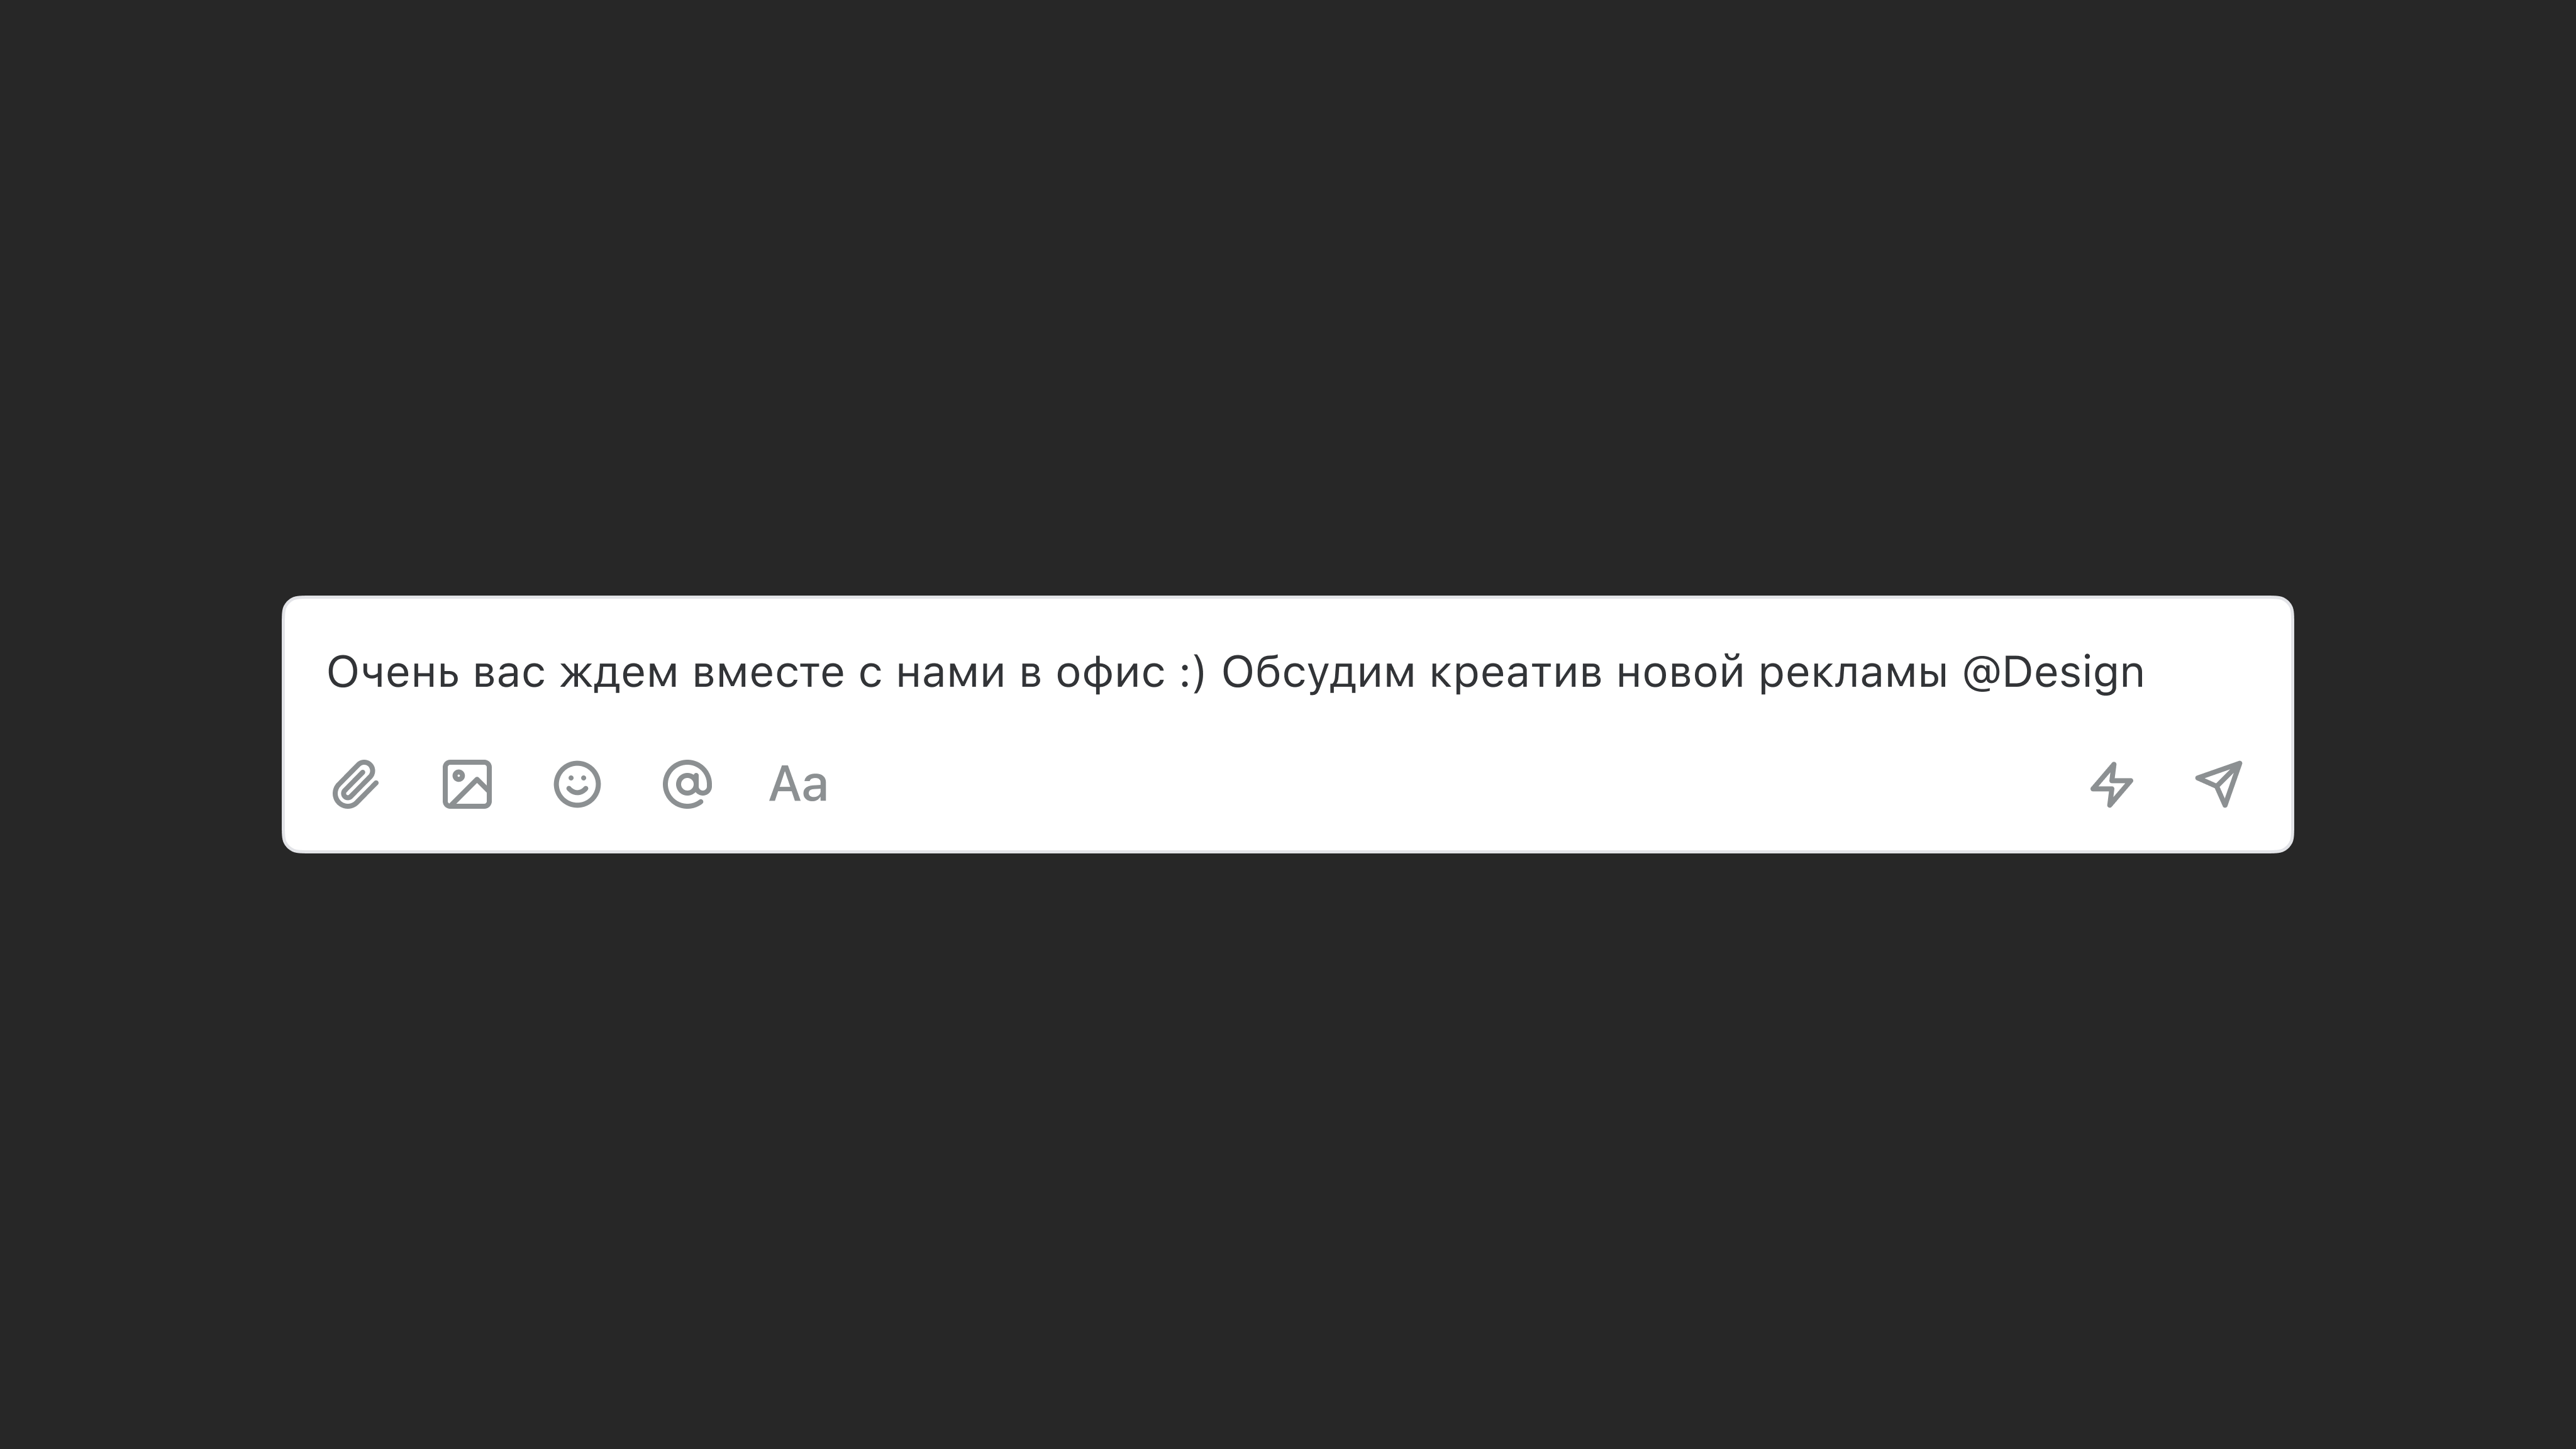
2. Notify a group of employees at once. People often mute notifications in shared chats. You can notify specific people by mentioning a tag with @ in your message. Everyone with that tag gets notified, even if they've muted that chat.
Keep in mind that tags are case-sensitive. If a tag is called "Support" and you type "@support", nobody gets a push notification.