SSO in Pachca with Azure OpenID
In Azure Active Directory, go to App registrations.
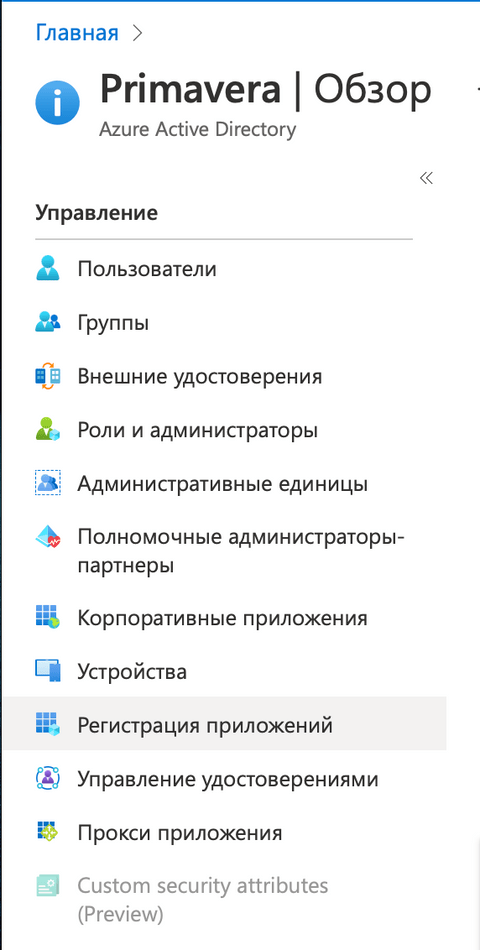
Click New registration.
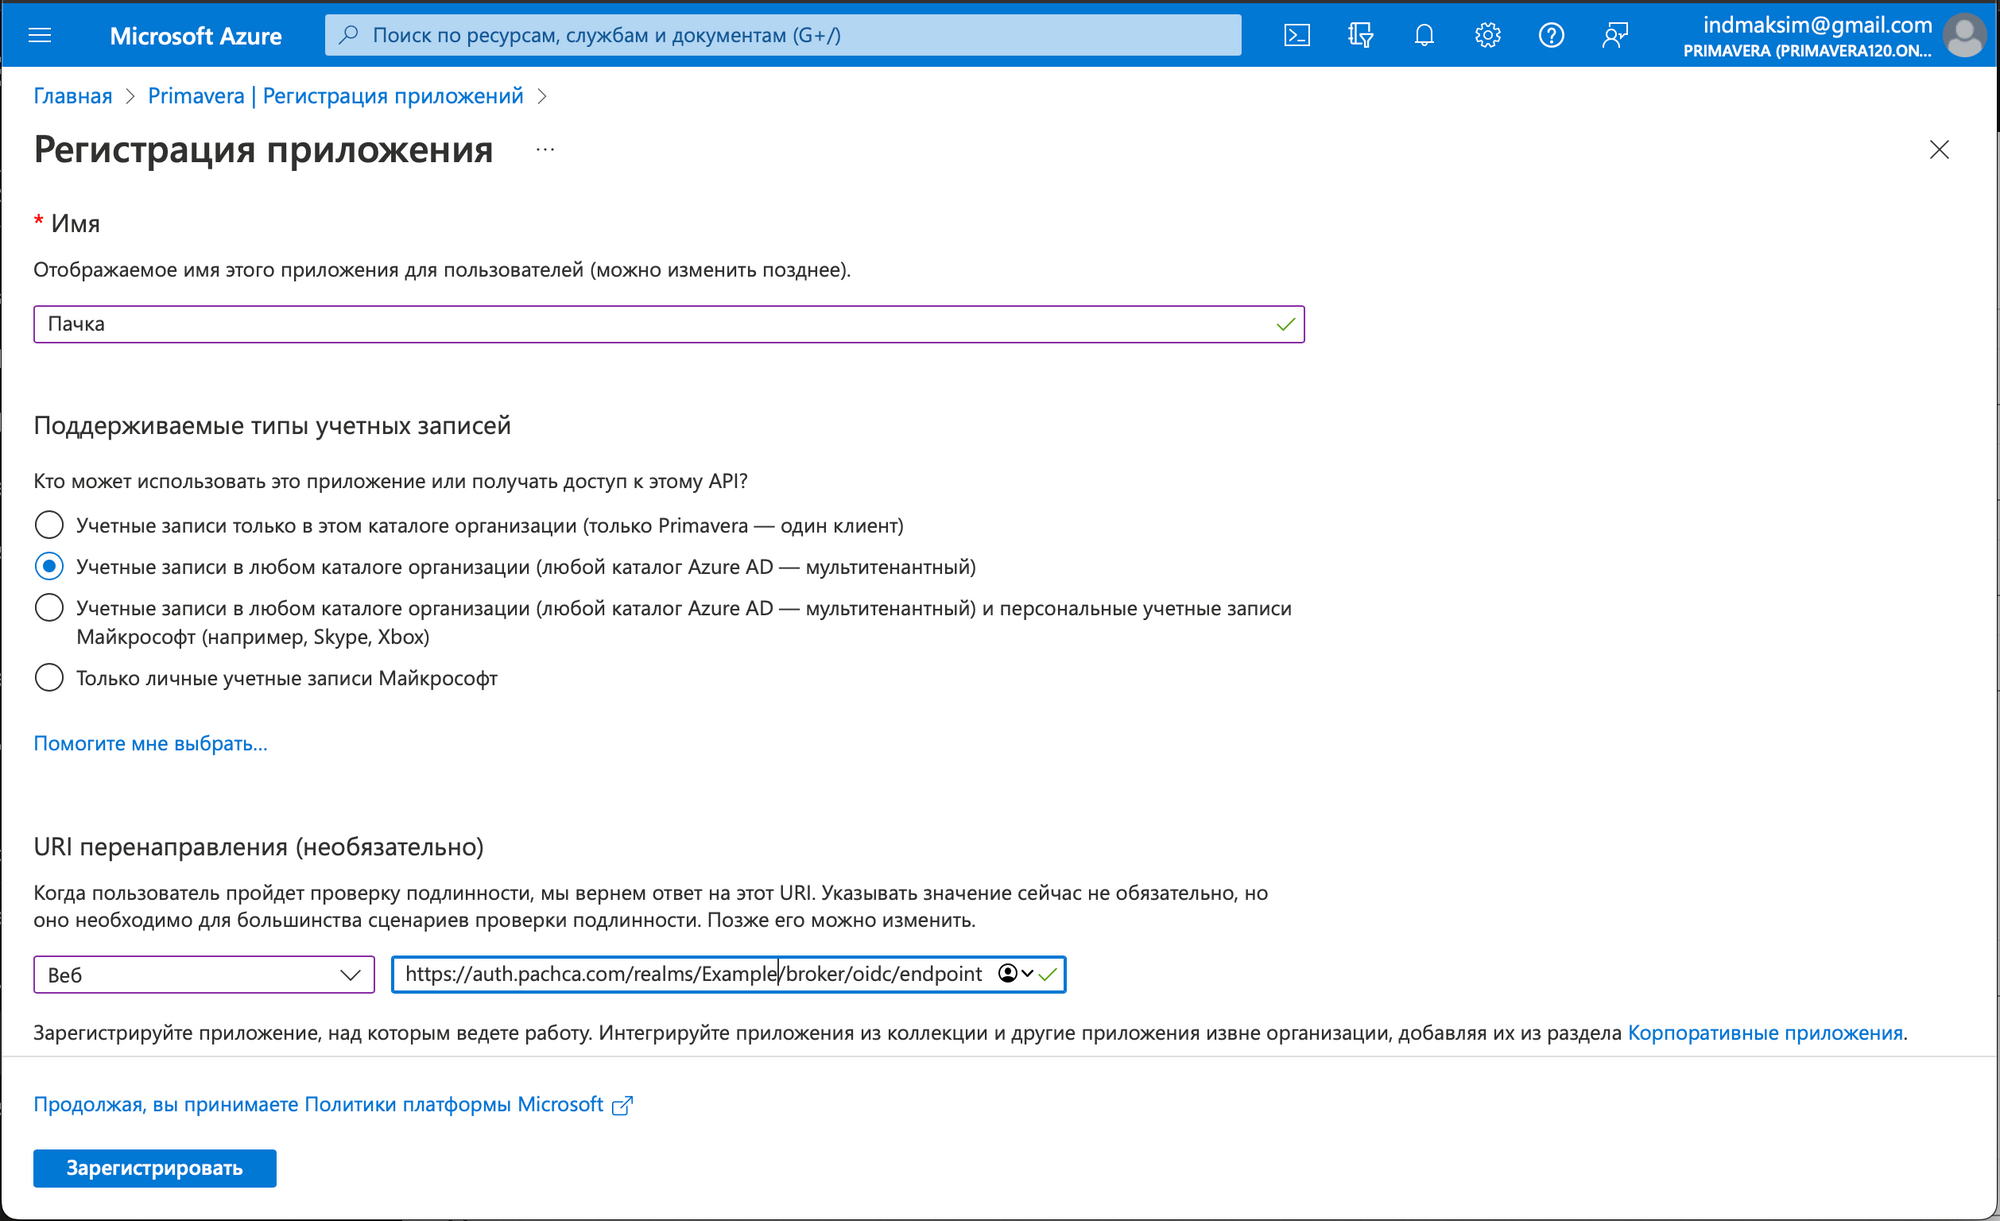
Fill in the values as shown in the image. We'll give you the Web redirect URI during the integration. Click Register.
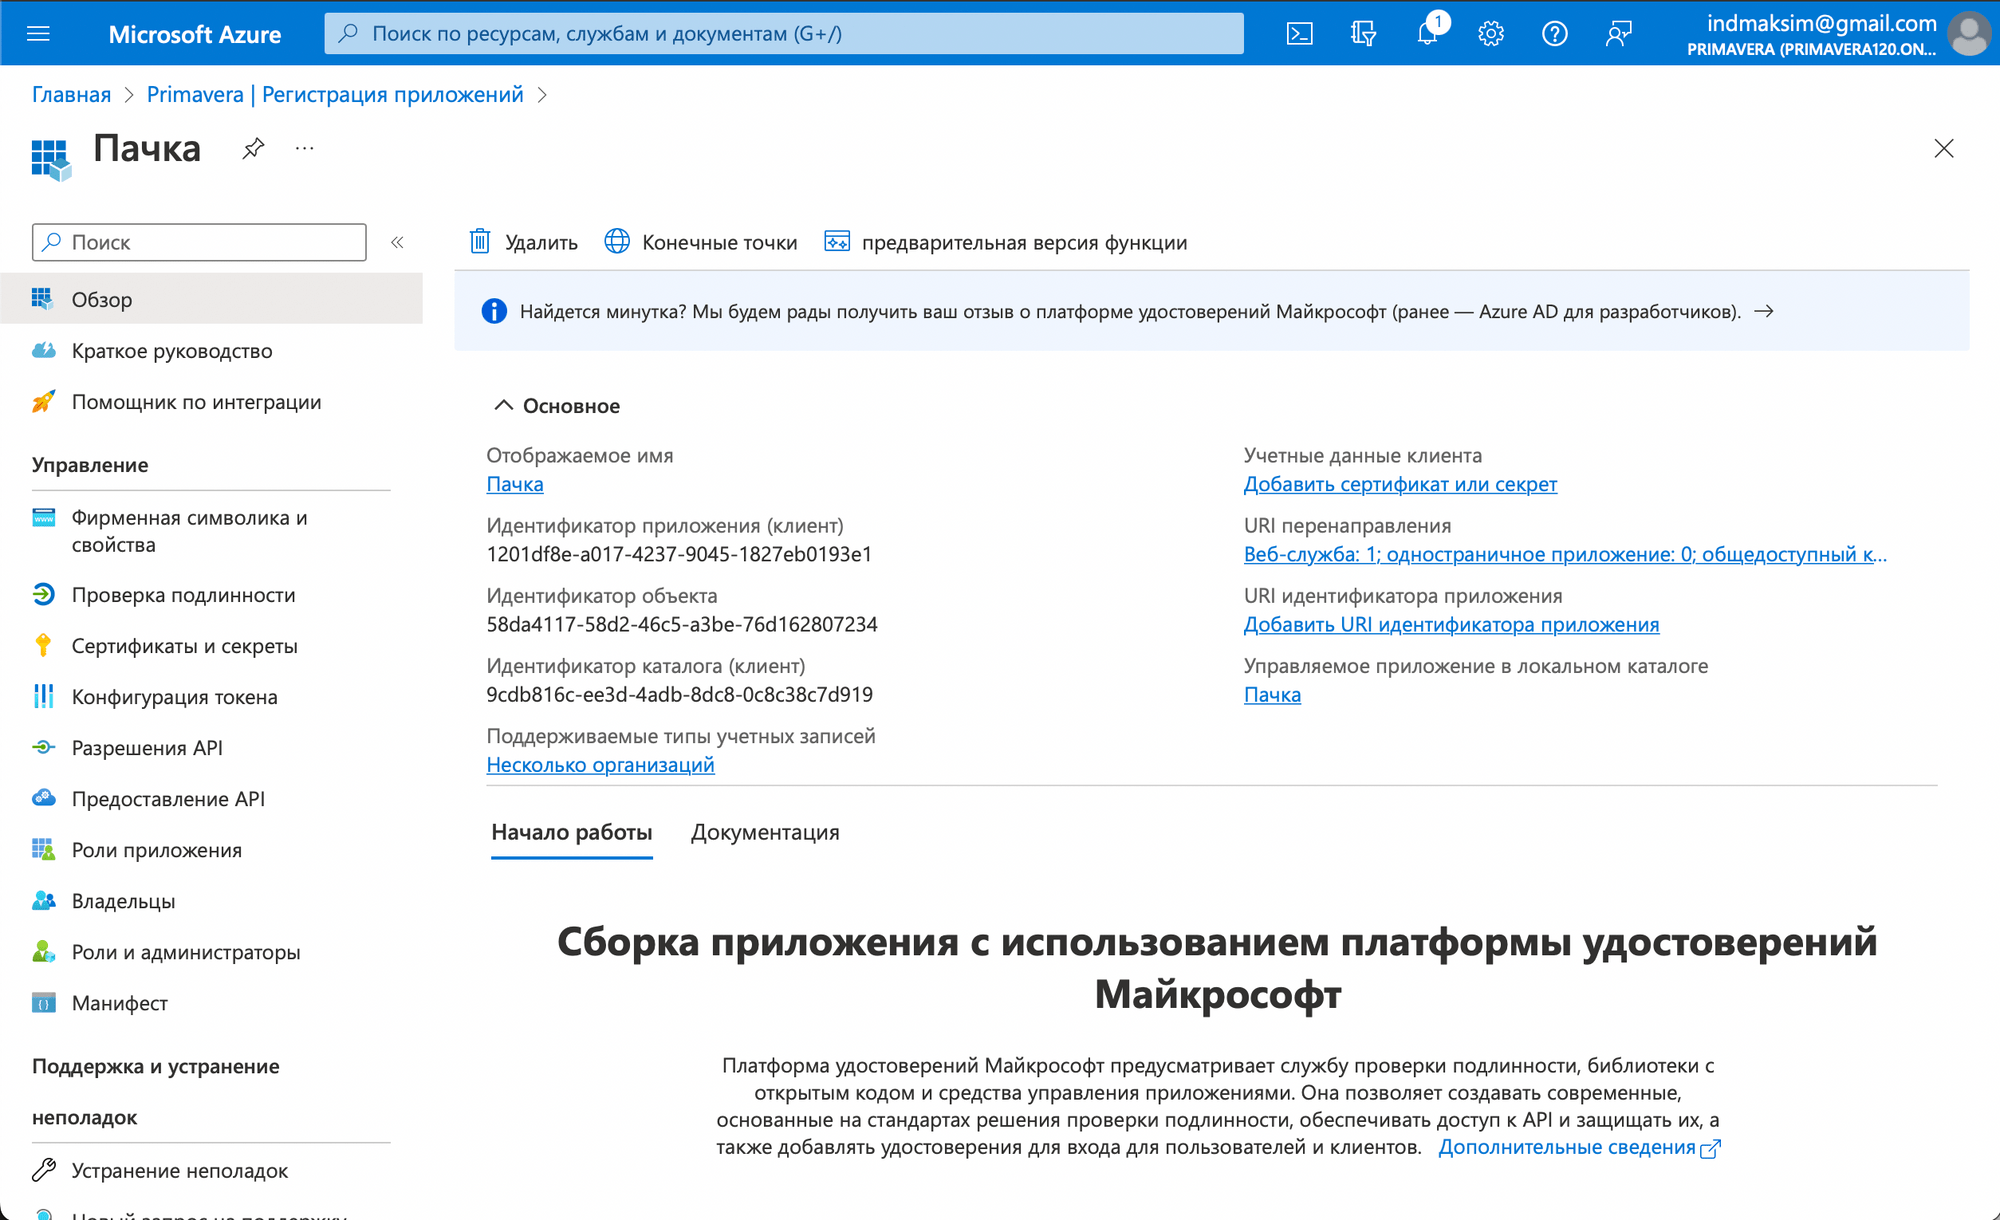
On the app screen:
- Copy the Application (client) ID and the Directory (tenant) ID and send them to us.
- Click Endpoints and send us the value of the OpenID Connect metadata document field.
Go to Certificates & secrets.
Click New client secret and create a secret. Send us its value.
Pachca needs user data to work, so you need to set up passing it in the OpenID token.
Go to Token configuration.
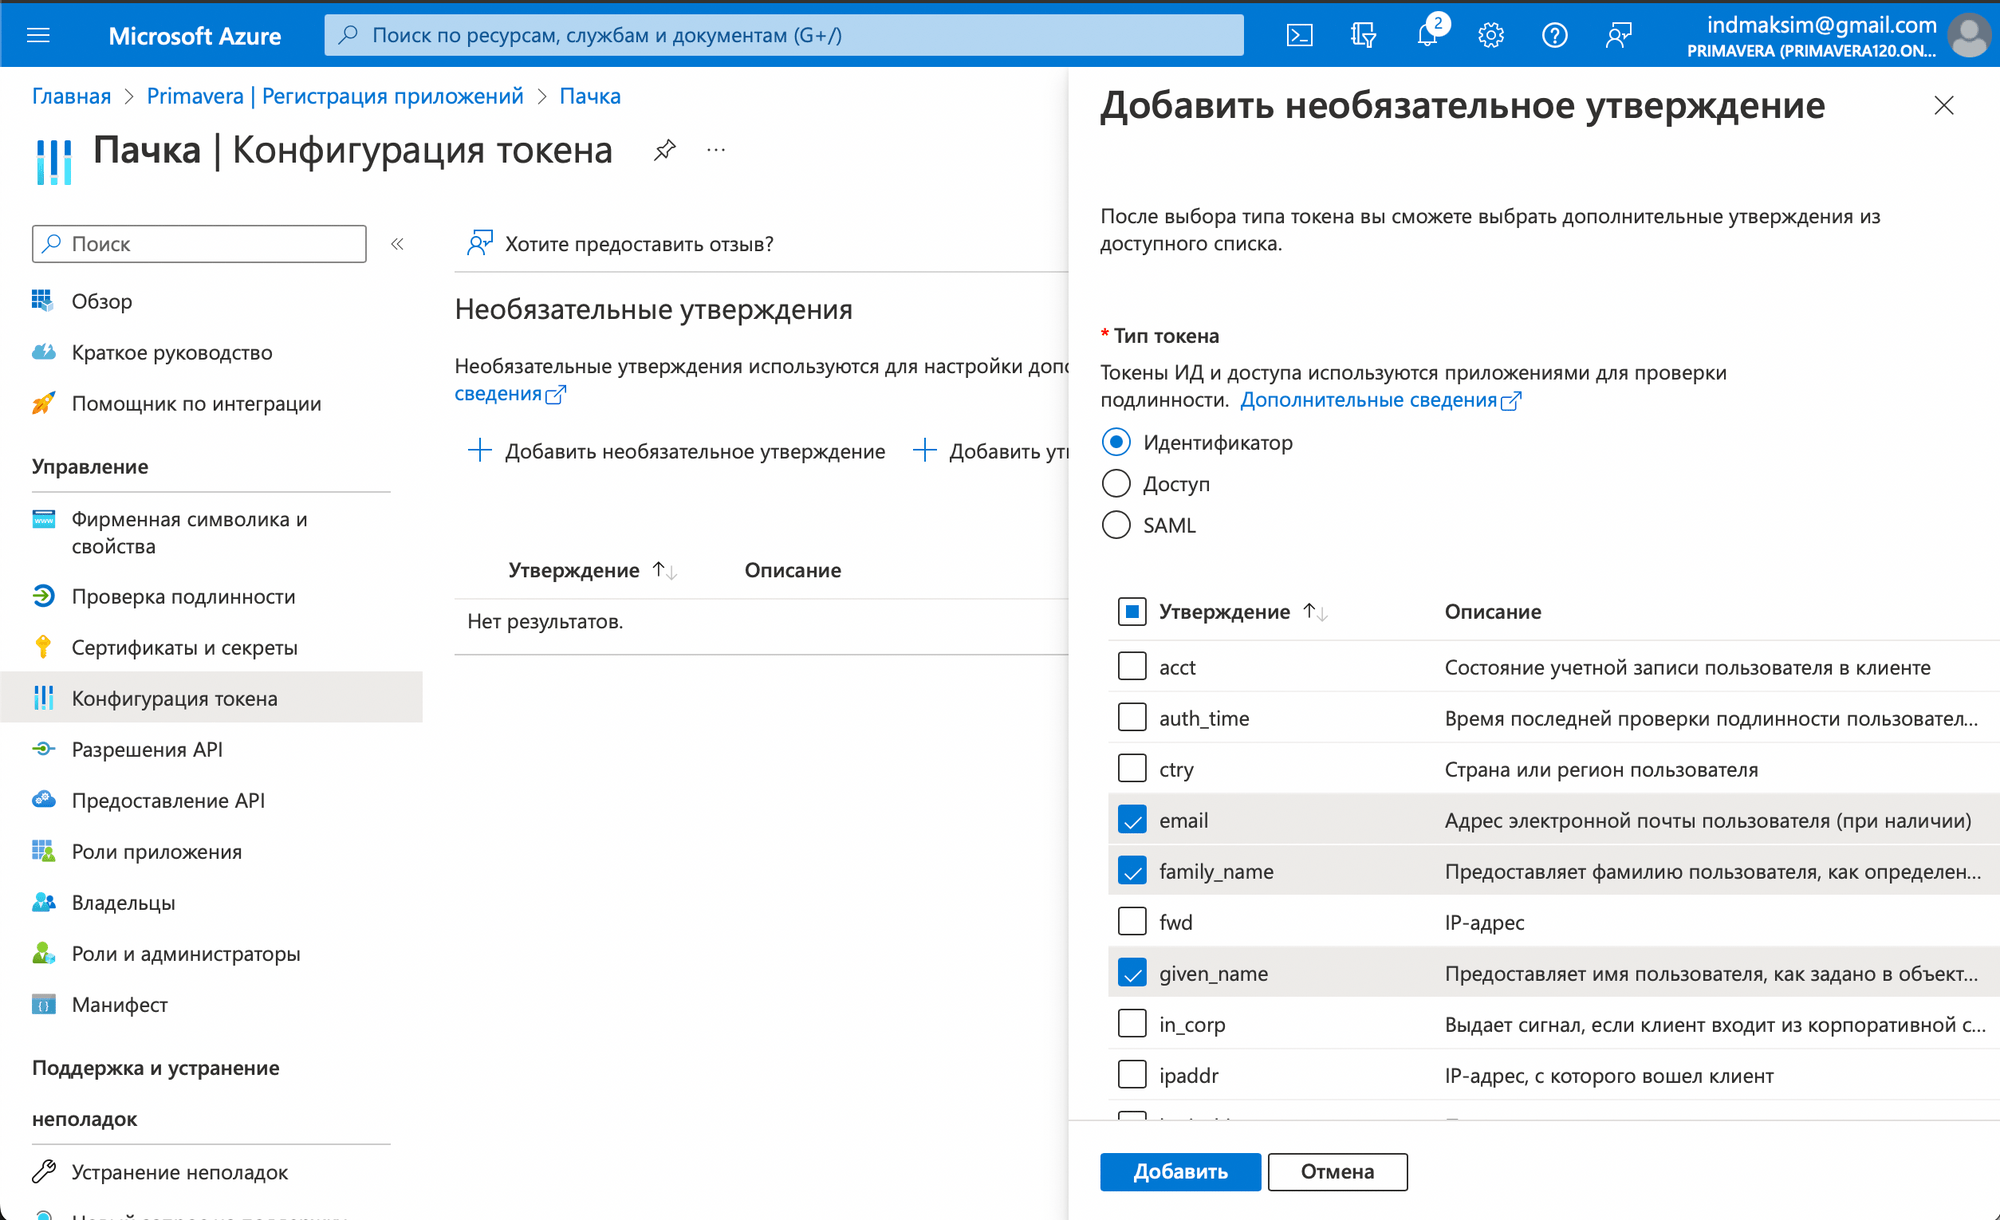
Click Add optional claim.
Fill in the form as shown in the image.
We can agree on handling other fields in Pachca to fit your use case:
- Phone
- Job title
- Department
- Group tags
You can also pass any other text fields from your directory to Pachca, such as an employee's manager or birthday. To do this, send your request to support after you start setting up the integration.
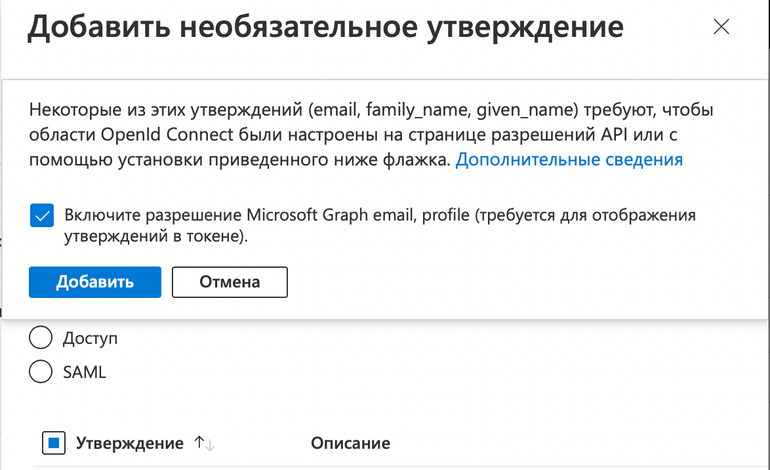
Click Add and select the checkbox.
The app admin can set up their own, more granular policies for employee access to the Pachca app. This doesn't require any configuration changes on our side.
You're all set! Don't forget to send us the parameters listed in this guide, and we'll turn on SSO login for your company.
Test the setup
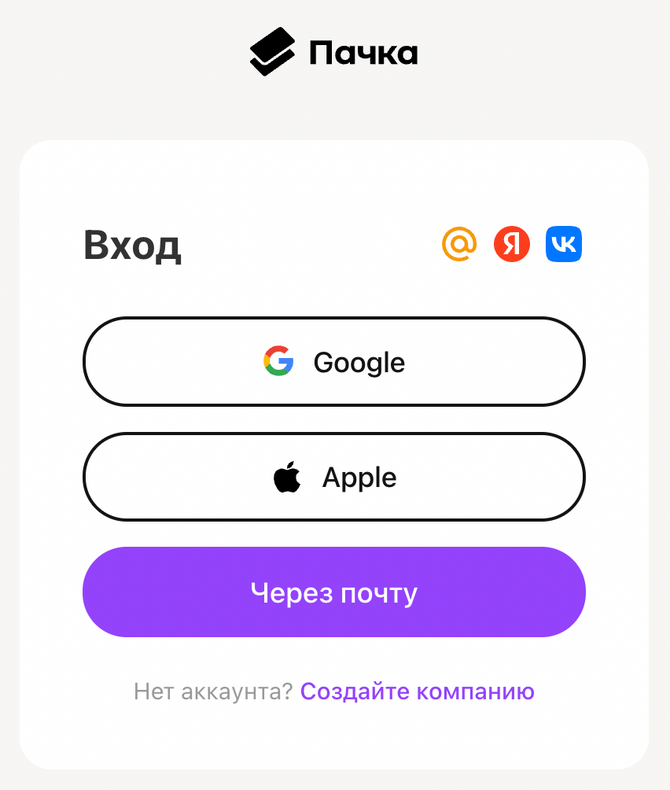
On the Pachca login screen, click With email
Click Log in with SSO
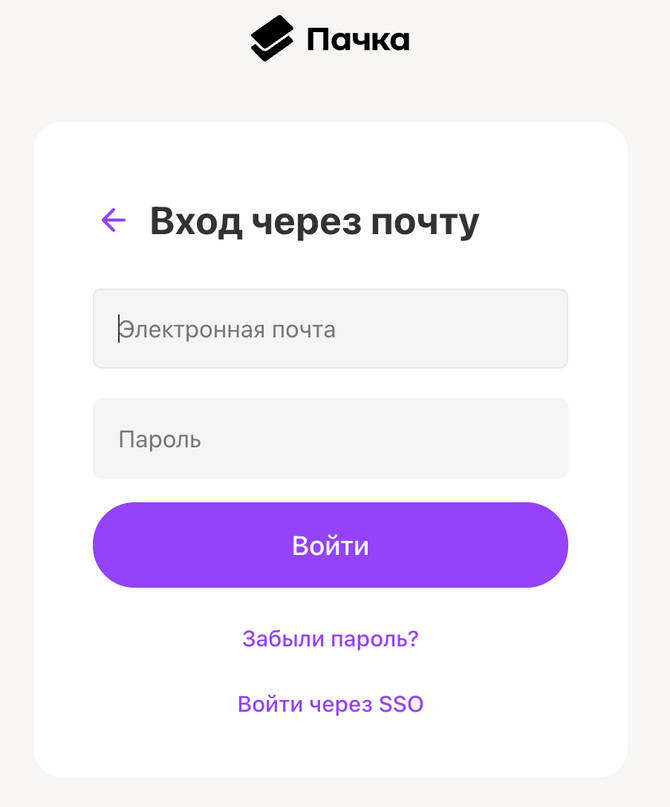
Enter your work email from AD in the field.
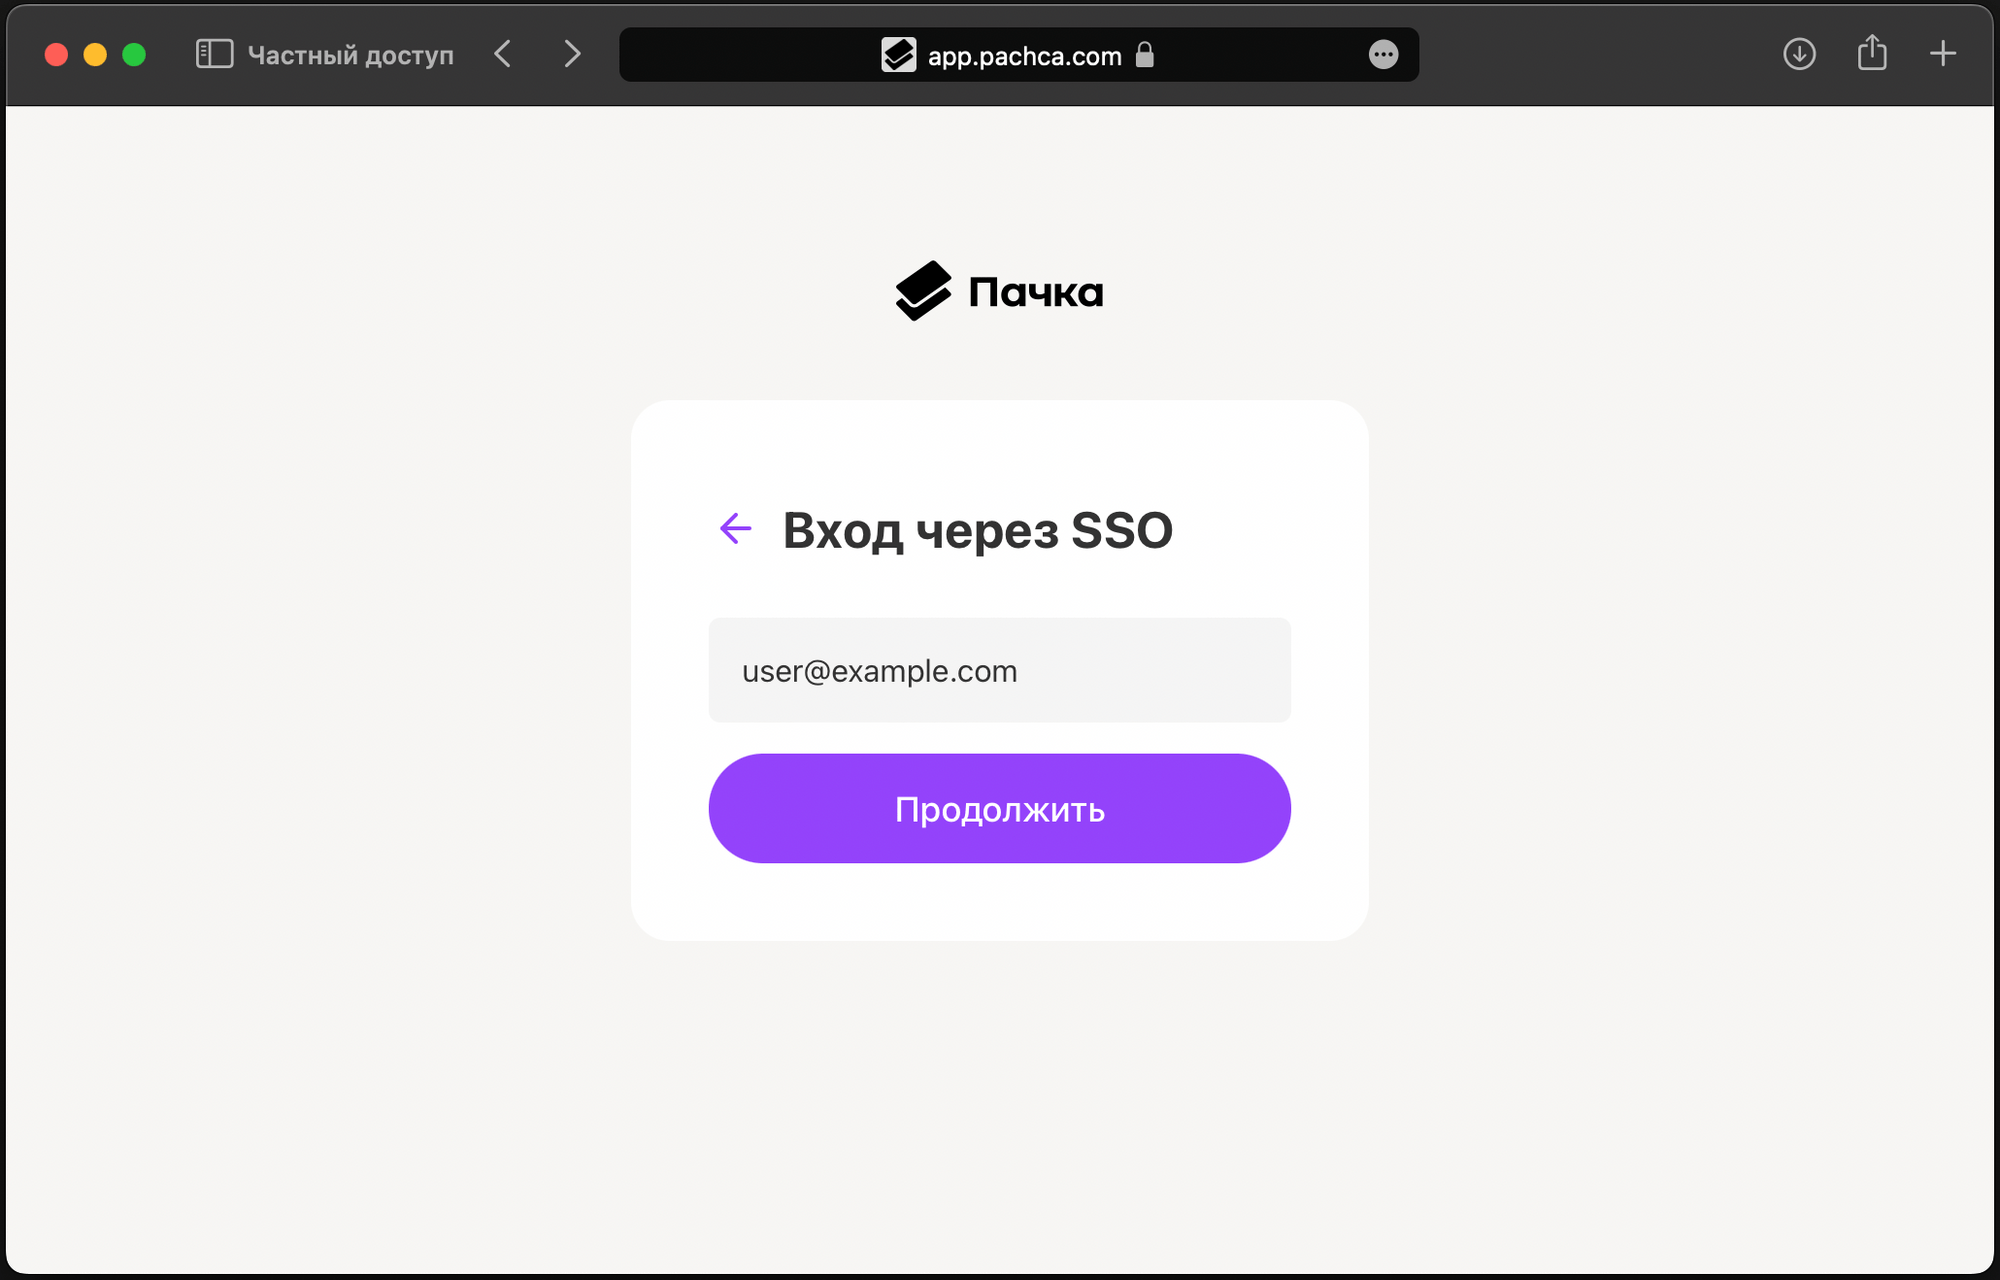
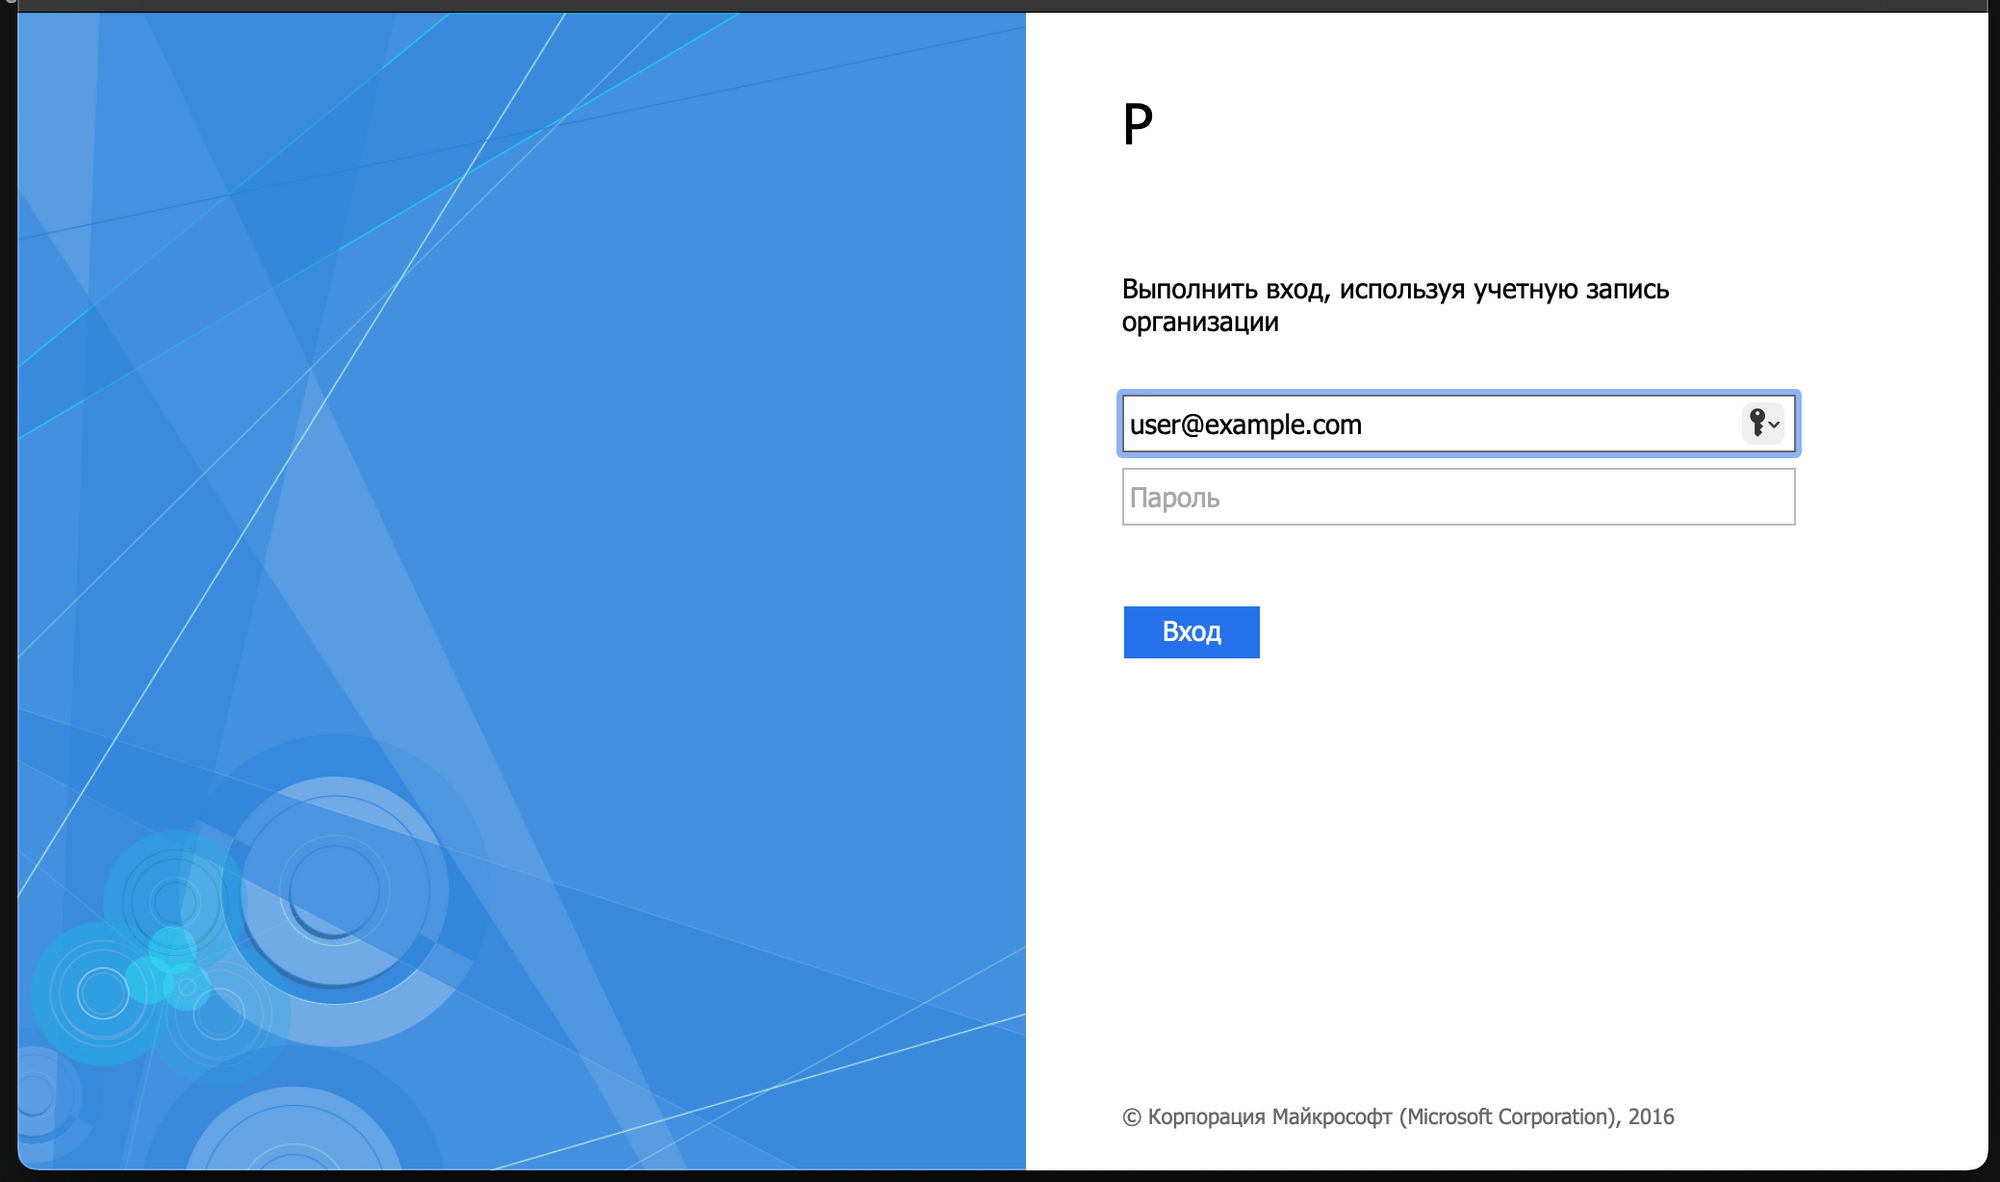
Sign in through your company's system.
Your email is filled in automatically.
If the user is already signed in to the domain, this step is skipped.
Setup complete! Your users can now log in to Pachca.