Яндекс.Метрика
Custom reactions

Custom reactions

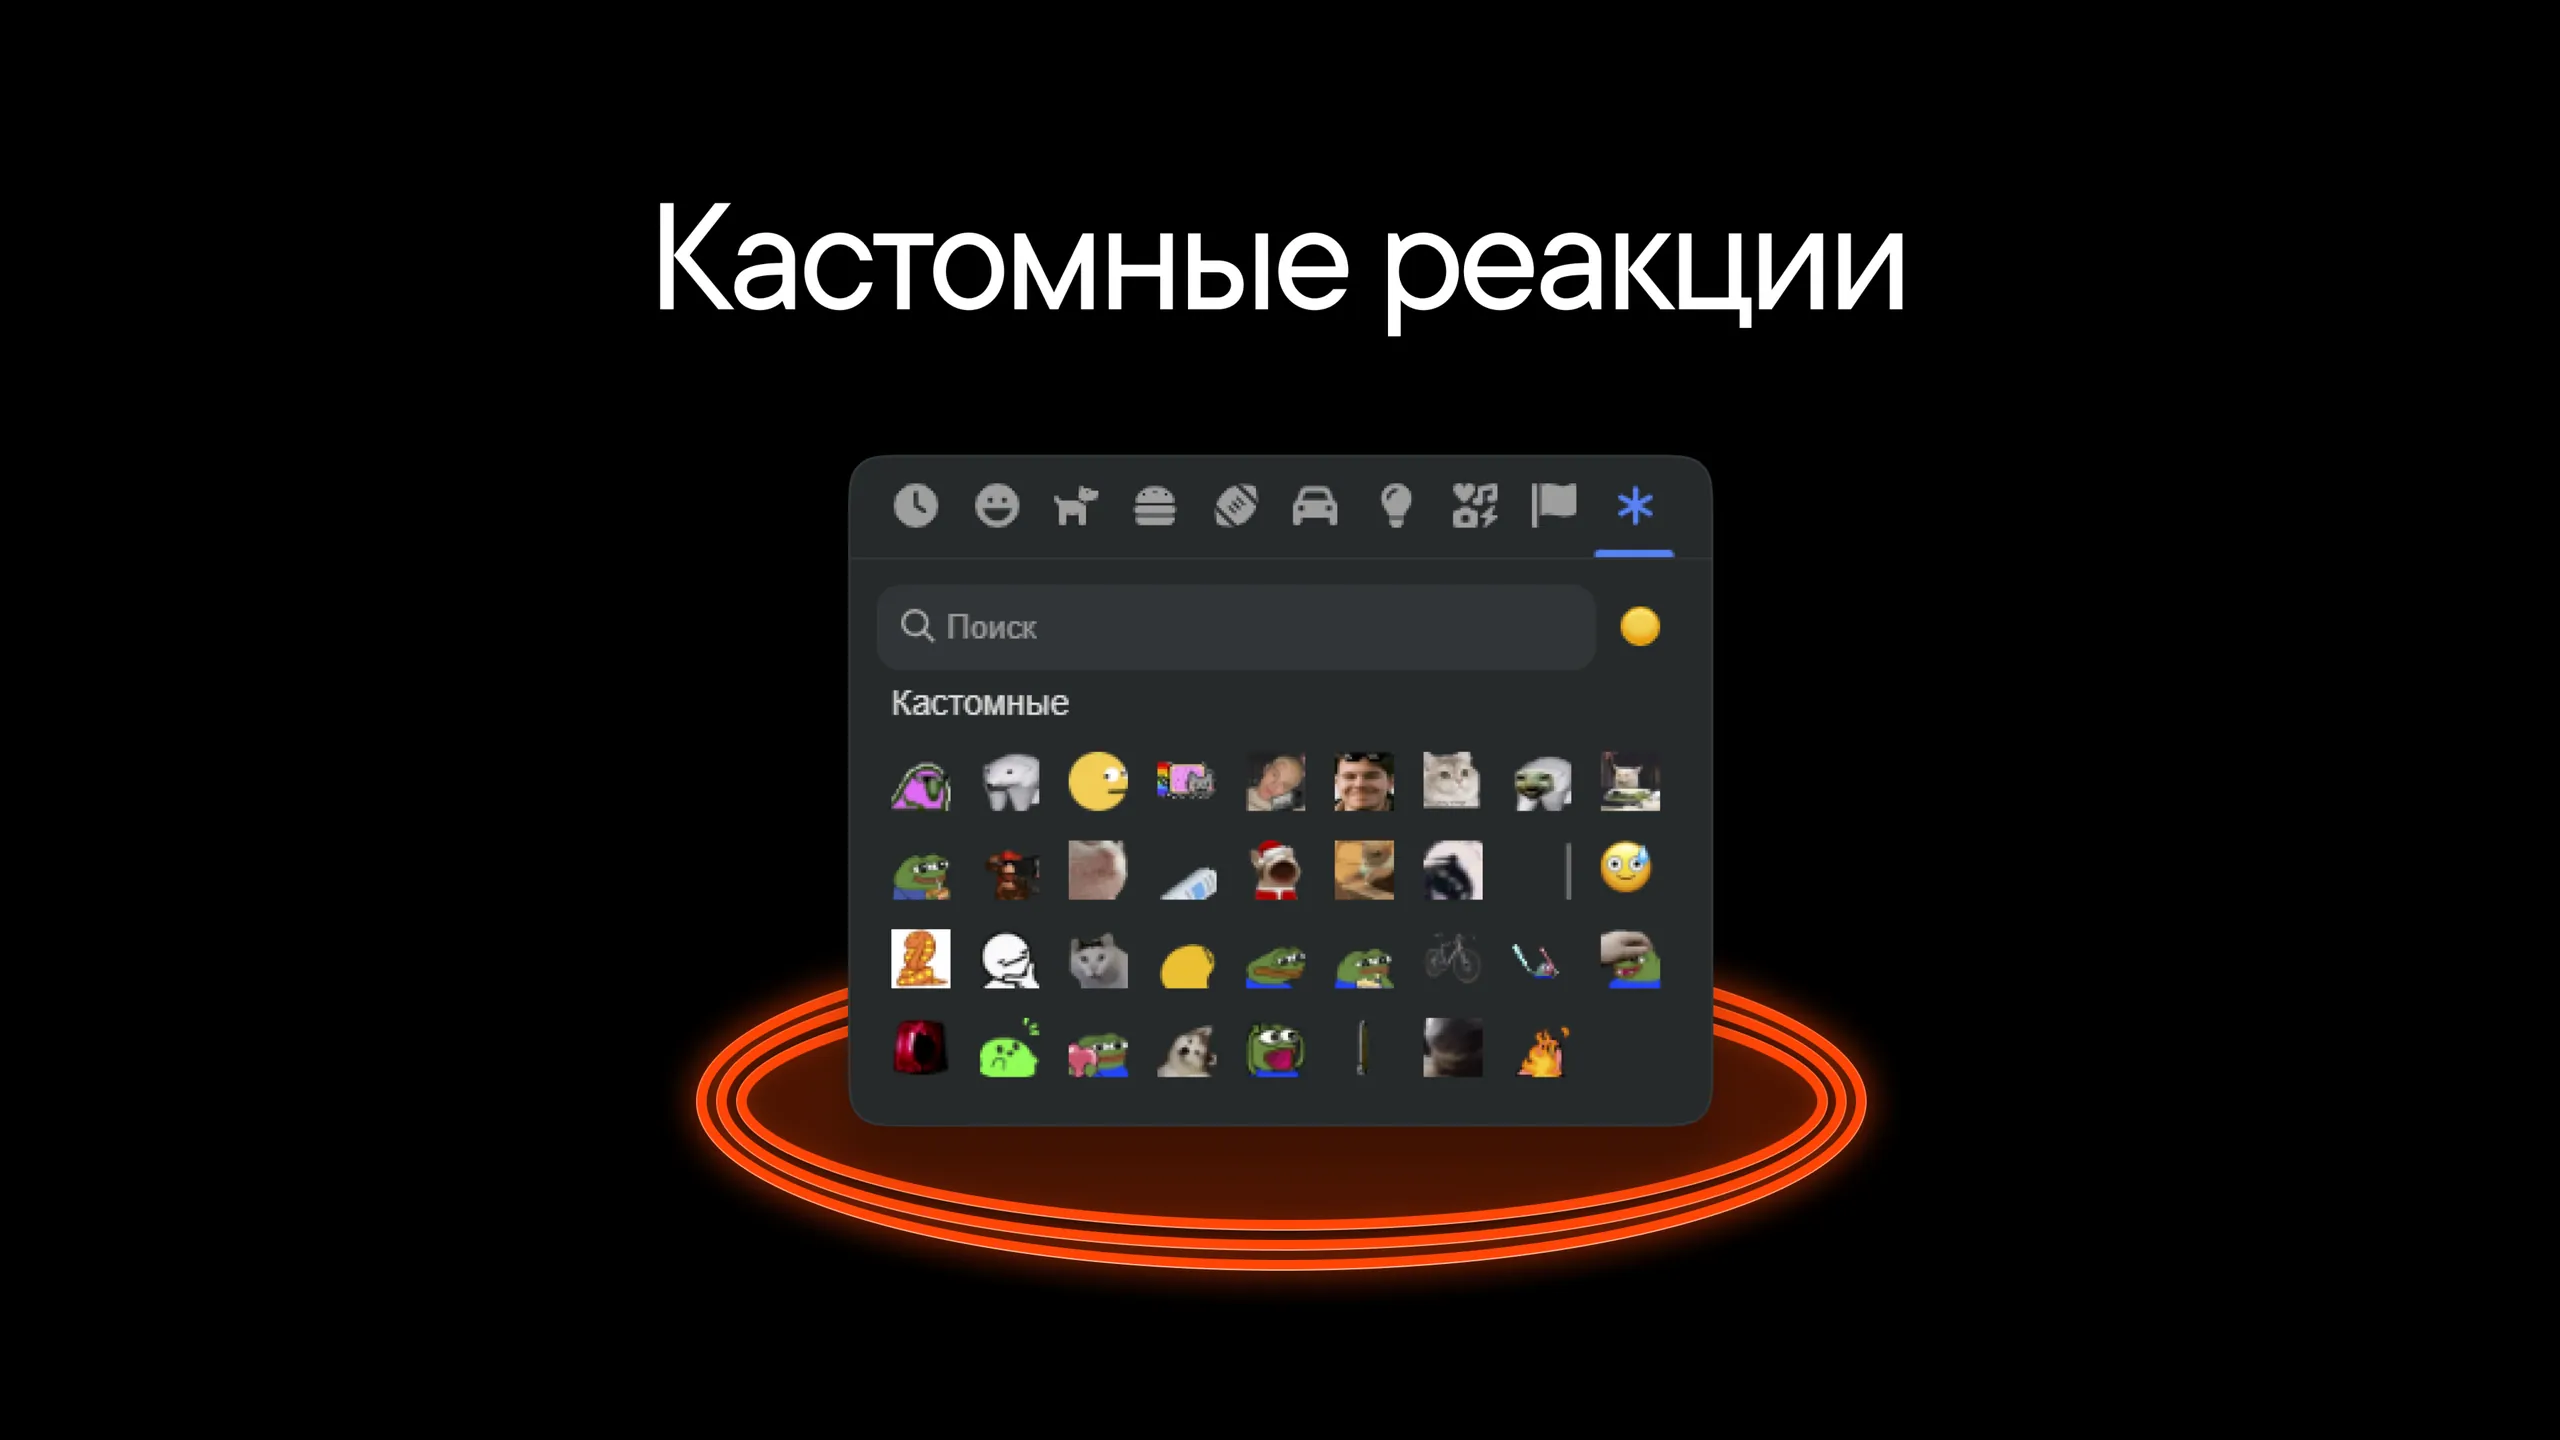
Custom emoji for message reactions

Open the emoji converter

A tool from the Pachca team that converts any image or GIF into the right reaction format

Custom emoji are emoji you create yourself and add to your workspace's shared library. In this article, we'll show you how to use them in Pachca.

Custom reactions

For now, you can only use custom emoji to react to messages.

How to add custom emoji

Option 1. From the reaction picker
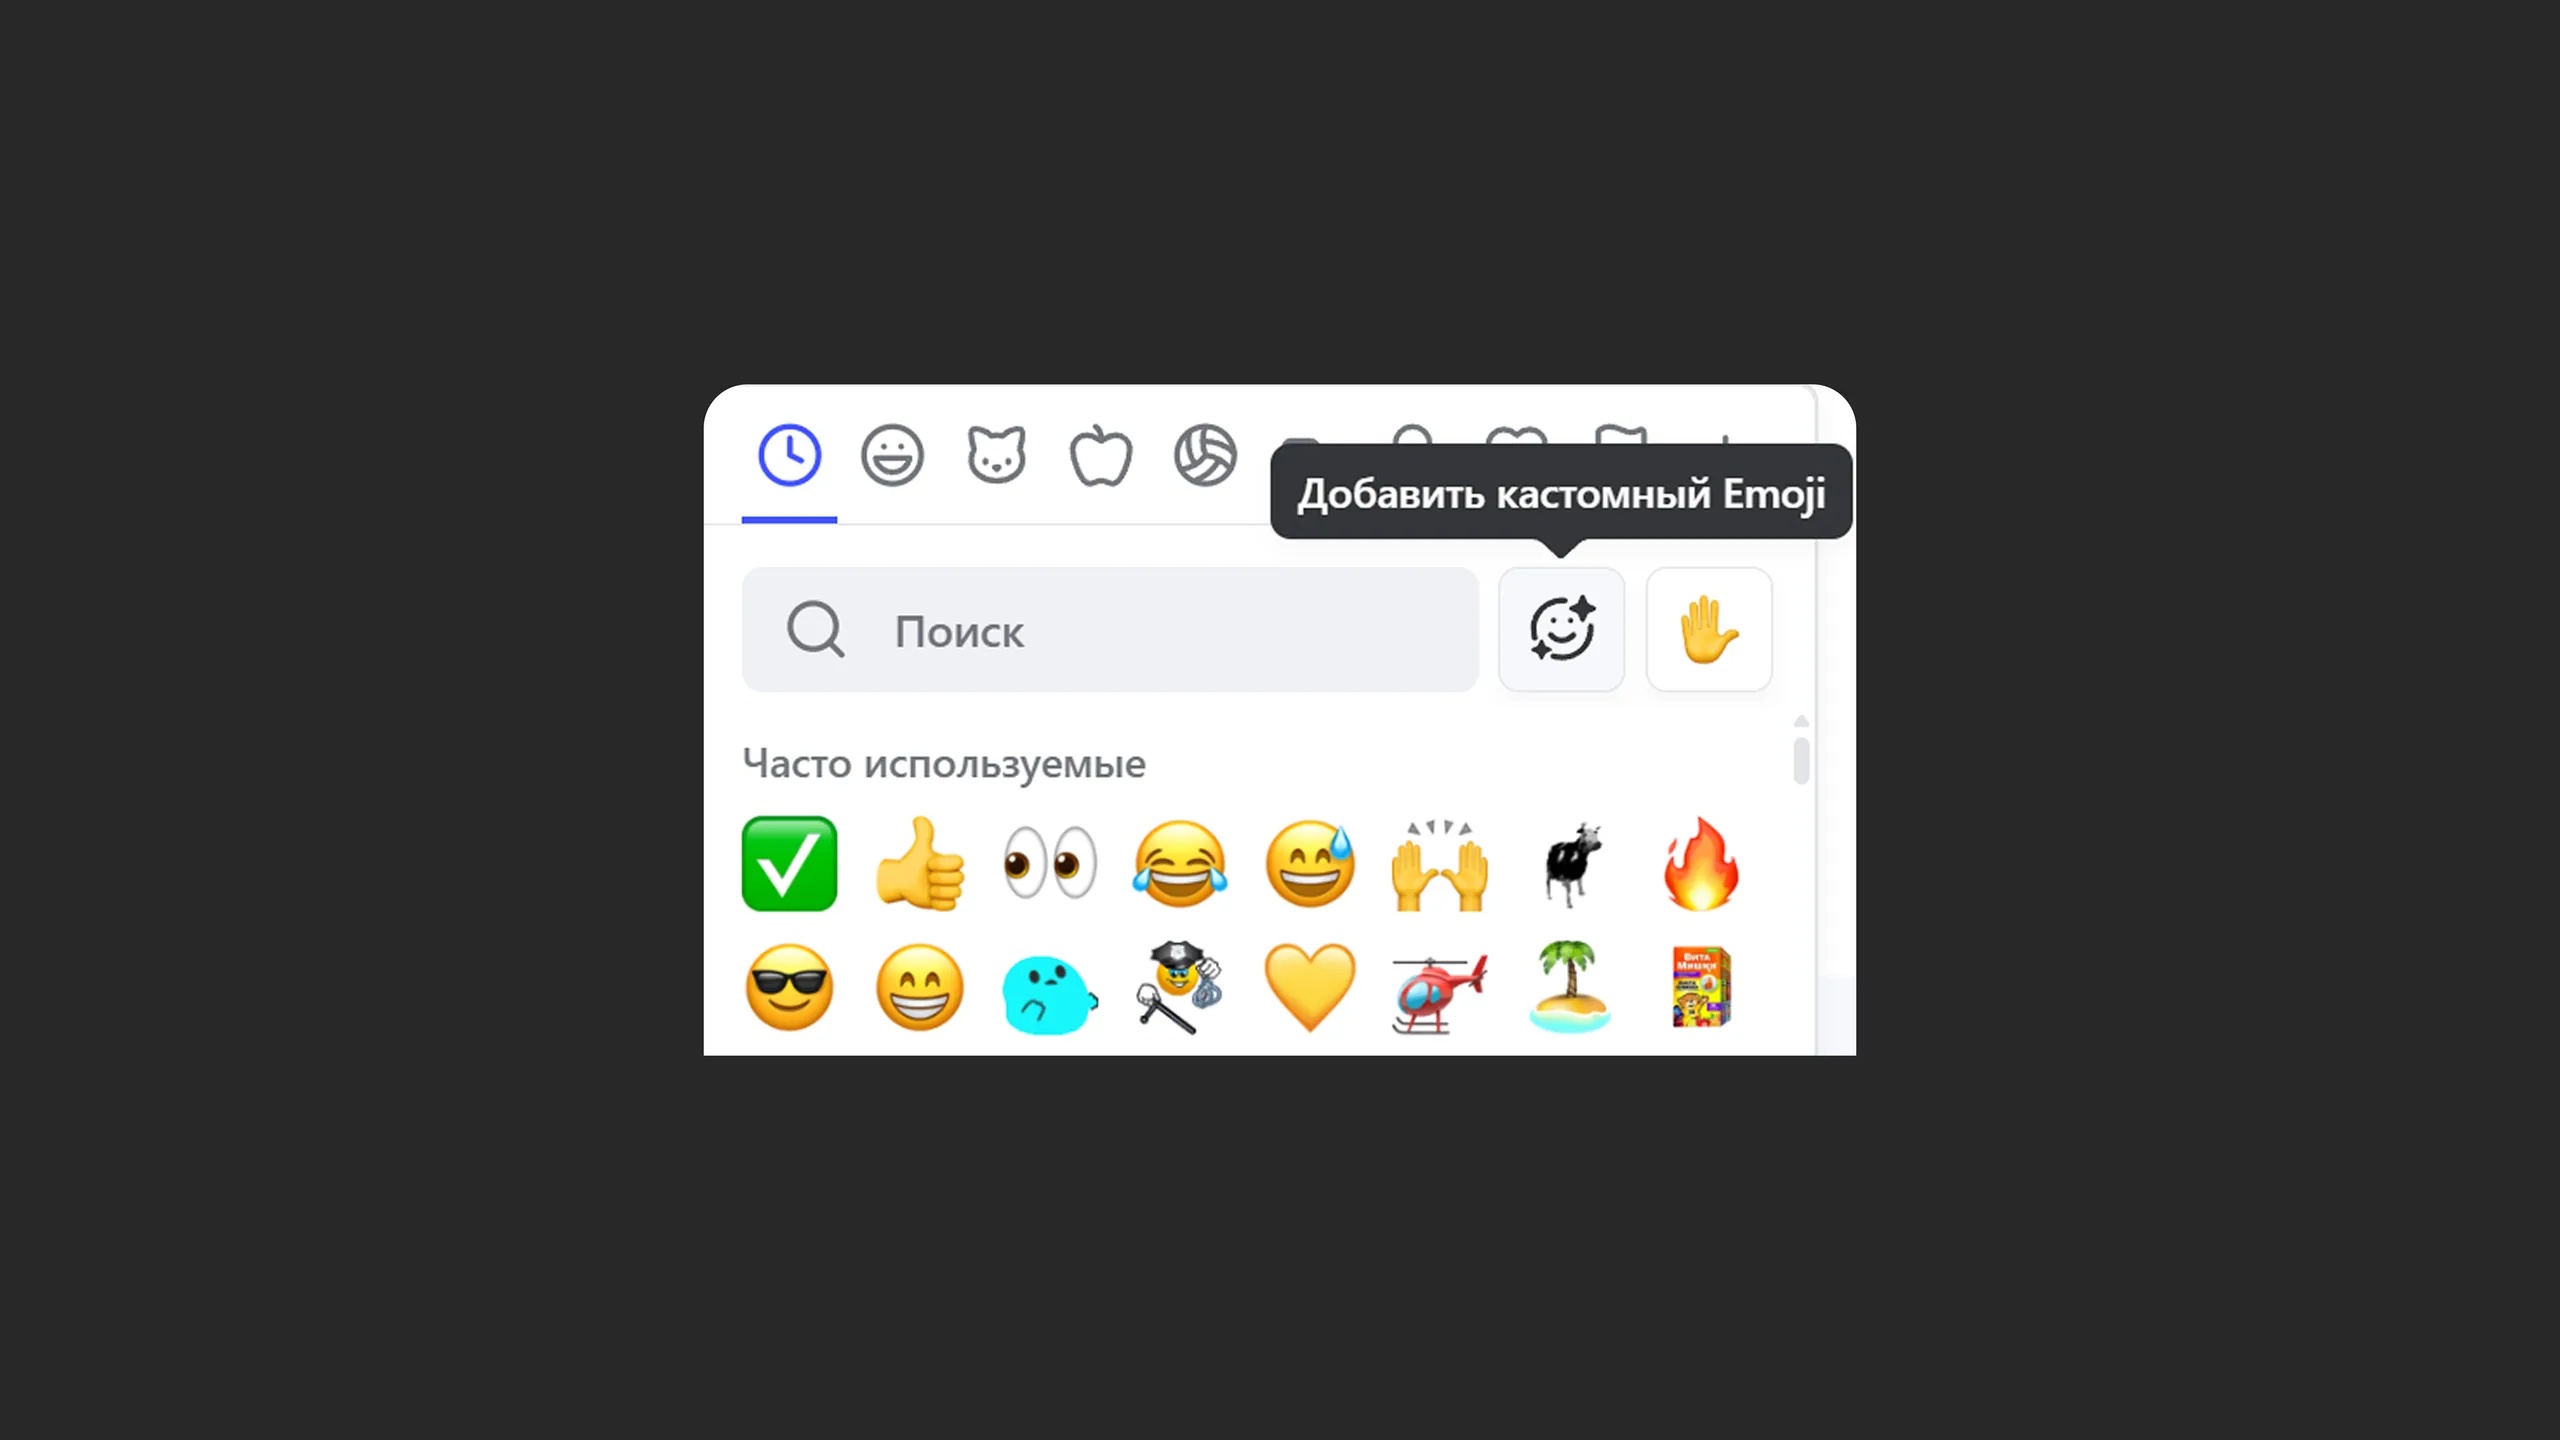
Add a custom emoji from the reaction picker

  1. Hover over any message and open the emoji picker, as if you were reacting to it.
  2. Click the Add custom emoji icon.
  3. Follow the instructions: upload an image and give it a name.

If your image format doesn't fit, use the converter from the Pachca team. It automatically converts the file to the right format.

Option 2. From workspace settings

  1. Click the logo in the top-left corner.
  2. Open Workspace settings.
  3. Go to Emoji.
  4. Click Add emoji and follow the instructions.

This section shows all the custom emoji added by workspace members. You can filter emoji by author or date added, or search for an emoji by name.

Limit: 700 custom emoji per workspace.

Custom emoji format

You can upload custom emoji in JPG, PNG, GIF and WEBP formats. Images can be no larger than 128×128 pixels and 256 KB.

If your image doesn't meet these requirements, use our image and GIF converter. It automatically adjusts the file's dimensions and size to fit Pachca's custom emoji format.

Where to find ready-made emoji

Here are some sites where you can find ready-made emoji:

Looking for animated emoji? Check out free packs from Lottie.

Or make your own:

Who can add and delete custom emoji

All workspace members except Multi-guests and Guests can add custom emoji. You can delete the emoji you created yourself. Owners and Administrators can also delete custom emoji added by other members.

Updated: January 13, 2025

More in Features

Text formatting
How to make text bold or italic, add a link or insert a code snippet
Scheduled messages
How to schedule a message and why you'd want to
Drafts
All your unsent messages in one place
Folders
Organize your workspace with folders
Guest accounts in Pachca
What guest roles can do in Pachca
Members in Pachca
What the Members section offers your team
Workspaces in Pachca
How they work, how to create them and how to switch between them
Chat roles
What roles there are and how they differ
Notification types in Pachca
Notification types in Pachca and how they work: setting up push notifications and sounds
Badges in Pachca
What the visual indicators for new activity mean
How threads work and why you need them
How threads work in Pachca: a detailed look at discussion threads in the team chat app
How mentions work in Pachca
A detailed guide to mentions
Custom statuses
Let your team know what you're up to with an emoji
Unread folder
All your unread chats in one place
Installation guide
Spoiler: you might not need one
Reminders
Tasks and reminders in Pachca: plan your day and stay on top of important work right in your team chat app
Sidebar
How to set it up, what's in it and tips from the Pachca team
Access levels
How an employee differs from an administrator
Member profile
What you can add to a member profile
Message actions
How to pin, reply to or edit a message
Legacy calls in Pachca
Video calls in Pachca: how to call your team, share your screen and record meetings
Video call moderation
How to assign moderators and manage participants, settings and restrictions in a video call
Chats and channels
Which one to use and when
Public channels and chats
Public channels in Pachca: how to create an open space for company news and announcements
Threads
Discussion threads under messages to keep conversations organized
New video calls in Pachca
A refreshed interface and new features for video calls
Permission settings for video calls
How to set up access to your camera, microphone and screen sharing on different devices
How Pachca links open from other apps
Set links to open automatically in the desktop app